With soon to be release Windows Nano Server 2016 I wanted to write a step by step guide that will outline the entire setup process to get Windows Nano Server 2016 using the 40+ articles I have published recently.
Step 1, Get Windows Nano Server 2016 OS up and running.
To setup Windows Nano Server we can either download a pre-configured ISO or create a new one using, see the two articles below for both options.
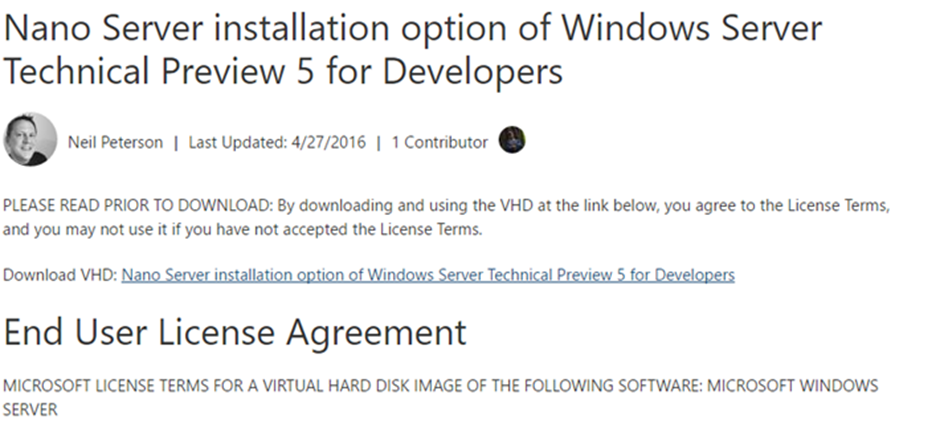
Install And Run Nano Server Technical Preview 5
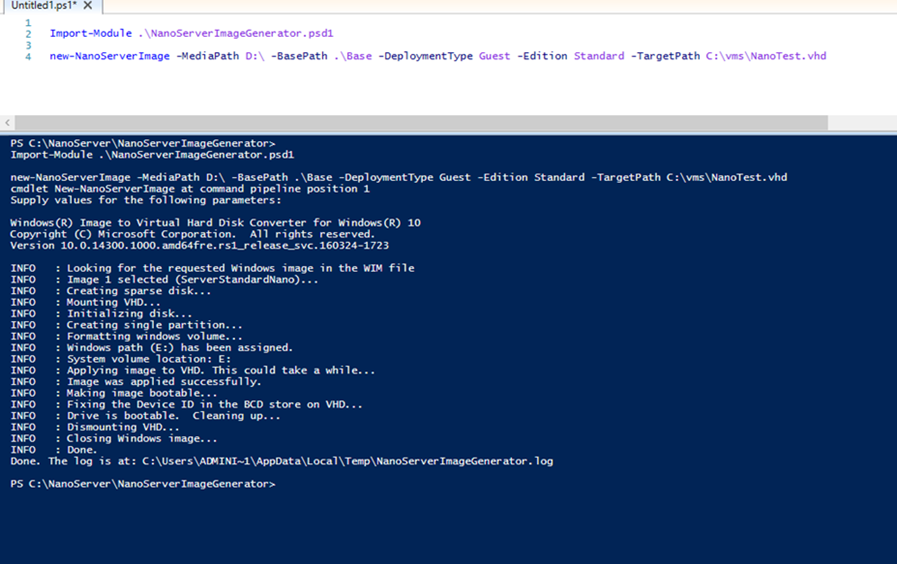
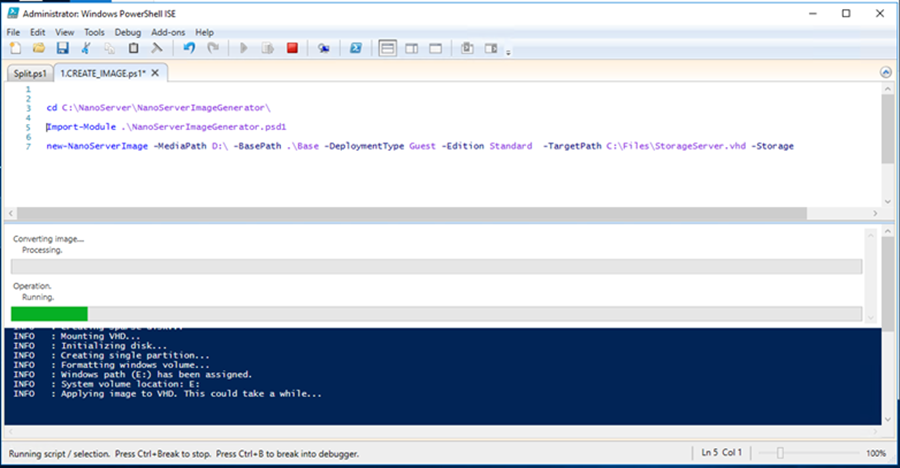
How To Create A Windows Nano Server 2016 Server Image With Technical Preview 5
Step 2, Once you Nano Server Is up and running you will need to set IP address using the recovery console and connect to it using PowerShell or PowerShell direct
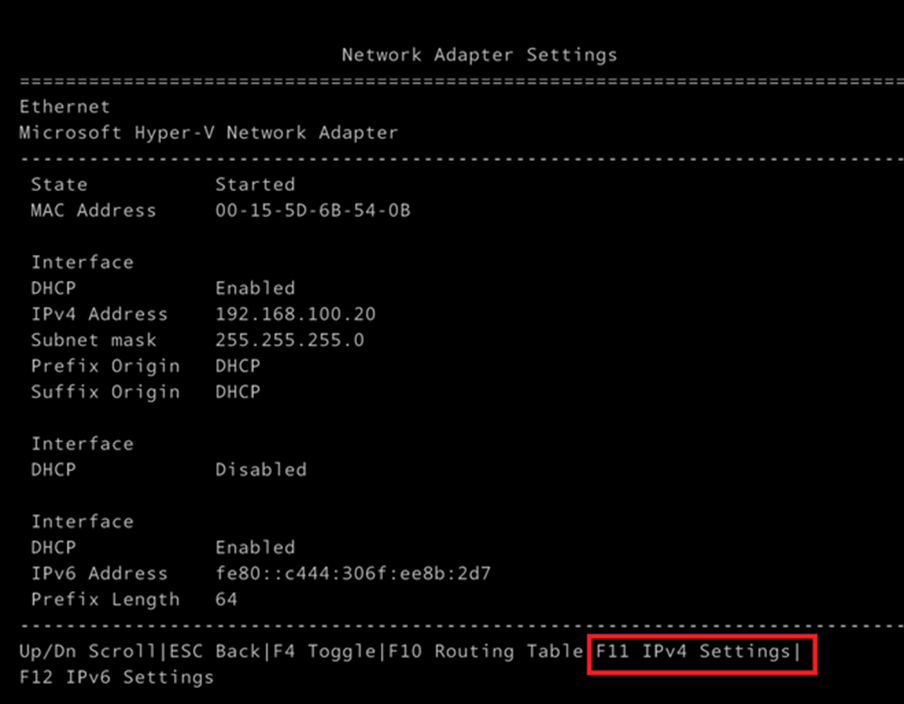
Set Static IP Address Windows Nano Server 2016
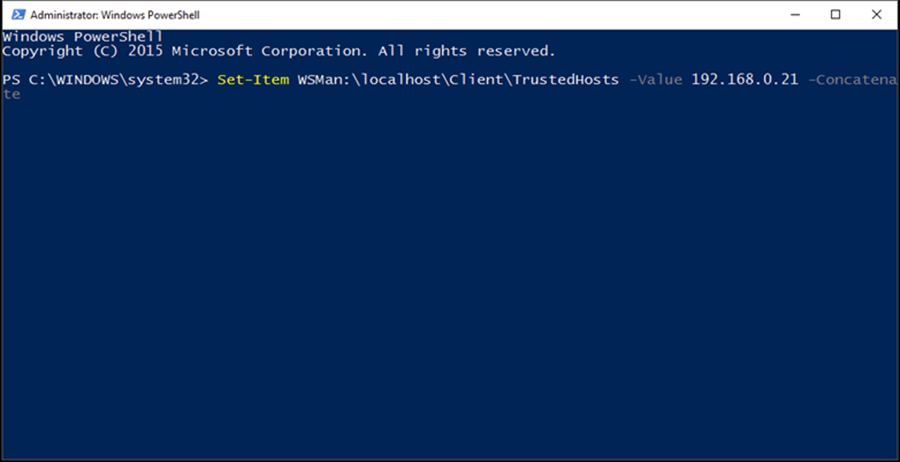
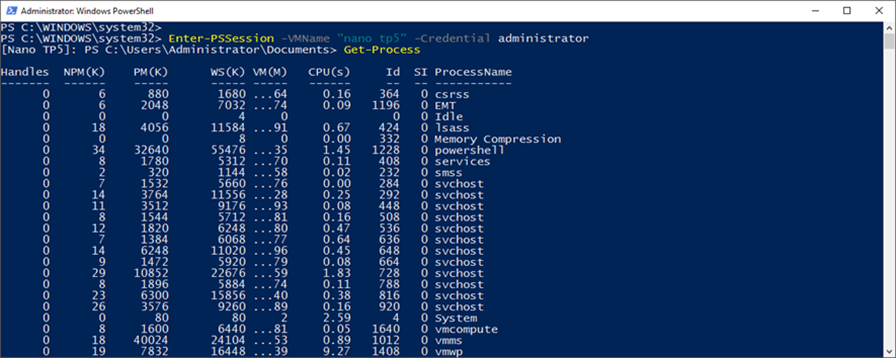
How To Connect To A Windows Nano Server Using PowerShell
Connect To A Nano Server Using PowerShell Direct
Step 3, Join it to the domain, disable the firewall and set the time zone:
Join Windows Server 2016 Nano Server To A Domain
Change Time Zone On Windows Server 2016 Nano Server

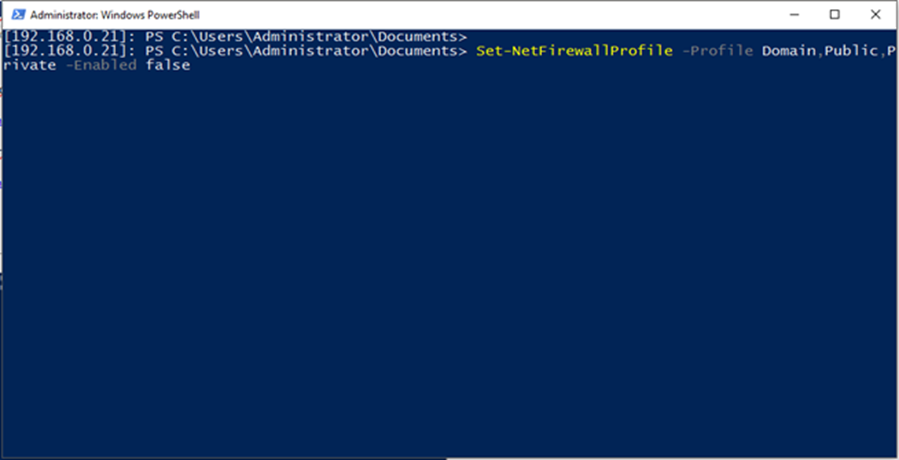
Disable The Firewall On A Windows Nano Server Using PowerShell
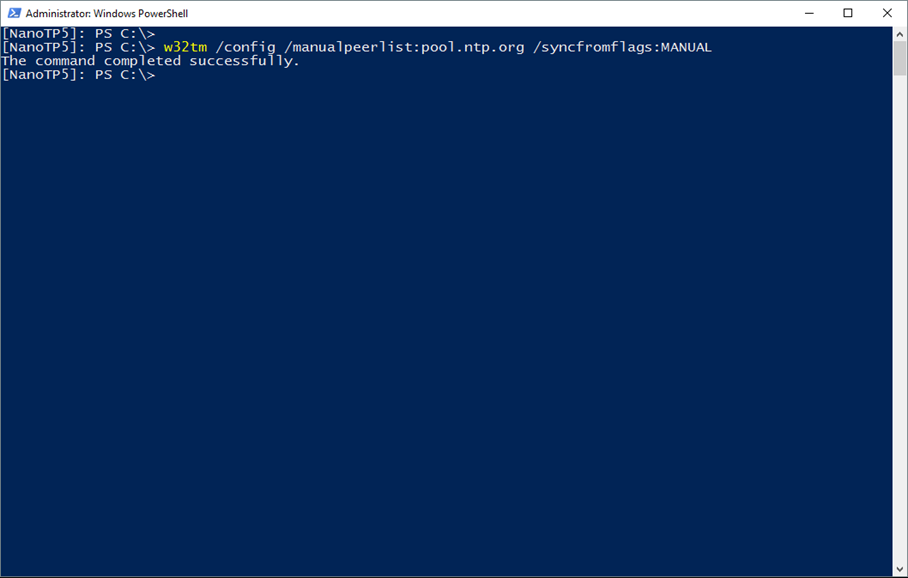
Configure NTP Server Setting On Nano Server 2016
Step 3, once the server is running and accessible you can Install packages and roles:
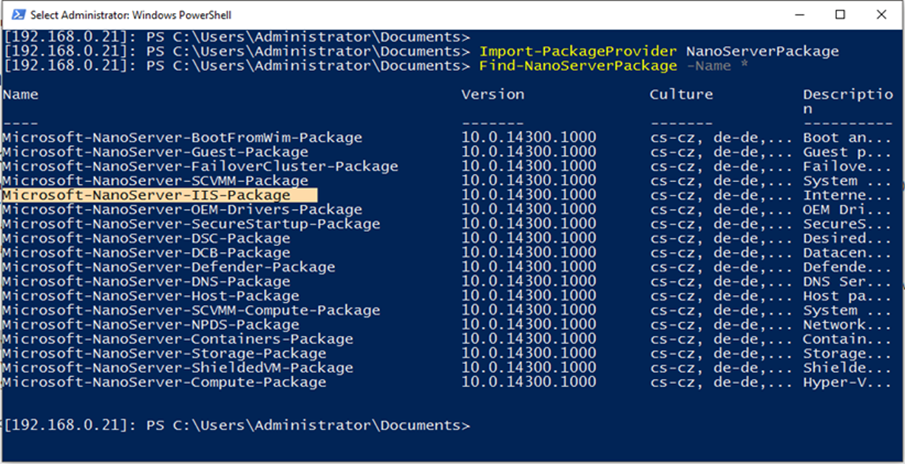
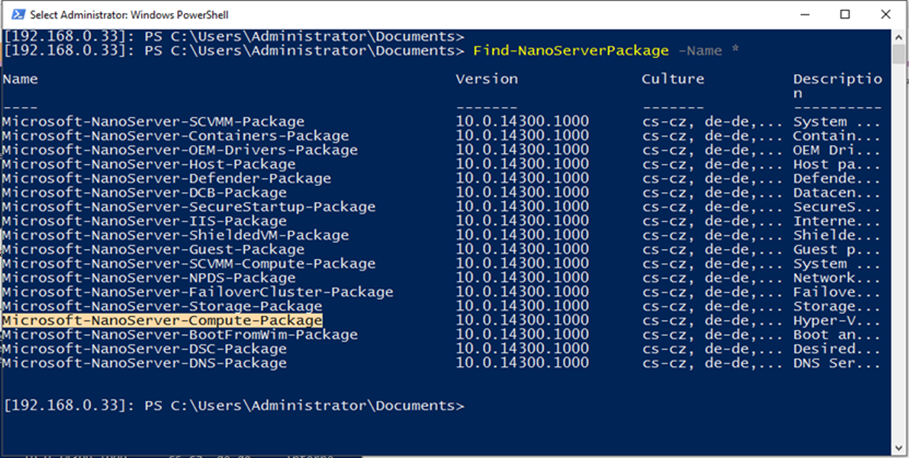
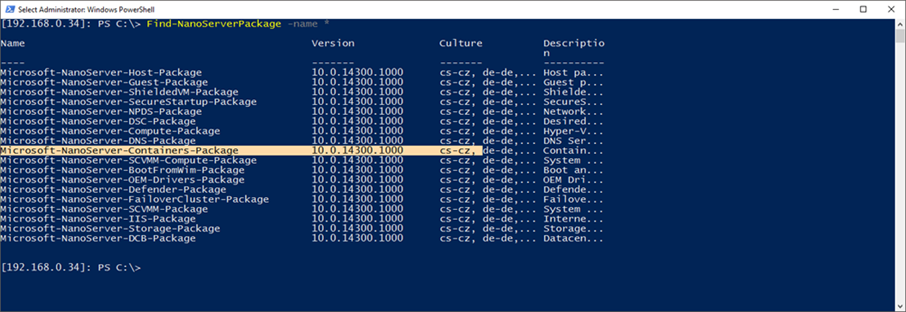
Package Management With Windows Nano Server 2016
To Install Roles use the below articles:
How To Install Hyper-V On Windows Nano Server 2016
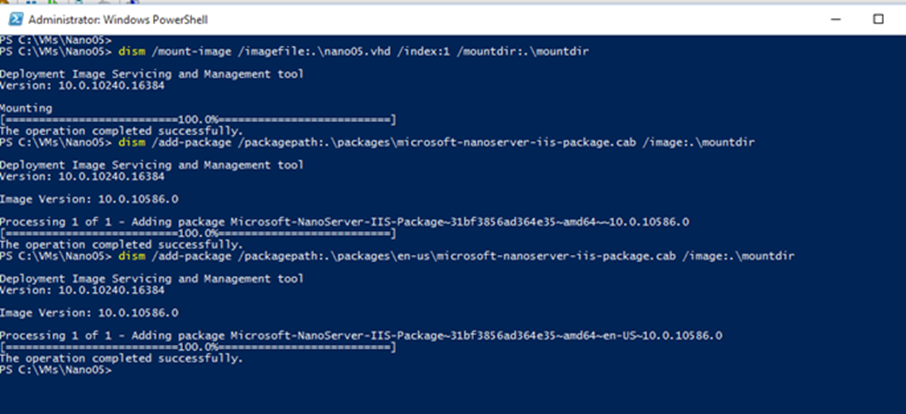
Install And Configure IIS On Windows Server 2016 Nano Server
Install And Configure Windows Nano Server As A Container Host
Add Package To Existing Windows Server 2016 TP5 Nano Server

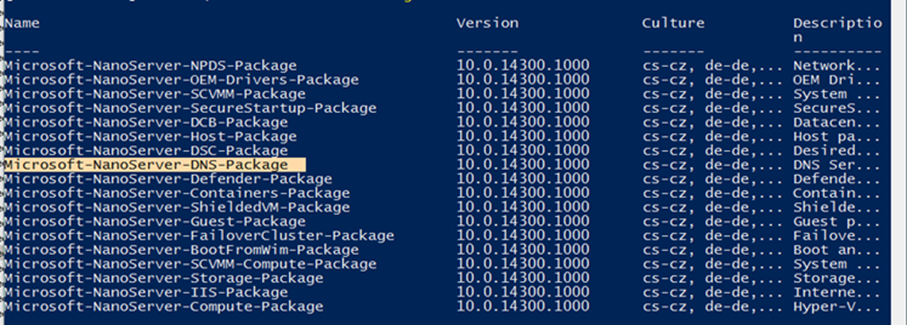
Install DNS Server On Windows Nano Server 2016 TP5
Deploy File Server On a Window Nano Server 2016 TP5
Once you are done and you Nano Server Is up and running visit the Nano Server home page for more articles.
Awesome. Saving this link. Thanks!