In this article, I’ll show you how to Sysprep Windows Server 2016 in order to create a Server Image or a “Gold Image”.
Sysprep Is an essential step when using Windows Deployment Server (WDS), as I’ll show you In the next few articles on the topic when I’ll create a custom Image known as “Gold Image”.
How To Sysprep Windows Server 2016
To Sysprep Windows Server 2016, Log In to a Windows Server 2016 Server and go to:
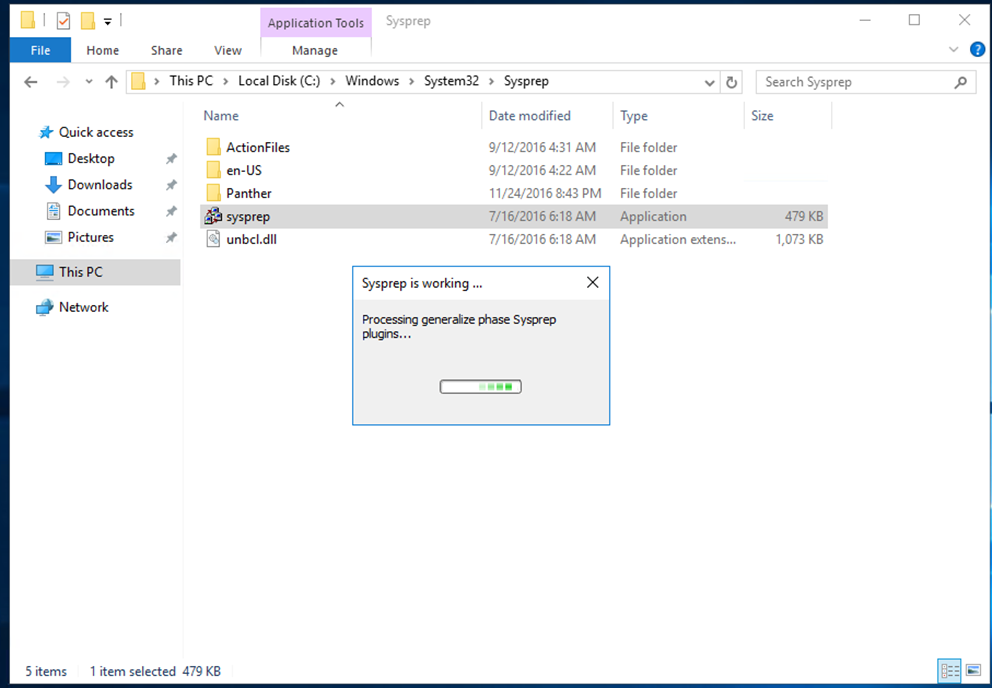
C:\Windows\system32\sysprep
Double Click on Sysprep.exe

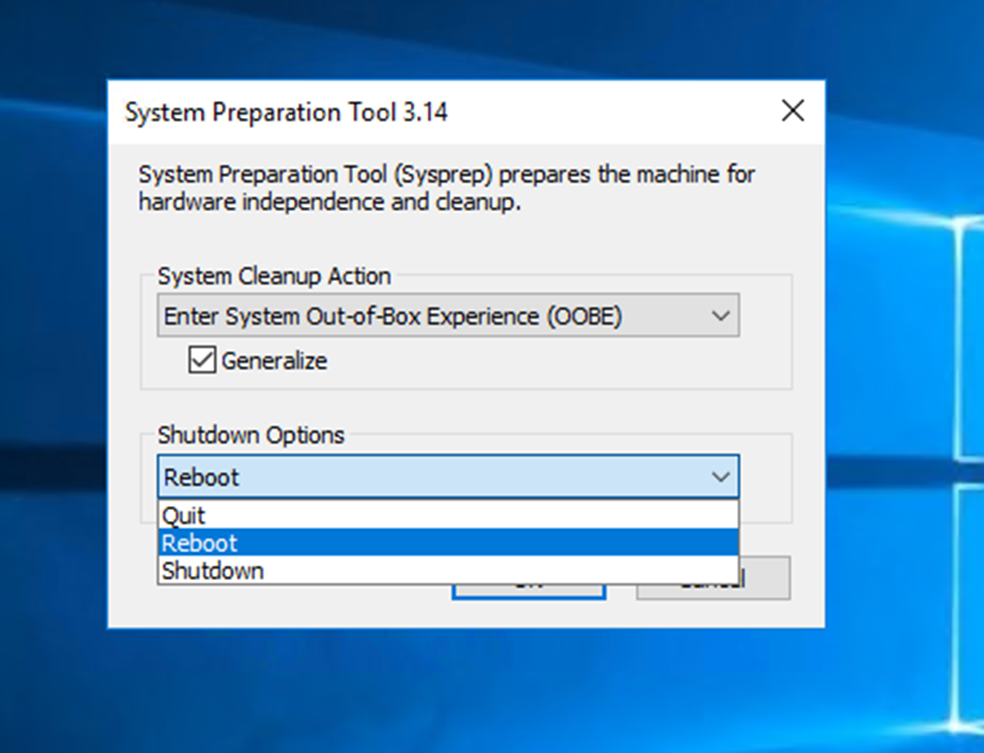
Select the settings as seen below, Use Reboot If you need to boot the Server to a capture Image.
Use Shutdown If using It as a cloned Virtual Machine.
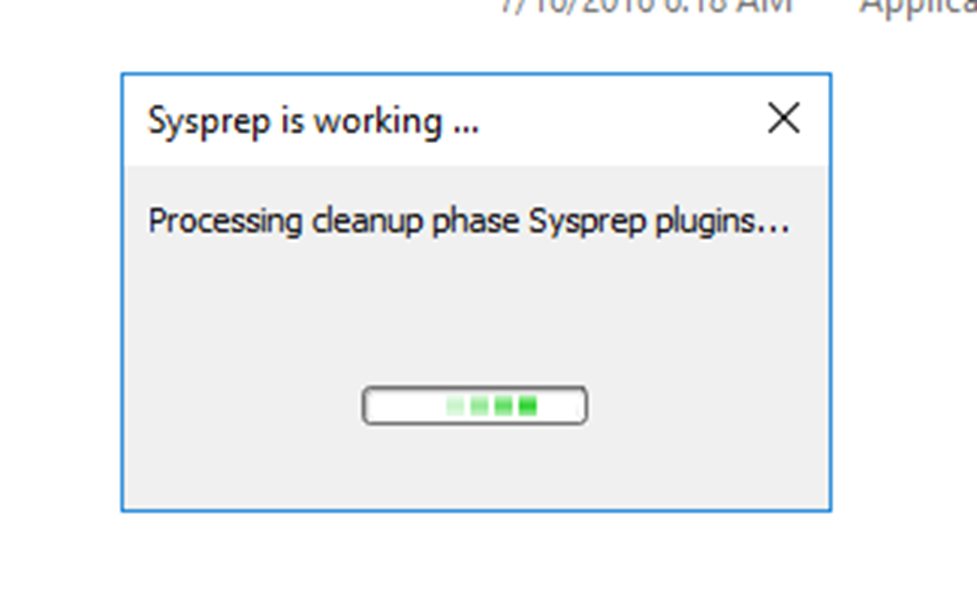
Wait for the process to Finish
It may be useful to know the difference between OOBE and audit mode