In this PowerShell Code post, I’ll show you how to add multiple DNS records From . a CSV file to a DNS server Using PowerShell.
Adding multiple DNS records to a new DNS Zone Is a very common task that can take a long time to complete If we have many records to add manually.
Using a PowerShell script, the task time goes from hours to seconds; in my case, I had to add 200 CNAME and A Records, which took less than a minute to complete.
Add Multiple DNS Records From .CSV File To DNS Server Using PowerShell
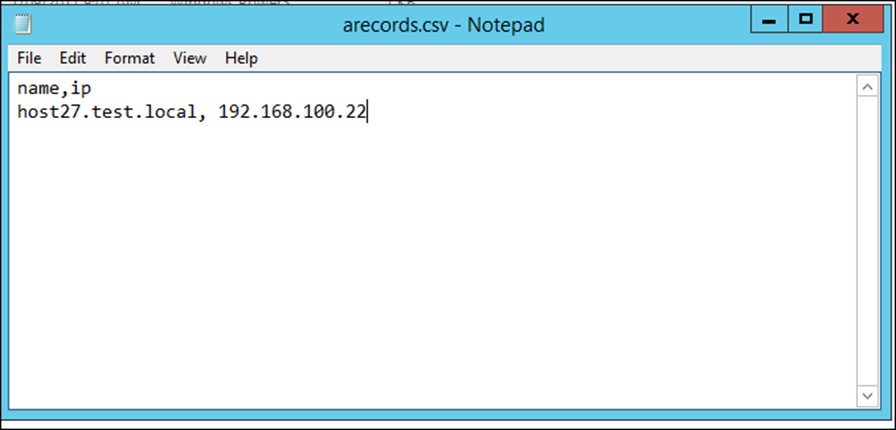
Below, you will see the .CSV file format I’m using to store all the A records (make sure you follow the format)
name,ip

host27.test.local, 192.168.100.22
Next, I Ran the code below from a management machine with the DNS RSAT tools Installed:
Note: Because I’m using a management machine to run the script, I’m using the -Computername switch, If you are running the code from the DNS Server you can remove it.
Don’t forget to change the -ZoneName to the relevant zone
Import-Csv .\arecords.csv | foreach{Add-DnsServerResourceRecordA -Name $_.name -ZoneName test.local -IPv4Address $_.ip -ComputerName DC01 }Next, I’ll show you how to add multiple CNAME records from a .CSV file
Add Multiple CNAME Records
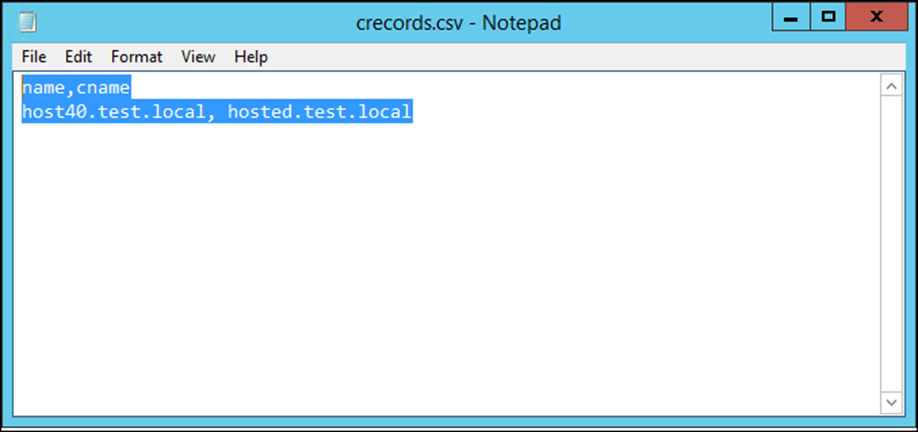
Below, you will see the .CSV file format
name,cname

host40.test.local, hosted.test.local
The PowerShell code below will add the CNAME records from the .CSV file.
Don’t forget to change the -ZoneName to the relevant zone name.
Import-Csv .\crecords.csv | foreach{Add-DnsServerResourceRecordCName -Name $_.name -ZoneName test.local -HostNameAlias $_.cname -ComputerName DC01}
Will this script automatically update the PTR record also?
name, ip
test, 192.168.100.17
test2, 192.168.100.19
this seems to not work for me, i am not sure what i am doing wrong. It will only add the first record but not the second one.
Oddly enough, I add the records and they resolve, but they won’t show in DNS Manager. I tried refreshing, restarting, etc.