In this article, I’ll show you how I Install windows Nano Server 2016 on a Physical Server using the new Nano Server Image Builder tool.
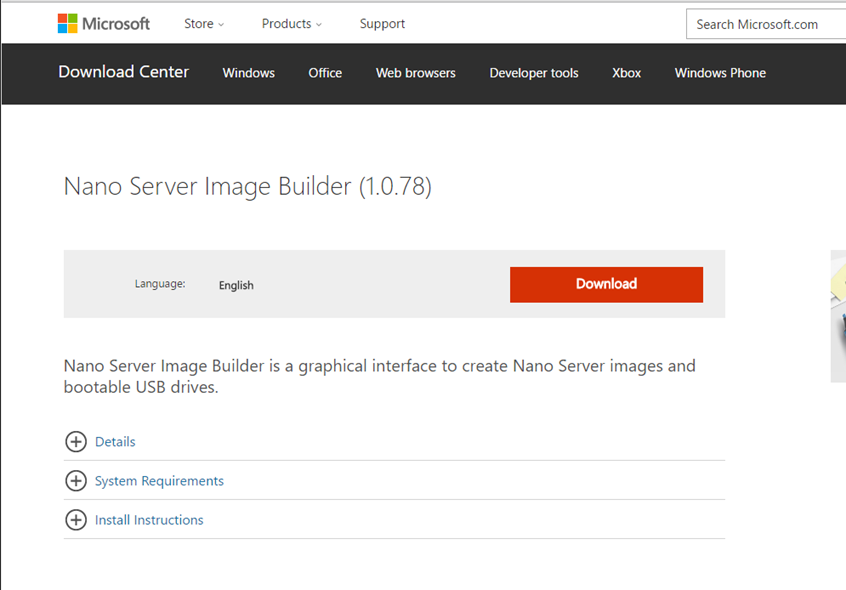
To get started, Download the Nano Server Image Builder and Install It on Windows 10 machine.
https://www.microsoft.com/en-us/download/details.aspx?id=54065
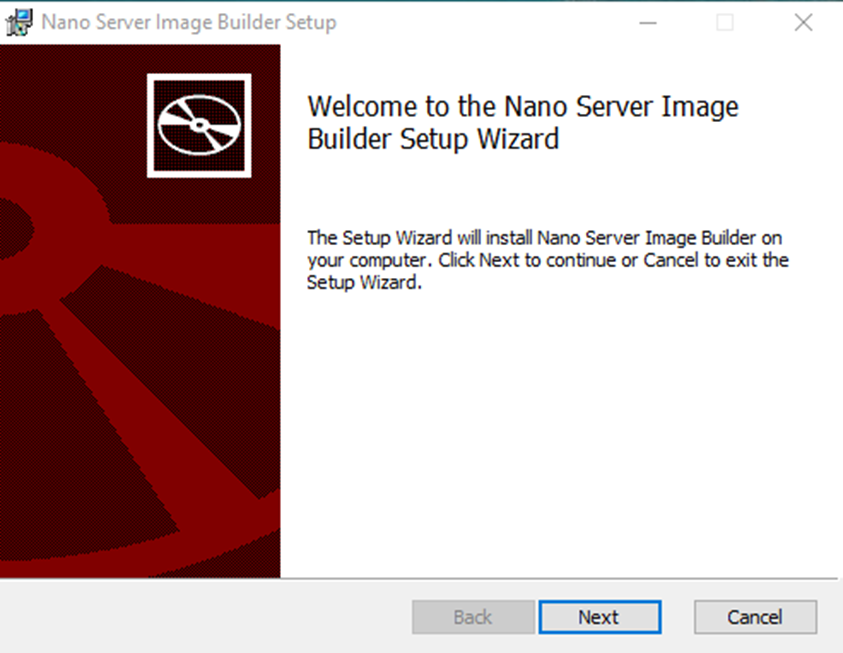
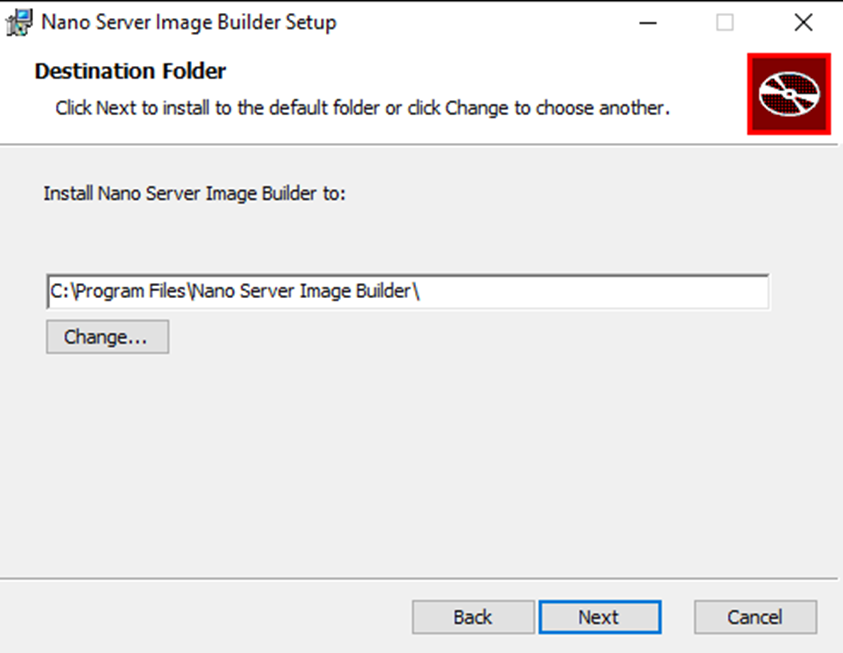
Start the Installation
When done, Start the builder and Install the ADK Kit
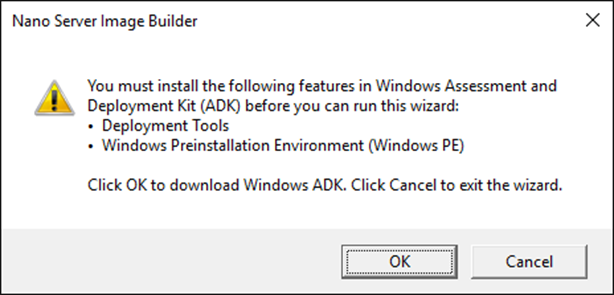
Install ADK
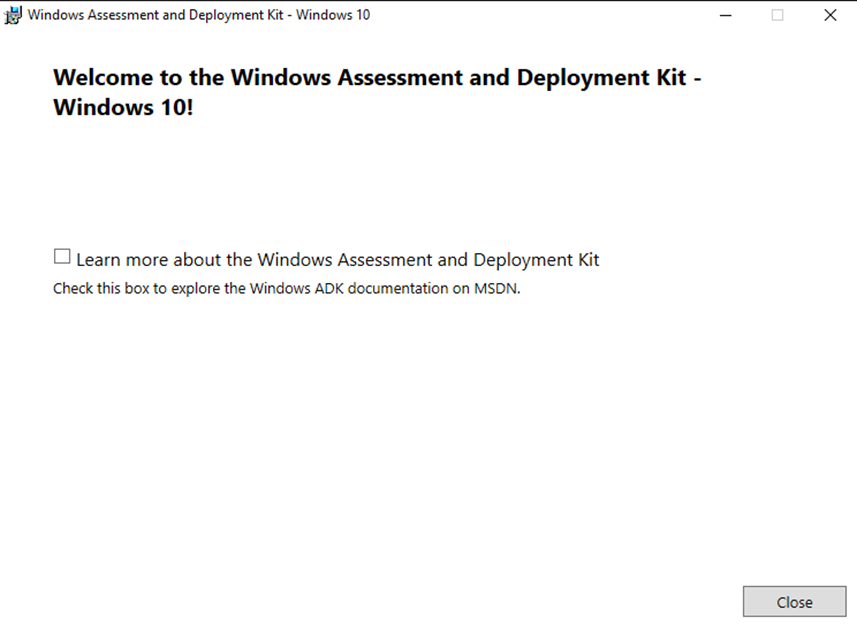
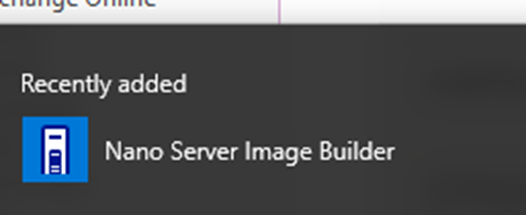
When the ADK Installation Is done, Start the builder again.
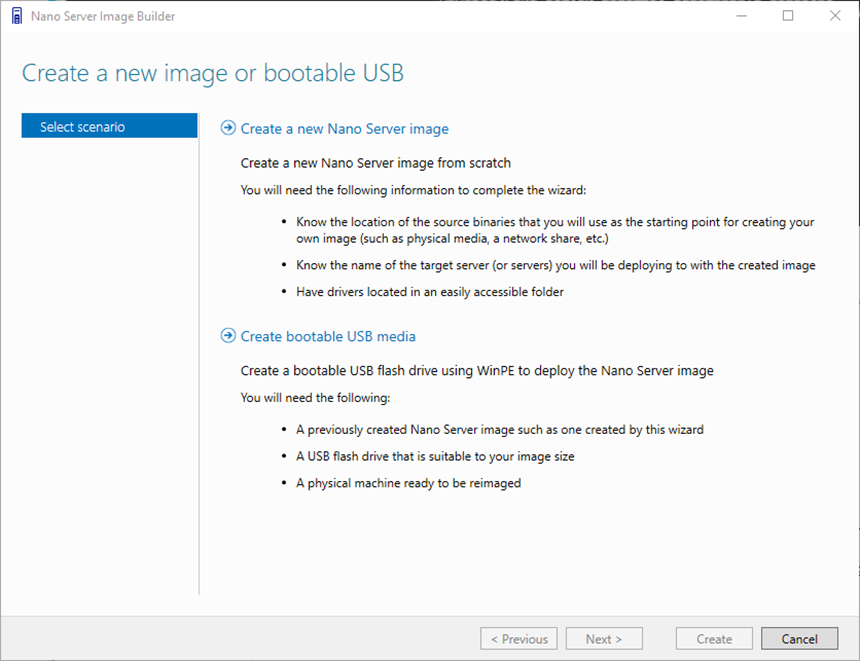
Important: This Is a two steps process.
- Step 1: Create A new Nano Server Image
- Step 2: Create Bootable USB Media
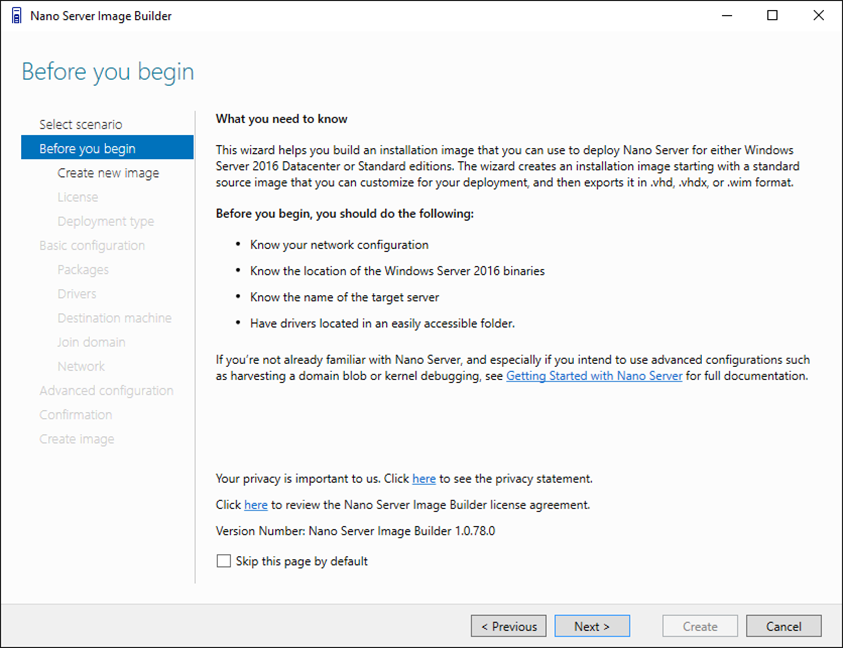
I will start with Step 1: Create New Nano Server Image
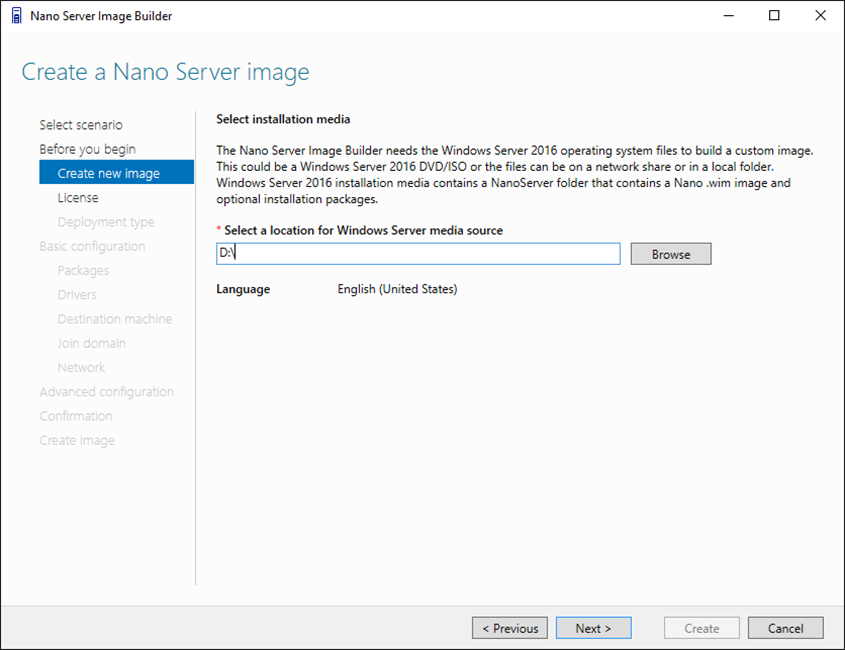
Load Windows Server 2016 ISO and select It
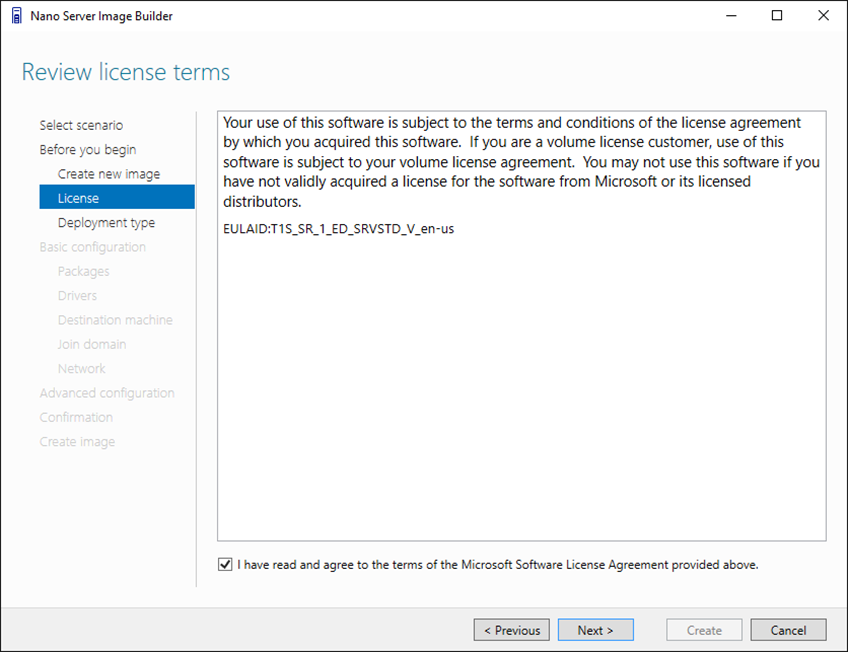
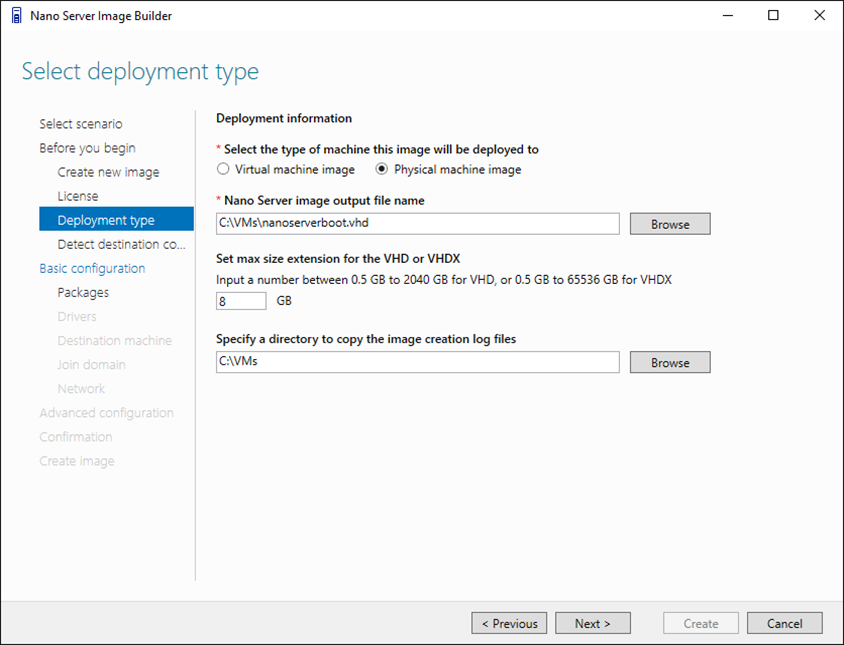
Select Physical Machine Image and specify Directory to save (needed for step 2)
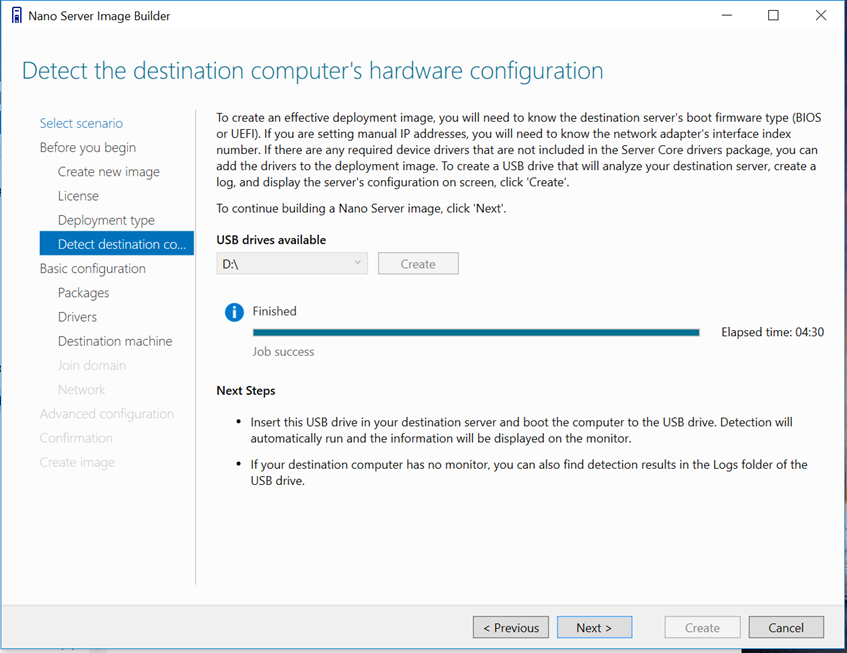
Insert USB drive to create bootable analyse tool to check If you can Install Nano Server on the Physical Server
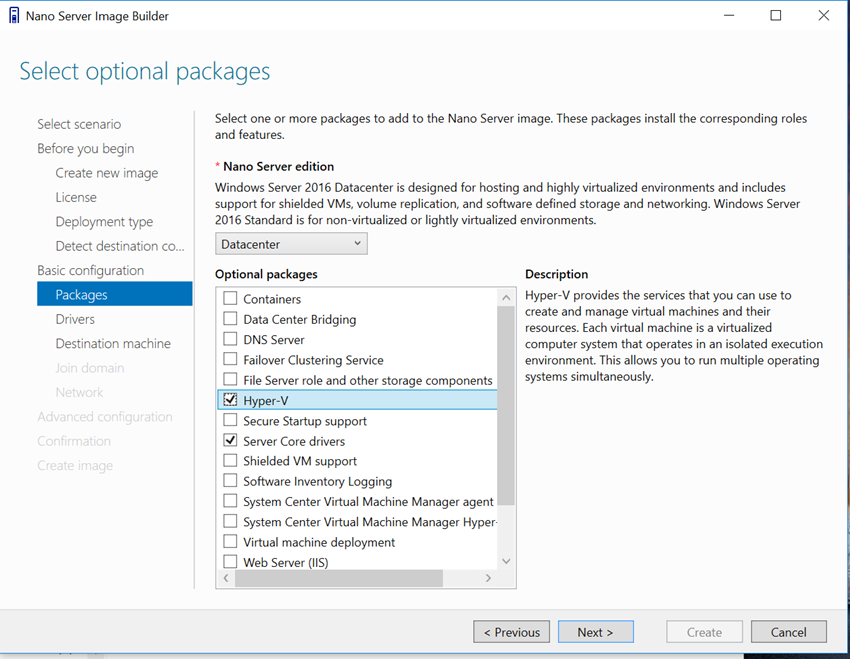
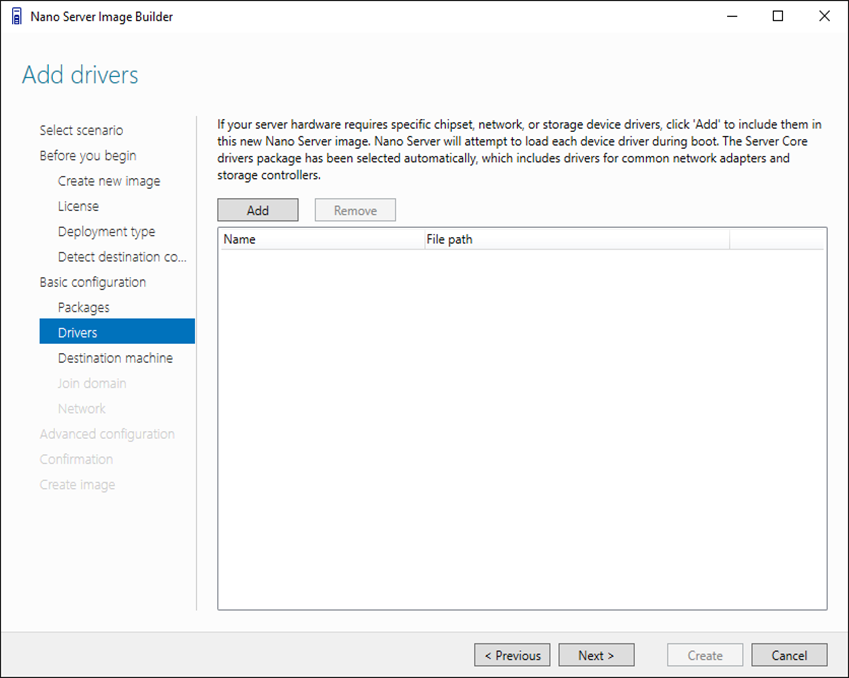
Add drivers If needed
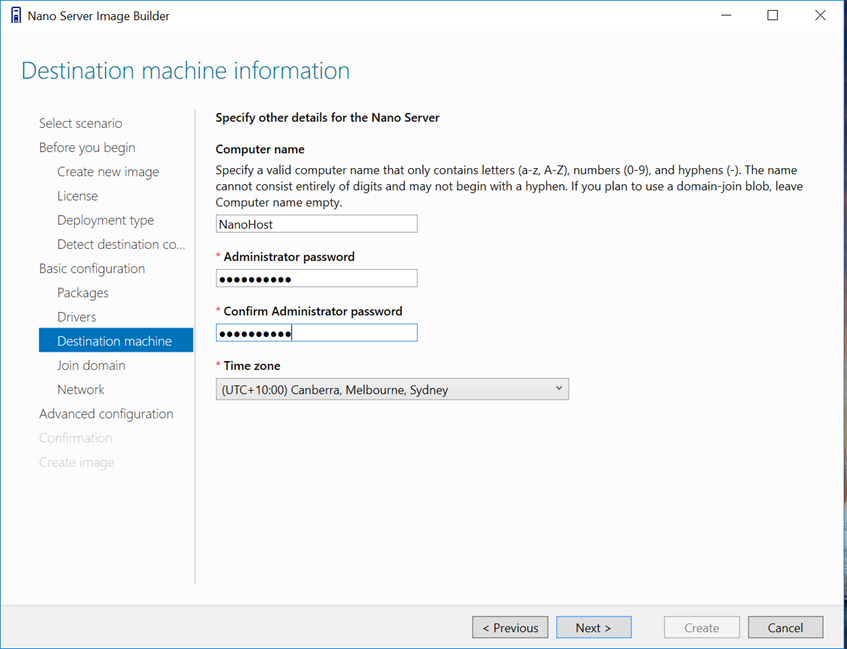
Set server admin password
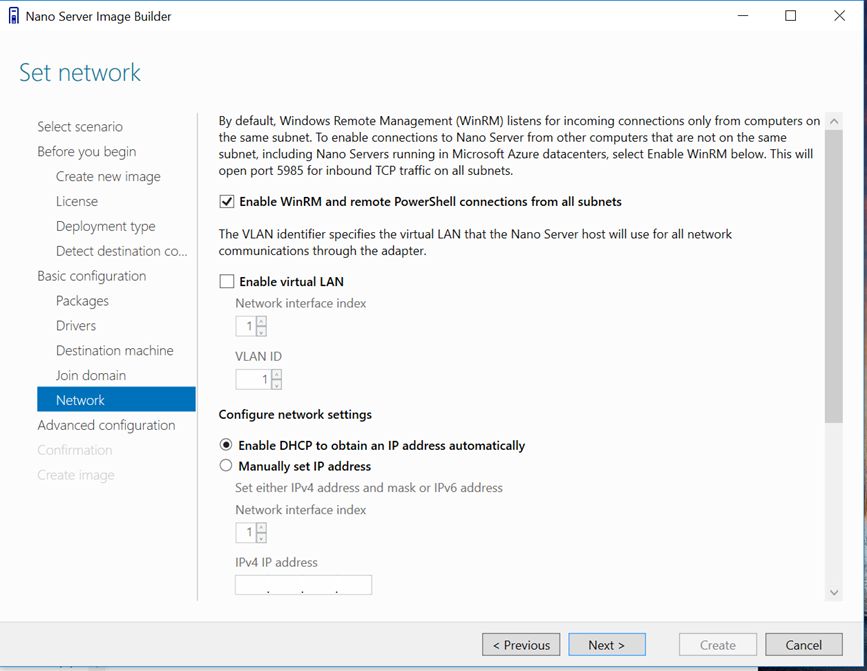
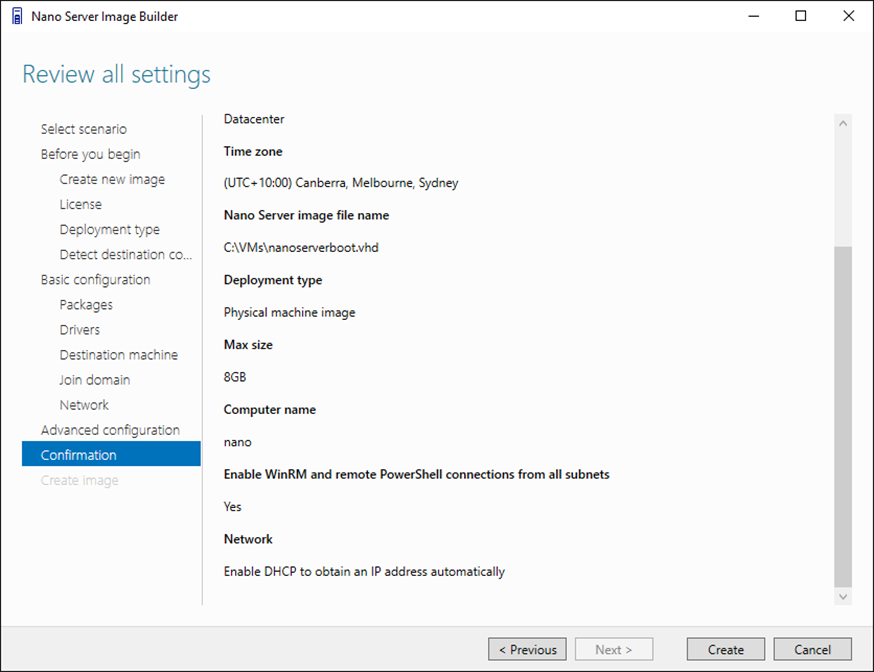
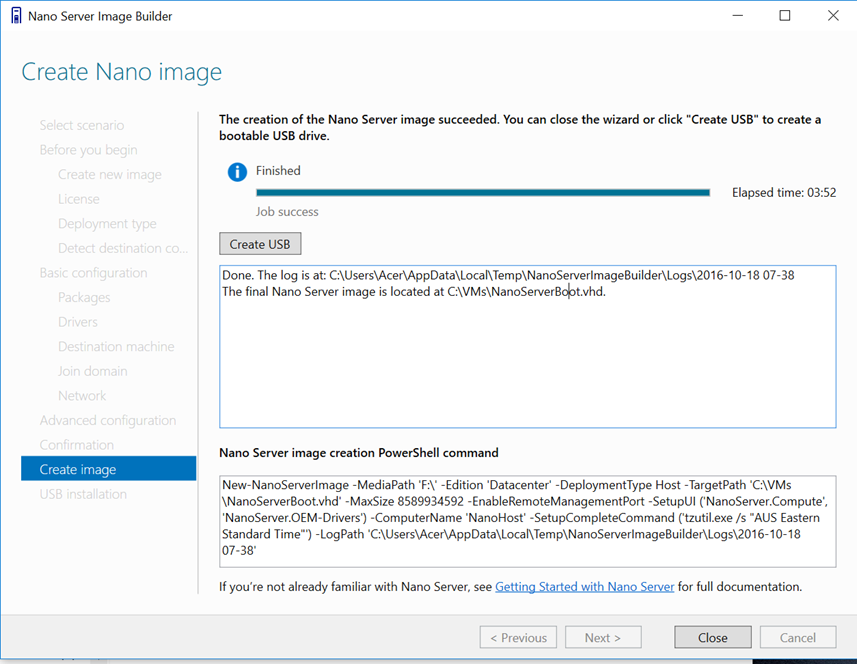
Step 2:
In this step I’ll create a bootable Nano Server Image and load It on a Physical Server
Start the builder
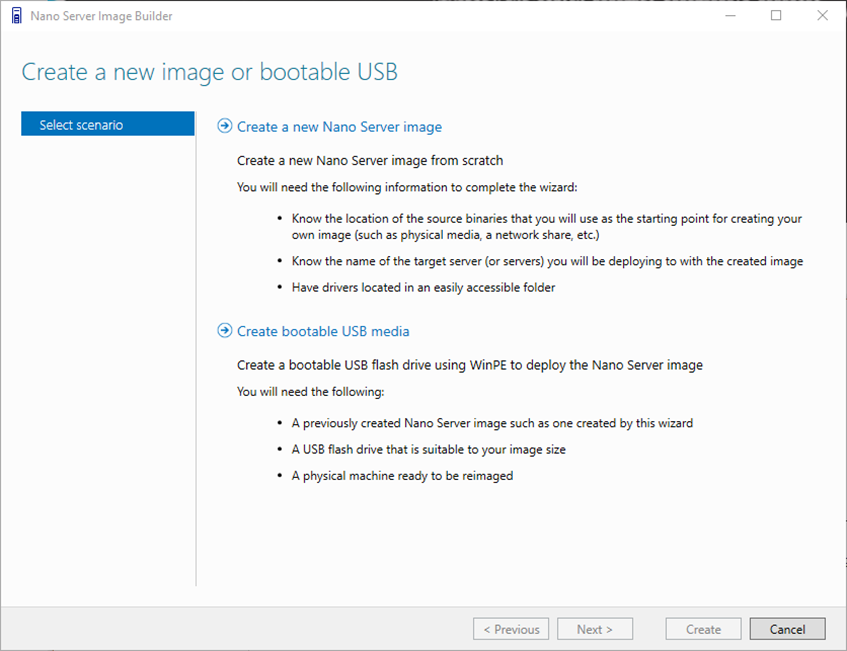
Select Create Bootable USB Media
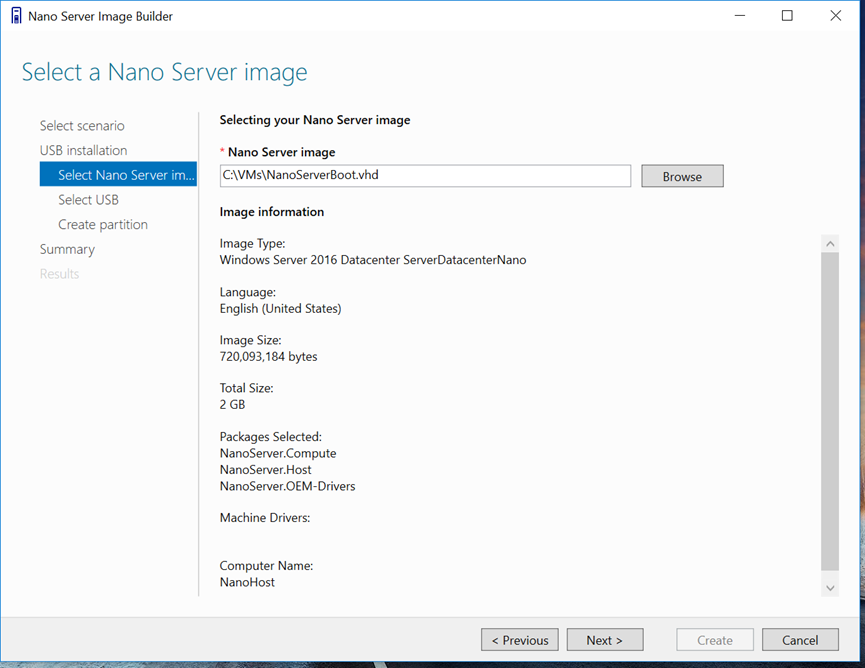
Select the Image from Step 1:
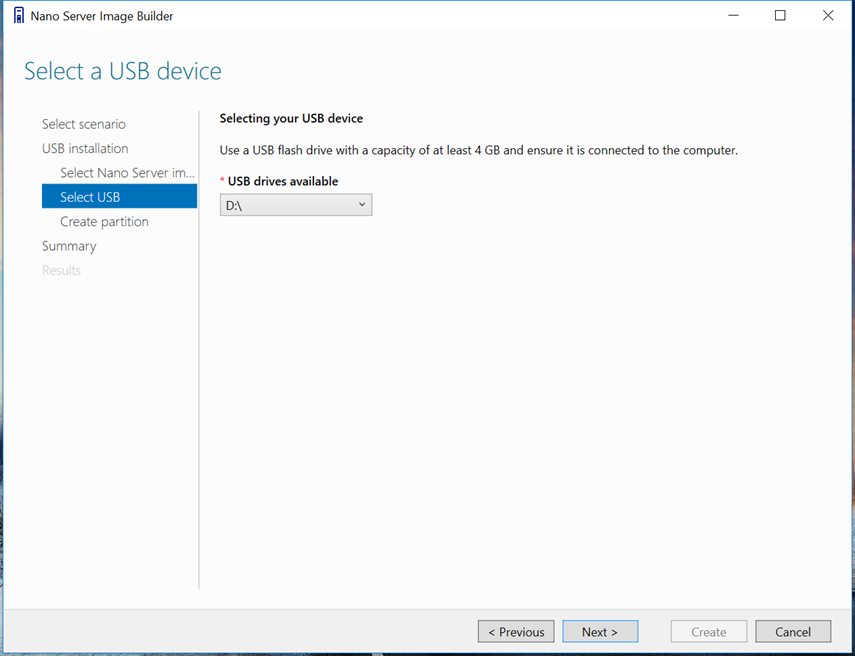
Select USB Device
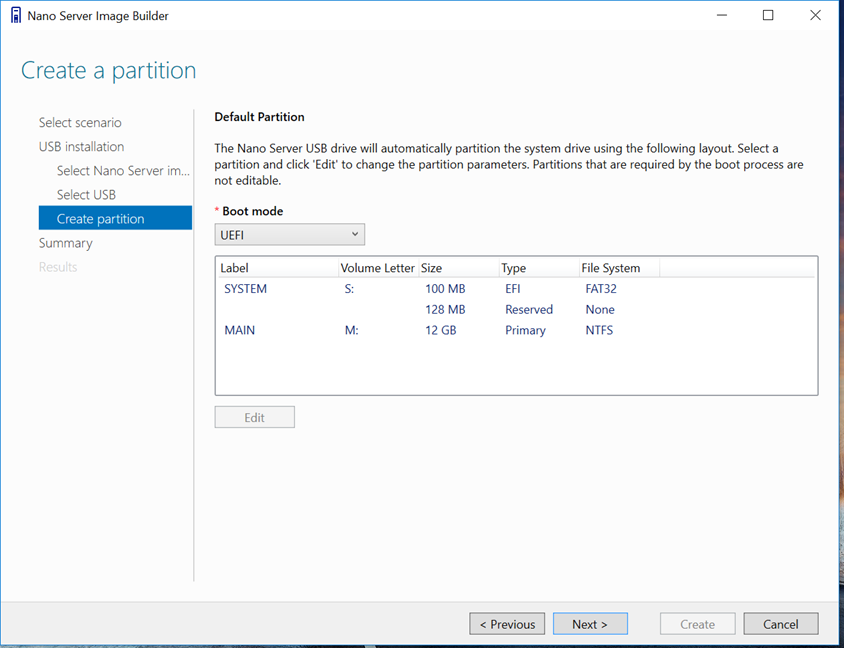
Next
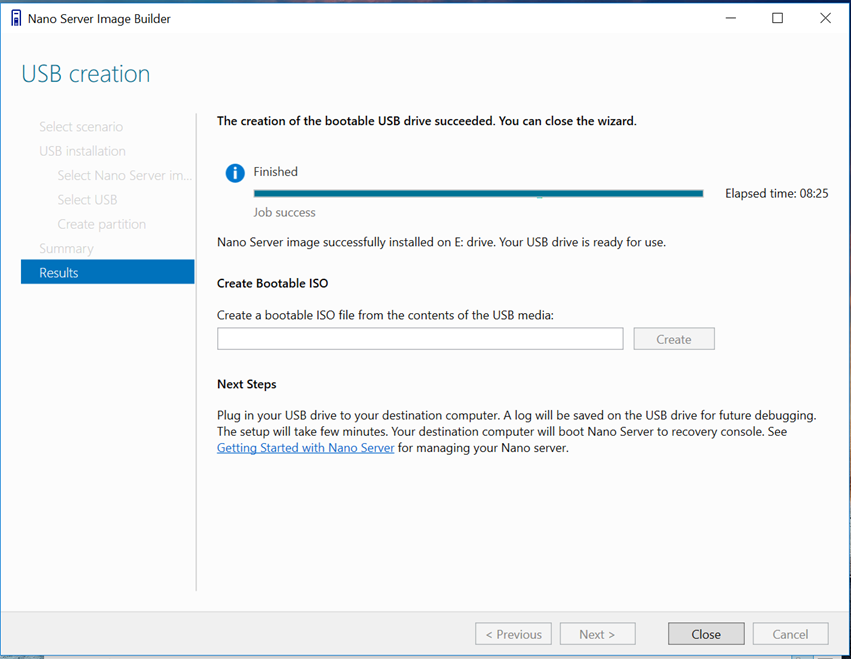
Done
Note: You can also create an ISO Image and burn It on a CD \ DVD and Boot from it.
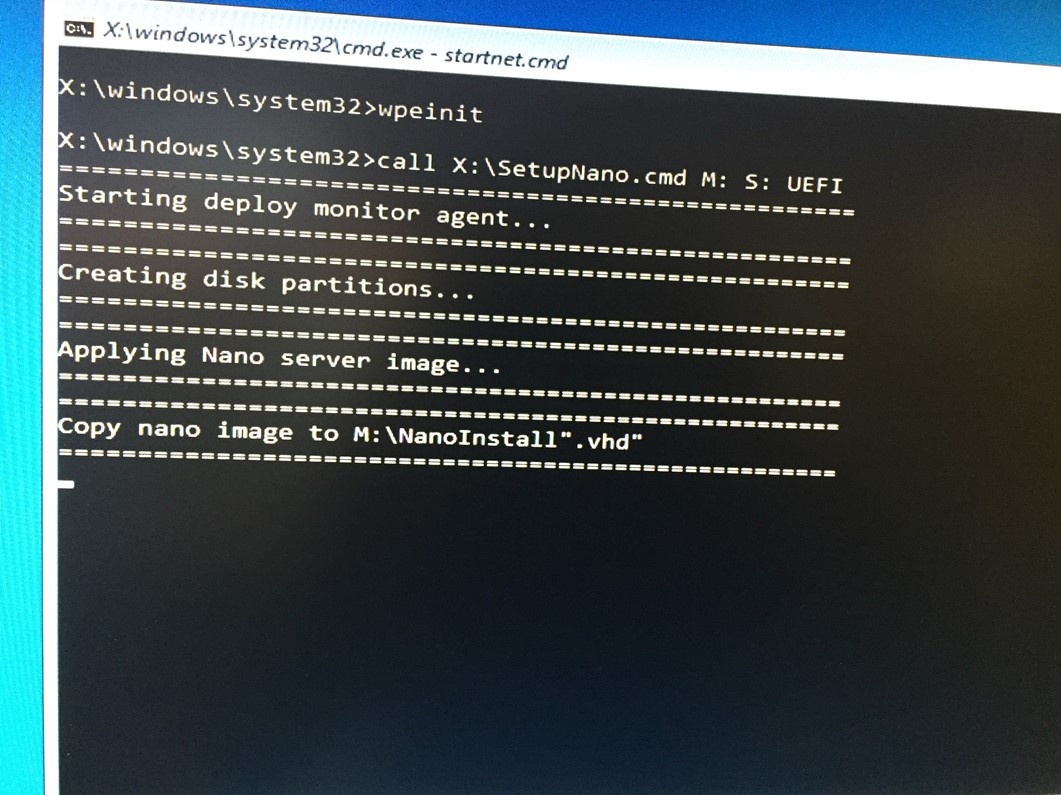
Insert USB key to Server and boot
Next, I’ll Install the Hyper-V role.
Before you continue with Installing any roles, I recommend you configure the basic stuff below like IP, DNS, Firewall, and Anti-Virus:
- How To Connect To A Windows Nano Server Using PowerShell
- Set Static IP Address Windows Nano Server 2016
- Set DNS Servers IP Addresses On Windows Nano Server 2016
- Disable The Firewall On A Windows Nano Server Using PowerShell
- Join Windows Server 2016 Nano Server To A Domain
- Manage Disk Space Windows Nano Server 2016
- Install Windows Defender AntiVirus On Windows Nano Server 2016
- Install Hyper-V On Windows Nano Server 2016
Please visit our Nano Server 2016 page for more than 80+ articles about Nano Server.