In my forth article today I’ll show you how I add and verify a Domain to Office 365 using PowerShell In a few cmdlet which help streamline the entire process and not using the Portal.
To get started you will need to first find out your Office 365 TenantID and Install the Windows PowerShell Module for Office 365 using my previous articles.
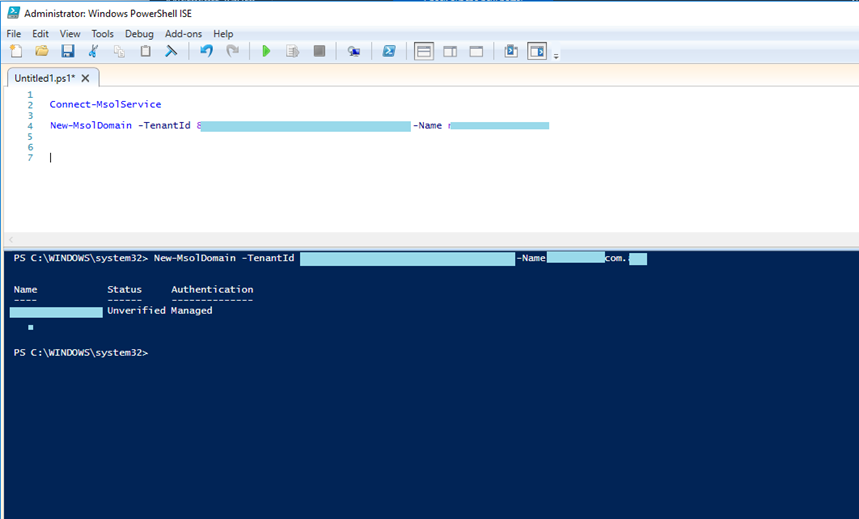
Using the cmdlet below, I’ll connect to service with my Office 365 Global Admin account.
Connect-MsolService
In the cmdlet below, I’ll add the new domain:
New-MsolDomain -TenantId 89XXXX-7xxxcds-b8dfdf-5c6fdsfsf8733 -Name newdomin.com
The cmdlet below, will generate a TXT DNS record for verification In the domain’s DNS zone:
Get-MsolDomainVerificationDNS -TenantId ddXXXX-7xxxcds-b8dfdf-5c6fdsfsf8733 -Name newdomin.com
Copy the value next to the label entry:

Once added run the cmdlet below to verify that the TXT records exist and complete the process.
Confirm-MsolDomain-TenantId 89XXXX-7xxxcds-b8dfdf-5c6fdsfsf8733 -Name newdomin.com
