This article will show you how to use a Microsoft Azure Storage File Service as a Mapped drive Inside a Windows server 2016 running Inside Azure cloud.
In this article I’m using a Windows Server 2016 TP4 but you can also use Windows Server 2012, If you need to run this on a Windows 10 check this article.
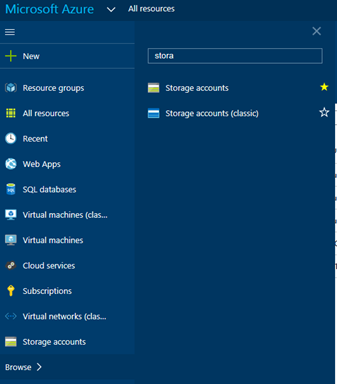
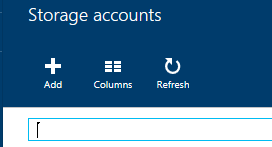
To start create or use existing storage account Inside Azure, In my case I’m creating a new one from the portal but this is also possible from Azure Storage Explorer as I showed previously,
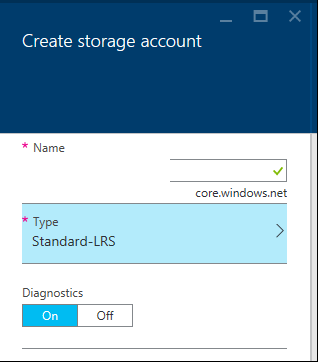
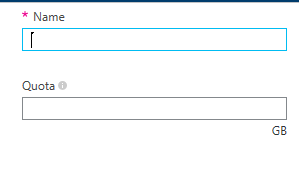
Name the Storage account
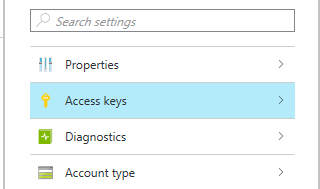
When completed I copy the Access Key from the storage account.
The Access Key Is the password that allows you to connect to the Storage Account (each storage account has two Access Keys).
Next from the storage account properties I create a File Share that I will map from my Server.
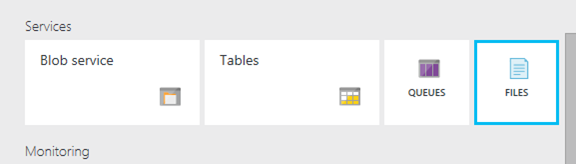

Once the file share Is created, From my Windows Server 2016 I go to Computer -> Map Network

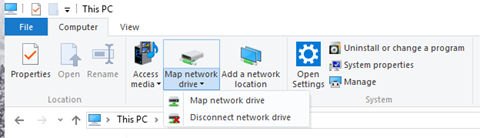
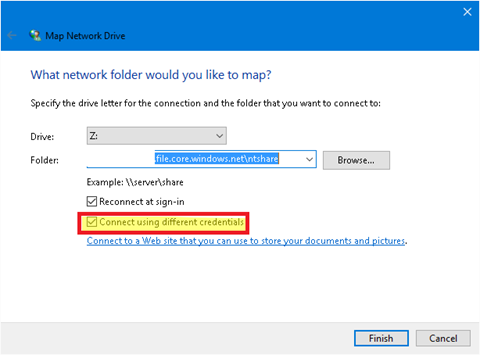
Select Drive and In the folder name I type the address of the File Share (you can find this under the File Service properties)
Tick the box Connect using different credentials
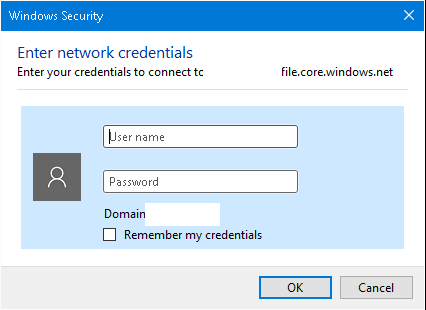
Once done, you will see the new Drive mapped under Computer
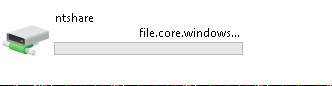
You can also use the command line below:
net use Z: \\storageaccount.file.core.windows.net\ntshare /u:storageaccount accesskey==