This guide will show you how to install the Office 2013 Administrative Template on a DC and configure group policy based on the template.
Before you start click below for:
- Deploy Administrative Templates
- Install Office 2013 Administrative Templates
- Implement Central Store Group Policy
- Install Windows 10 Administrative Templates
- Install Windows Server 2016 TP5 Administrative Templates
- Install Internet Explorer 11 Administrative Templates
To start, First download Office 2013 ADMX files from the link below:
http://www.microsoft.com/en-au/download/details.aspx?id=35554
Extract the files to a folder
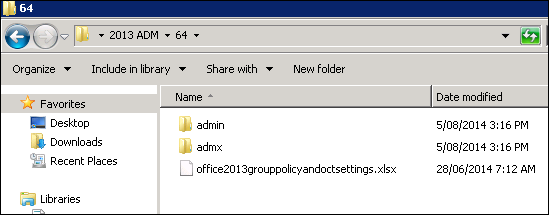
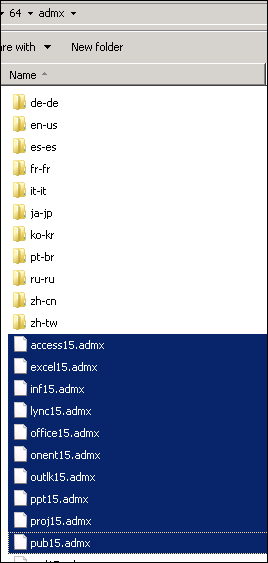
Copy the ADMX files inside the folder and paste them to
C:\Windows\PolicyDefinitions
If you are using a Central Store the location will be In the SYSVOL folder under your domain root.
\\yourdomain.local\SYSVOL\TEST.LOCAL\Policies
Next copy the language files inside the EN-US folder and paste them to
C:\Windows\PolicyDefinitions\en-US

If you are using a Central Store copy thde the language files to the SYSVOL folder:
\\yourdomain.local\SYSVOL\TEST.LOCAL\Policies\en-us
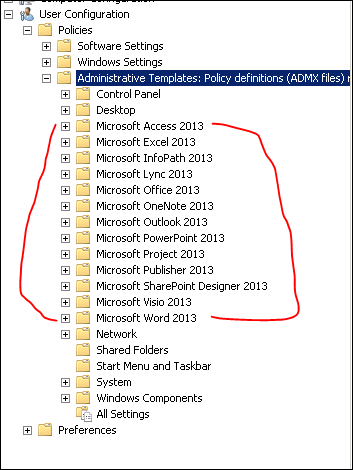
Open Group Policy editor -> Administrative Templates and you will see the Office 2013 policy templates
Don’t forget to Backup your policies before making changes.
Comments
4 responses to “Question: How To Install Office 2013 Administrative Template files (ADMX/ADML)”
Great tutorial. I did accordingly and it worked. Thank you.
This was good. One thing you did not specify is the difference between 32 bit and 64 bit. Use 32 bit if the clients are using 32 bit office.
Fantastic tutorial, have now managed to add the ADMX files.
One other thing (apart from Tyler!) is to make sure the ADML files are also copied across. Microsoft have now bundled them together and they don’t work separately
What if you have clients running both 32 and 64 bit Office applications? When extracting the files they appear to have the same exact names so it would seems that if you installed the 32 bit files and then the 64 bit files, you would overwrite the 32 bit files.