In this Azure DevOps and Terraform blog, we will set up a self-hosted agent to deploy Terraform infrastructure.
Using a self-hosted agent has several benefits over using an Azure-managed agent. One of them is that it allows longer run time and quicker deployment time, as there is no need to reinstall tools every time a job starts.
The process to deploy a self-hosted agent for Terraform is as follows:
- Deploy Virtual Machine in Azure, local DC, or a different cloud provider
- Create an Agent pool
- Install agent software
- Configure pipeline to use self-hosted agent
Create Agent pool
The first step in our process is to create an Agent pool using the following steps.
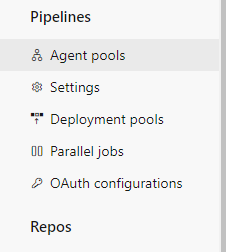
Open Organization Settings from the Azure DevOps console
Click on Agent Pools
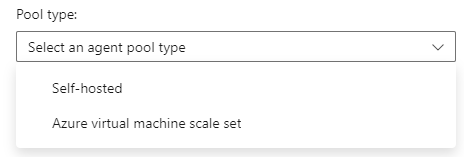
Click on Add pool

Select Self-Hosted pool from the Pool type drop-down menu
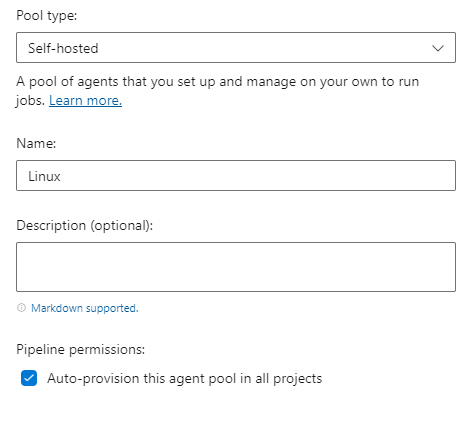
Give the pool a name.
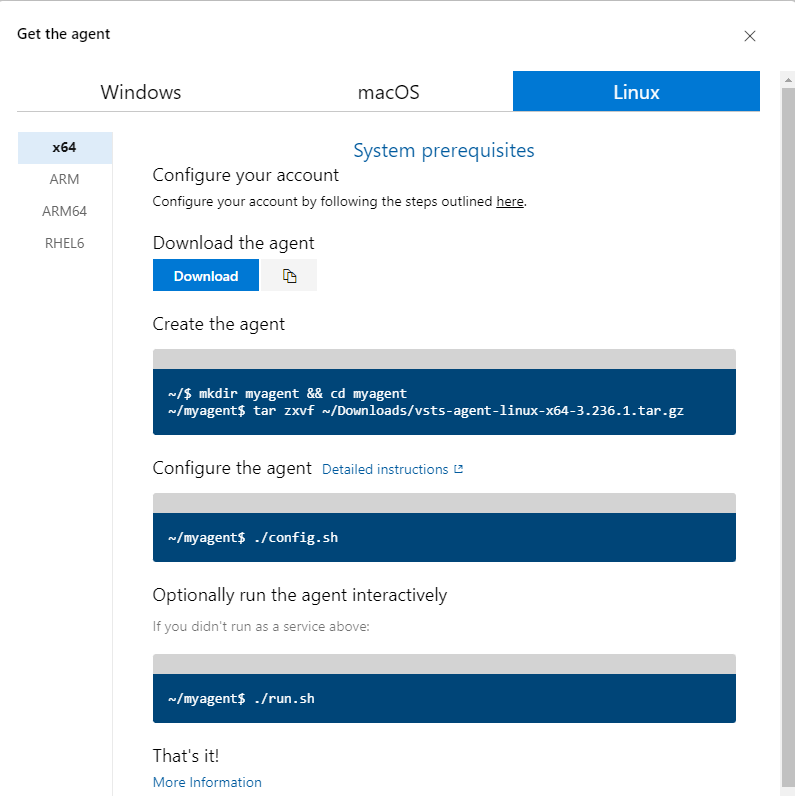
Click “New agent” to add a Virtual Machine to the pool of agents.
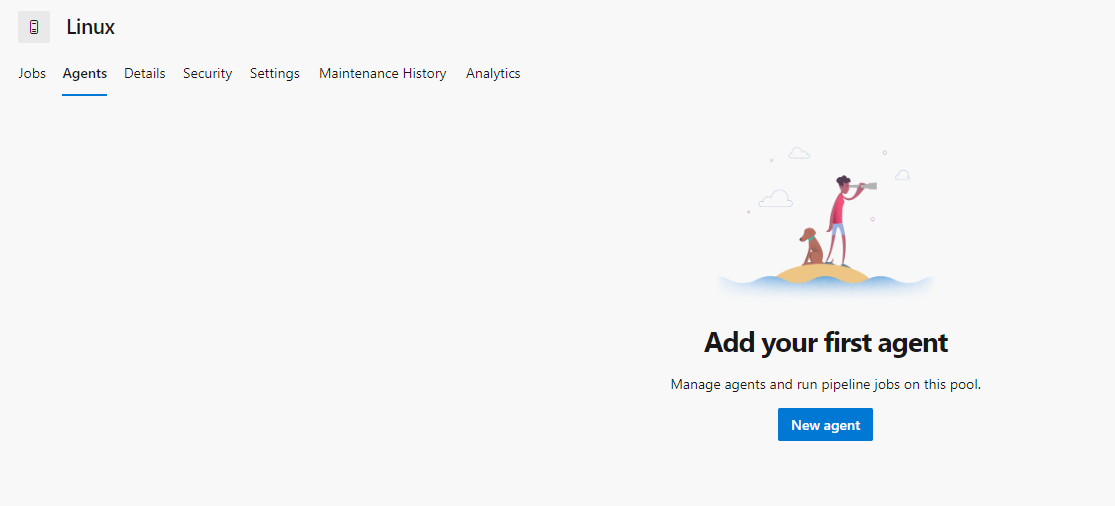
The “Get the Agent” page will list all the commands necessary to install the agent. Simply run these commands on your Agent VM.
Configure Service
To ensure that the agent is running as a service and is always online, you need to configure the service accordingly. To do this, use the following commands and follow the prompts. Please note that you will require a PAT (Personal Access Token) from the Azure DevOps portal to configure the service. Run these commands from the folder where the agent is installed.
Note: You will need a PAT from the Azure DevOps portal to configure the service.
From the agent installation folder, run the following commands and follow the prompts.
 ./svc.sh status
./svc.sh install
./svc.sh status
./svc.sh start
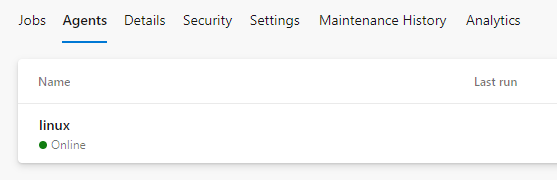
If successful, you will notice that the agent status has changed to Online and it is now ready for deployment.
Install Terraform
To install Terraform on Ubuntu Linux VM run the following commands.
sudo apt-get update && sudo apt-get install -y gnupg software-properties-common
wget -O- https://apt.releases.hashicorp.com/gpg | \
gpg --dearmor | \
sudo tee /usr/share/keyrings/hashicorp-archive-keyring.gpg > /dev/null
gpg --no-default-keyring \
--keyring /usr/share/keyrings/hashicorp-archive-keyring.gpg \
--fingerprint
echo "deb [signed-by=/usr/share/keyrings/hashicorp-archive-keyring.gpg] \
https://apt.releases.hashicorp.com $(lsb_release -cs) main" | \
sudo tee /etc/apt/sources.list.d/hashicorp.list
sudo apt update
sudo apt-get install terraform
Pipeline configuration
And lastly, change your pipeline pool to point to the new agent pool by using the following code.
pool:
 name: Linux