Managing Microsoft 365 using PowerShell can save time and effort and benefit from using automation to run daily and repetitive tasks.
With so many existing and new M365 services comes the challenge of managing all the tools and PowerShell modules needed to manage Microsoft 365 and keep them up to date.
One available option is using Azure Cloud Shell from the web portal or use Windows Terminal and connect to Cloud Shell. However, many Microsoft 365 tenants don’t have access to Azure Cloud Shell simply because they don’t have an active Azure subscription which prevents them from using it.
Cloud Shell Docker Image
Because of the above reason, Microsoft has made the same Azure Cloud Shell Docker image that runs the service available for download to a local machine and runs it as a Docker image.
I like the idea and use it because it allows me to deploy a container from the image connect to an M365 tenant and, on exit, delete the container. It gives me an extra layer of security and I don’t need to worry about installing all kind of PowerShell module on my machine.
Download Image
Open a command-line terminal and download the image using the docker pull command to get started with the Azure Cloud Shell image.
docker pull mcr.microsoft.com/azure-cloudshell:latest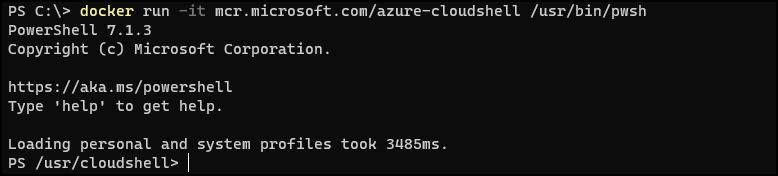
If you don’t have Docker Desktop installed on your machine, please visit the following post from our sister blog.
The Cloud Shell image is 9.3GB in size.
Deploy a container
To deploy a container with the image, we can either start with PowerShell or with Bash Shell.
For Bash Shell, run the following command.
docker run -it mcr.microsoft.com/azure-cloudshell /bin/bashFor PowerShell, run this line.
docker run -it mcr.microsoft.com/azure-cloudshell /usr/bin/pwshIf you would like the delete the container at exit, just add the –rm switch to the command.