Keeping consistency accross Microsoft 365 Exchange Online Distribution List names is something important that help users communicate better.
With Exchange Online distribution lists Naming policy, we can keep and manage naming standards across the organisation. We can also block specific words from being used for DLs.
How Does it Work?
DL Naming Policy works by appending a set of names at the start and the end of a DL. So when admins or users create DLs, the policy will add the prefixes.
There are two types of prefixes that we can add to a DL, Text-based like DL- at the beginning of a DL, or we can use an Azure Active Directory attribute, for example, company name.
Create a Naming Policy
Creating a Naming Policy can be done either from the new Exchange Admin Center or the Classic.
Note: Removing a DL Naming Policy is only possible from the Classic Exchange Admin Center (see at the end of the post how)
To create a DL Naming Policy, Open the Exchange Admin Center. Click on Groups. Click on Add naming policy.

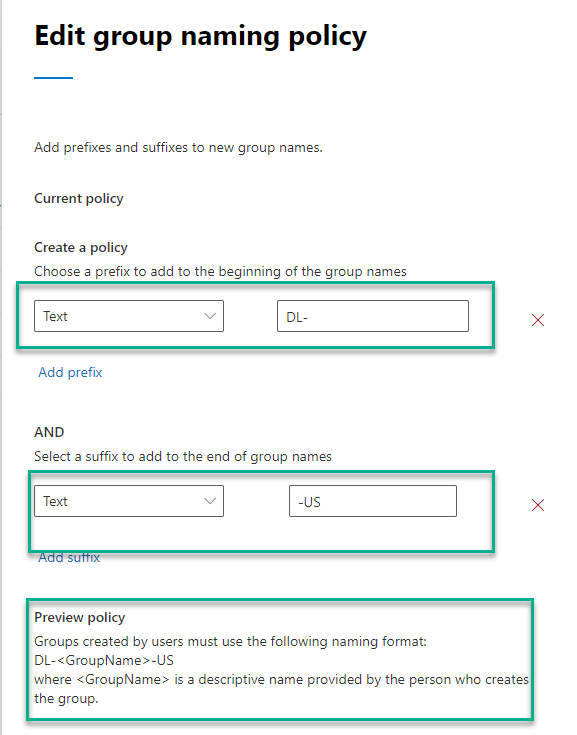
In the edit menu, Fill in the prefix or prefixes. You can preview how it will look like in the preview section.
Block Words
To block specific words from being used, use the Blocked words option next to the policy options, as shown below.

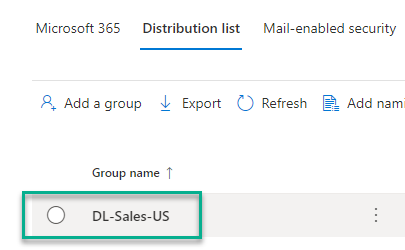
I created a new DL called Sales to test if it works, and the policy added the configured prefixes as shown below.
Delete Exchange Online Naming Policy
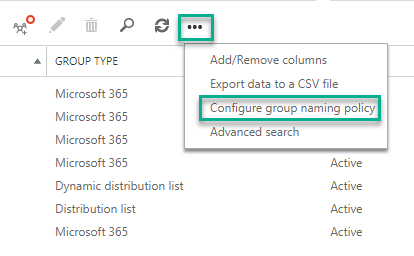
Open the Classic Exchange Admin Center console to delete a naming policy, click on Groups, and select the Configure group naming policy option from the … option menu.