Last year Microsoft Azure announced that Hyper-V will be available to install on Azure Virtual Machines and allow running Virtual Machines inside an Azure VM.
Because the technology was in preview mode, I decided to wait a few months and see how it works and that the feature is widely available from many Azure Datacentres I will show you how I deploy it.
The process is almost like installing Hyper-V on a physical Server just that in this case you install it on a VM and utilized the underlining Nested Virtualization.
Requirements
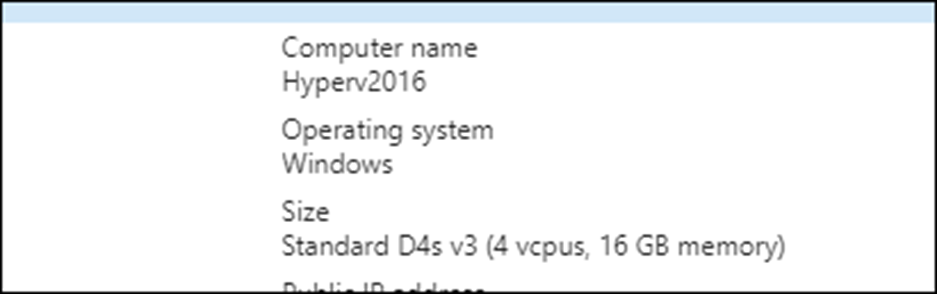
To run Hyper-V inside an Azure VM the VM needs to be a D or E series Virtual Machine and in my case, I am using a D4s V3 with 4 X VCPU and 16 GM of RAM.
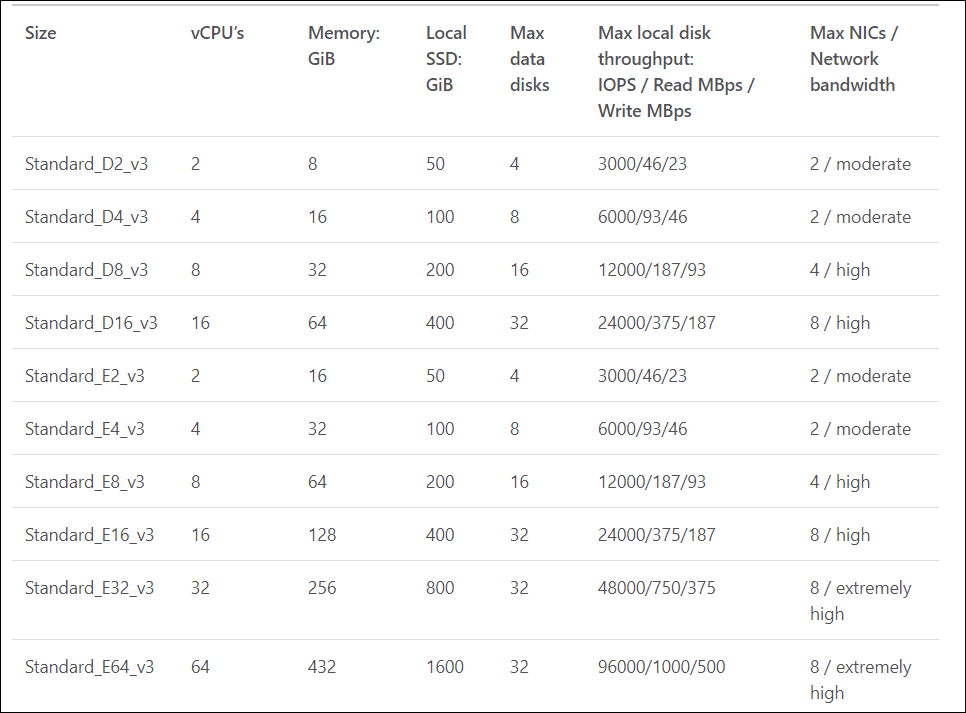
Below you can see which options are available to run Hyper-V, At a minimum, you will use 2 VCPU, 8GB and SSD.
Because all the VM below come with 127GB disk you will need to add extra storage to the VM which is recommended to add an SSD disk.
Install Hyper-V
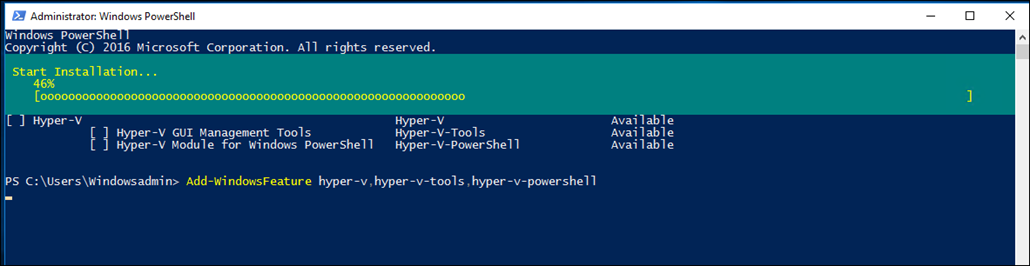
After I created the VM I will install Hyper-V on the VM using the cmdlets below.
Get-WindowsFeature hyper*
Add-WindowsFeature hyper-v,hyper-v-tools,hyper-v-powershell


When the installation is done I will restart the Azure VM, When the server restates, I will start Hyper-V from the Administrative Tools

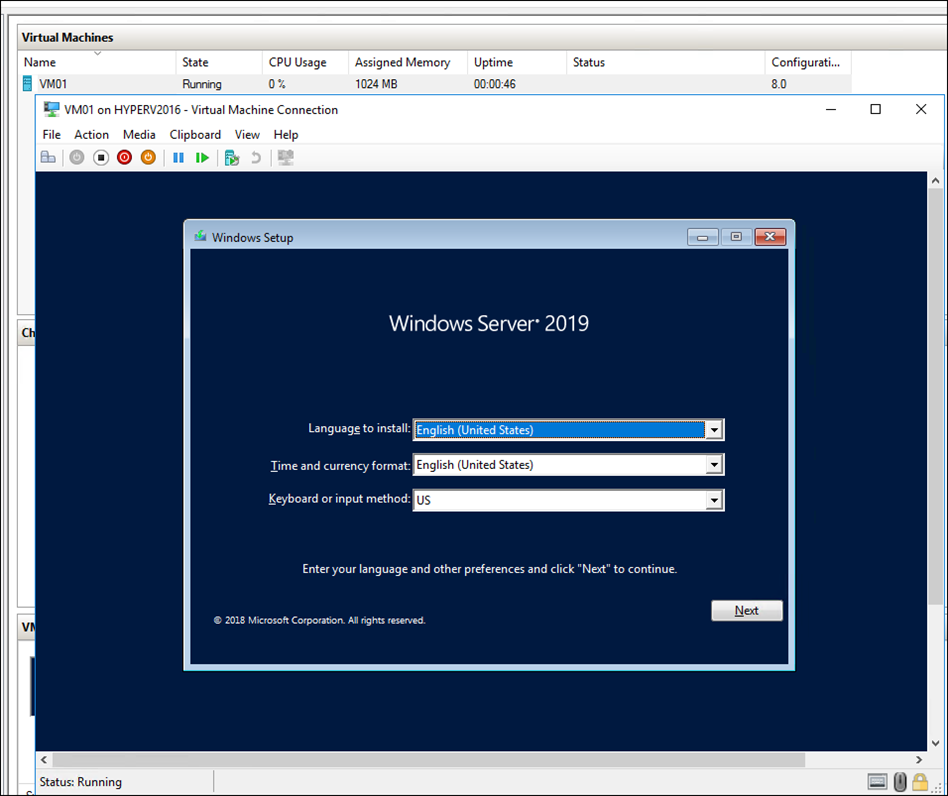
From here, I can create and setup VM like I would do it on any Hyper-V Host
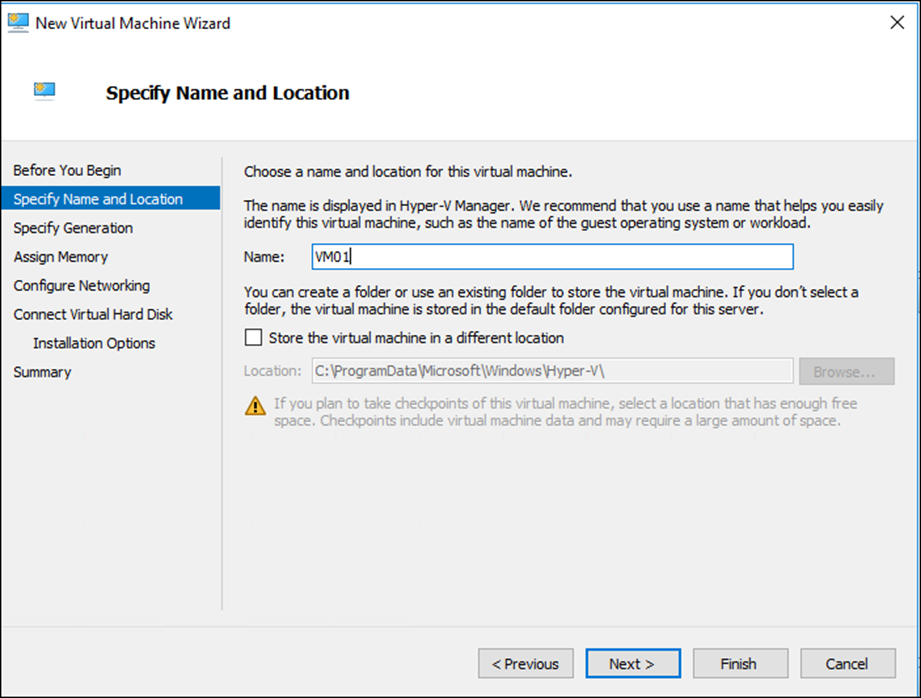
Below, I created a Windows Server 2019 VM

As you can see my VM has started and I follow the installation process as normal