In this blog post, I’ll show you how to create Printer or application SMTP Relay In Exchange Online and use it to send emails.
One of the most common uses of SMTP Relay Is with multi-function printers that use Scan to Email.
Relay
One of the best things about Local Exchange Server is the ability to use it for Application and Printer relay and send alerts or reports via email.
The process in this blog will work with any relay that was working with local Exchange Server.
Get Started
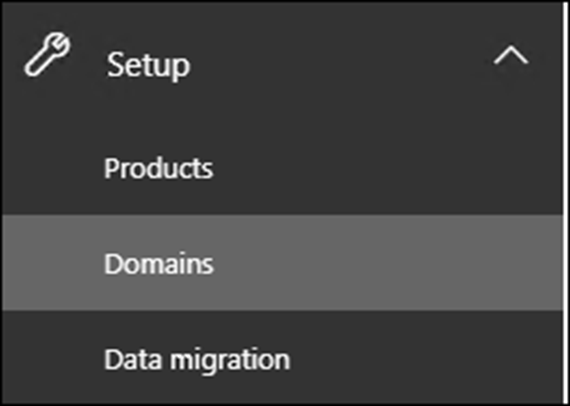
The first step in this process is to find the SMTP Relay Server address by using the Office 365 portal -> Domains -> DNS
In the DNS Settings located the MX records for your domain and note it down.
The MX record looks like the picture below.

Exchange Online
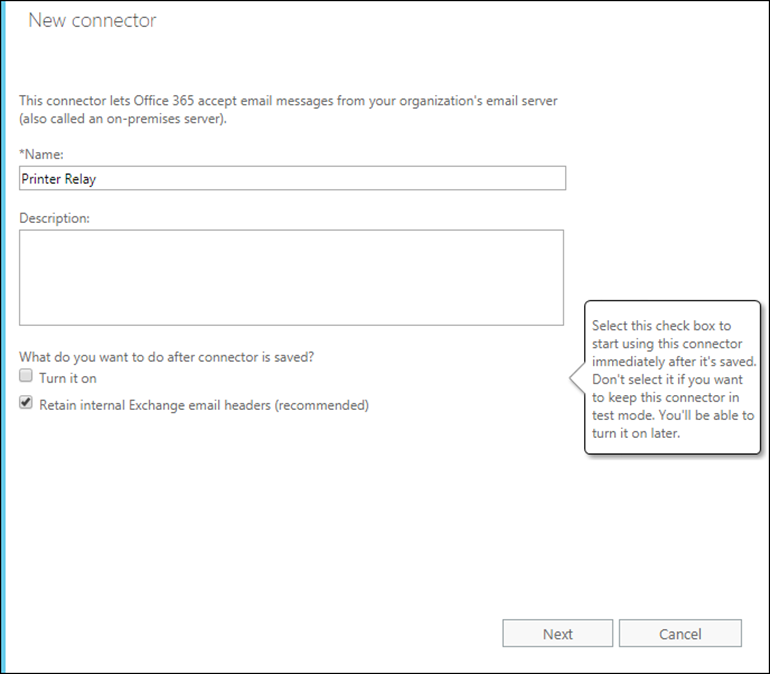
Once noted the MX record, Open Exchange Online Admin Center -> Mail flow

Click on Connectors -> Add a new Connector

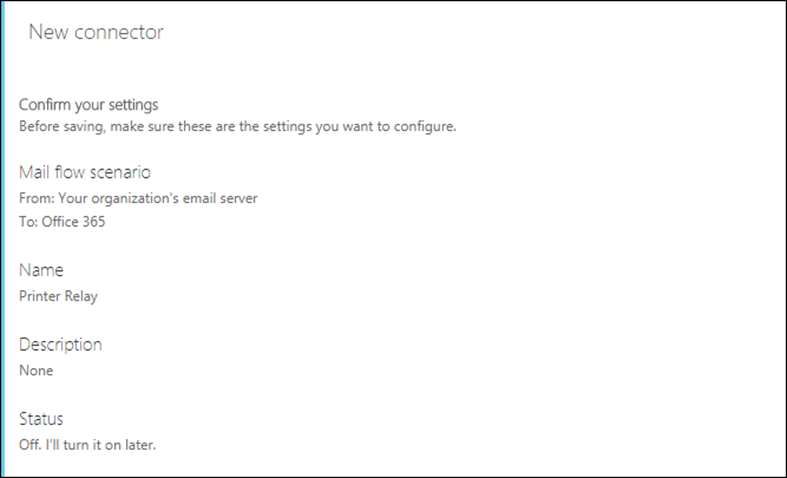
Use the settings below

Name the Connector
Add your External IP address.
This part is very Important, If you have multiple IP addresses add them below


Once done, On the printer, SMTP setup page add the details below.
Add details to the printer
Server Name = yourmxdetails.mail.protection.outlook.com (see step one)
Port = 25
TLS = Enabled
Email Address = Any Email Address