In this blog post, I’ll show you how to Install .NET Core 2.0 on Windows server 2016 1709 and create an ASP.NET Web Application using the dotnet command line Interface.
About .NET 2.0 CORE
Version 2.0 of .NET CORE Is a cross-platform open source framework that can be run on Windows, Linux or MacOS which was released on 7th March 2017.
.NET Core Is also a free and open source software framework for developing Console and Web Application for all platforms.
The first .NET version 1.0 was released in June 2016.
Before the release of .NET Core creating any .NET application was Impossible without the Visual Studio or any other IDE tool but since Microsoft made it open sourced and available on Linux we can download the SDK and create Web Application using the CLI In less than two minutes.
Get Started
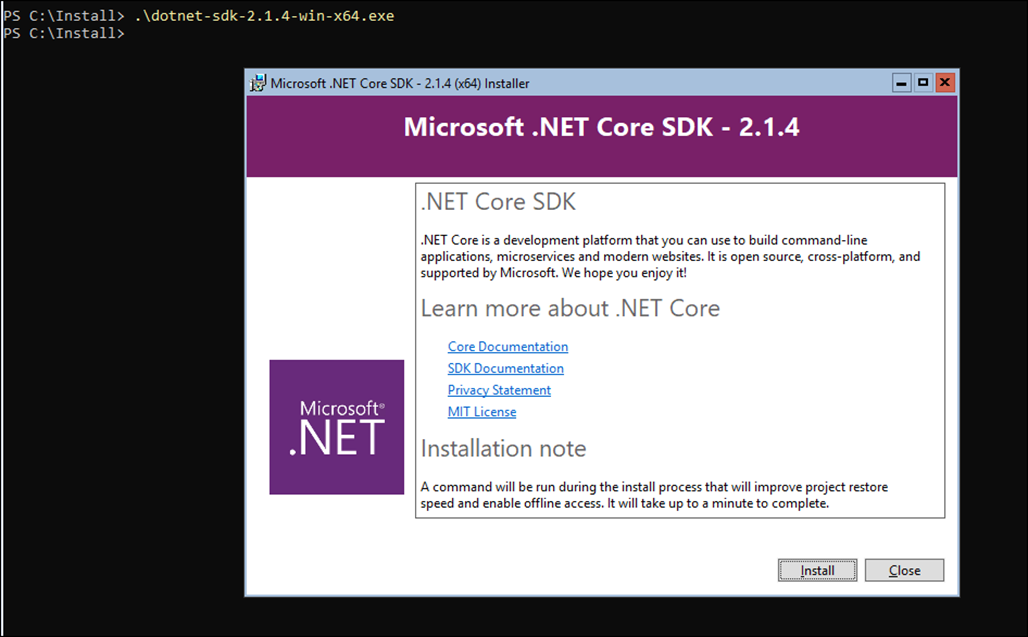
To get started, I download the Microsoft .NET Core SDK 2.1.4 version from the link https://www.microsoft.com/net/learn/get-started/windows
Once downloaded, I copied it to my Windows Server 2016 1709 Server and started the .MSI file.

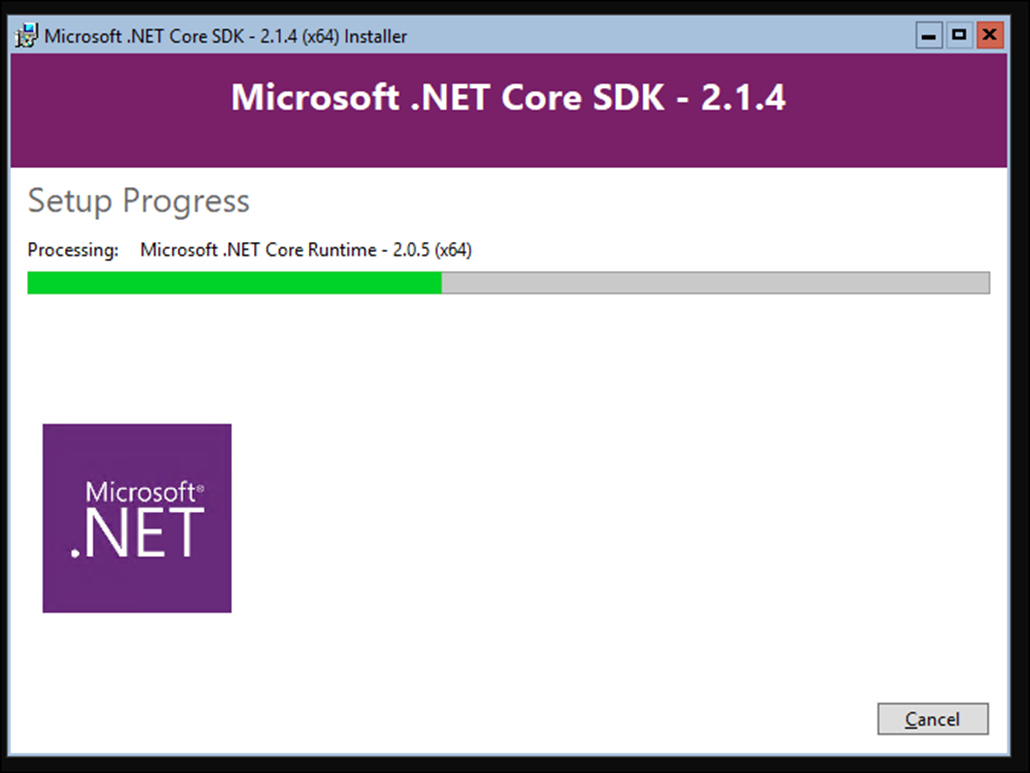
The Installation process Is simple and all I have to do Is follow the prompts.
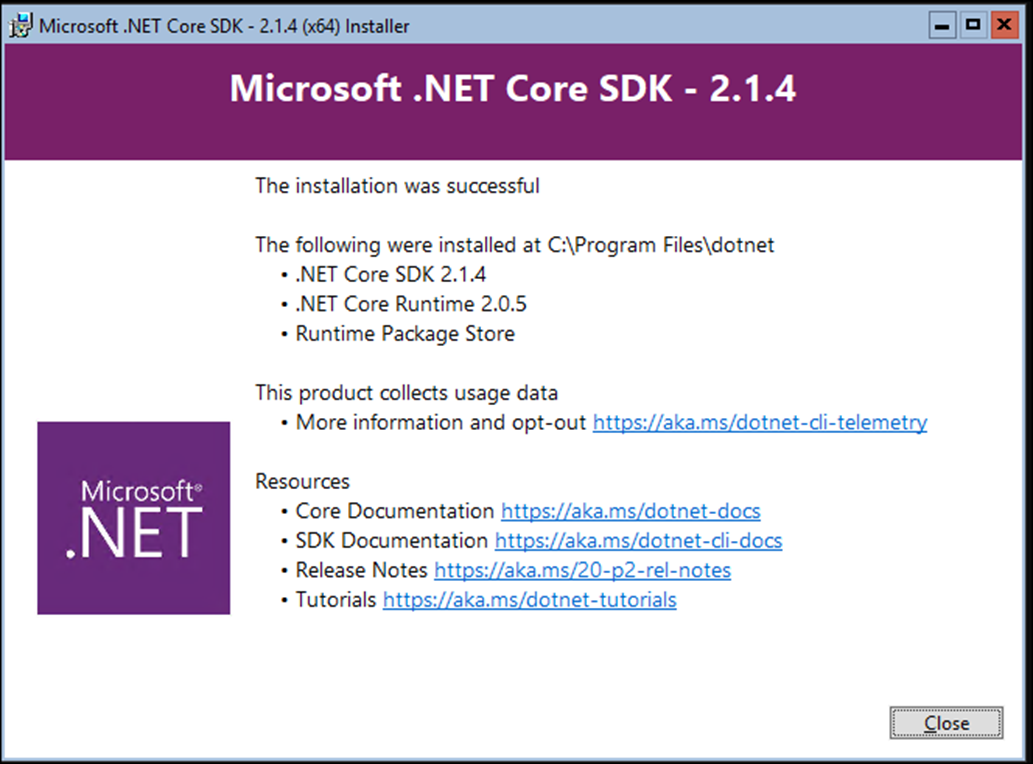
Once Installation Is done, I’ll restart the computer using the line below.
Restart-computer
Create Web App Using ASP.NET Core 2.0
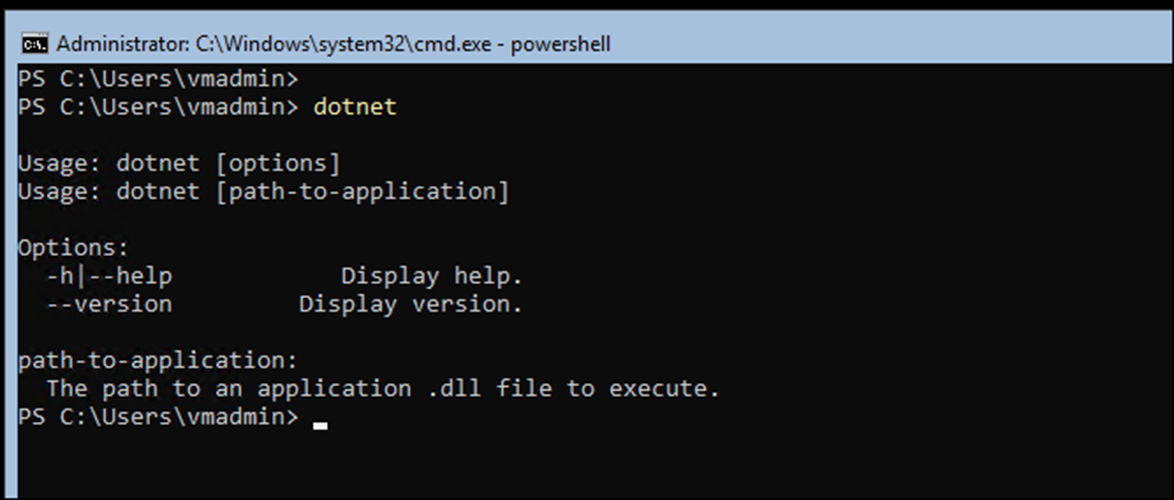
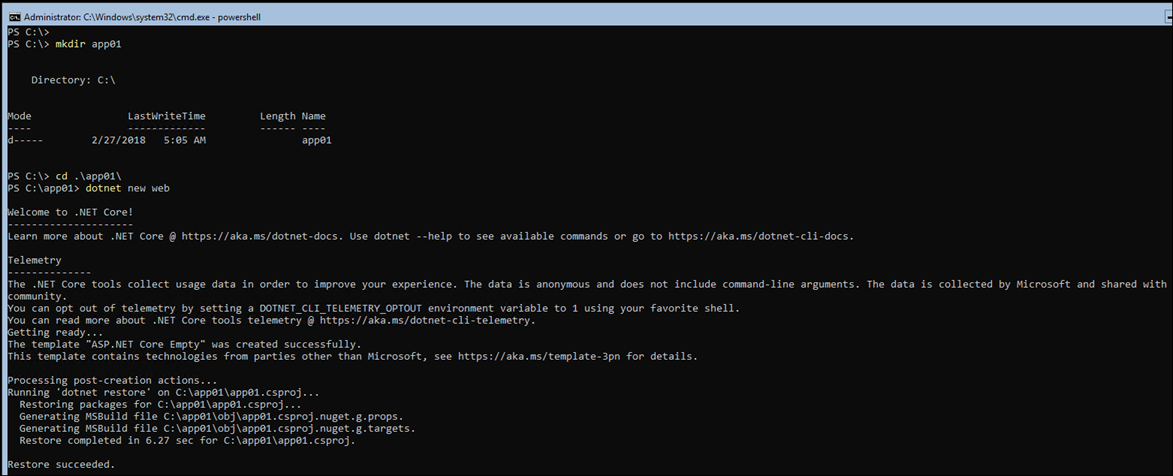
Once the Server Is up, I’ll create an MVC Web Application using the lines below.
mkdir app01
cd .\app01\
dotnet new web
To run the Web App I’ll type the code below
Dotnet run

To view it I’ll browse to the Server IP address or hostname with port 5000