In this article, I’ll show you how I Install Windows IIS 10 on Windows Container and create a Web Server.
Running Web Server Inside Containers Is probably the popular deployment type most used.
The concept behind Web Servers in Containers Is to keep the Front End Application In the Container and use a Database Server hosting all data.
By keeping the data on a remote Server, we could bring new Containers with new code and features without the need to worrying about patching Front End Servers.
In my example, I’ll create a Windows Server 2016 Core Container with port 80 and 443 open.
If you have missed my previous articles about deploying Windows Containers visit them below:
- Windows Containers Vs Docker
- How to Deploy Windows Containers (June 2017)
- How to Install Roles And Features On A Windows Container
- How to Create A Windows Server Container
To get started, I’ll use the code below to create my Container
docker run -it --name iisserver -p 80:80 -p 443:443 microsoft/windowsservercore

When the Container comes up type:
powerShell
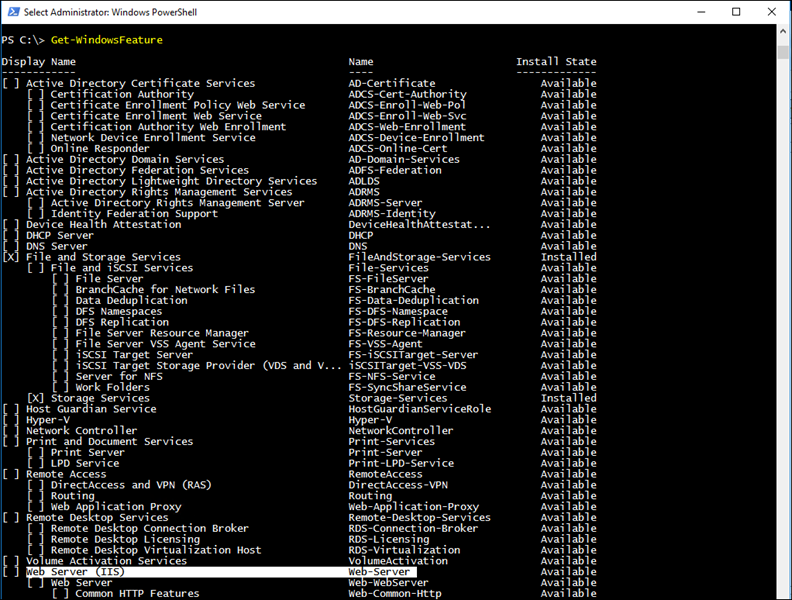
To view all available server features type
Get-windowsFeature

To Install IIS, I’ll use the cmdlet below
Add-WindowsFeature web-server

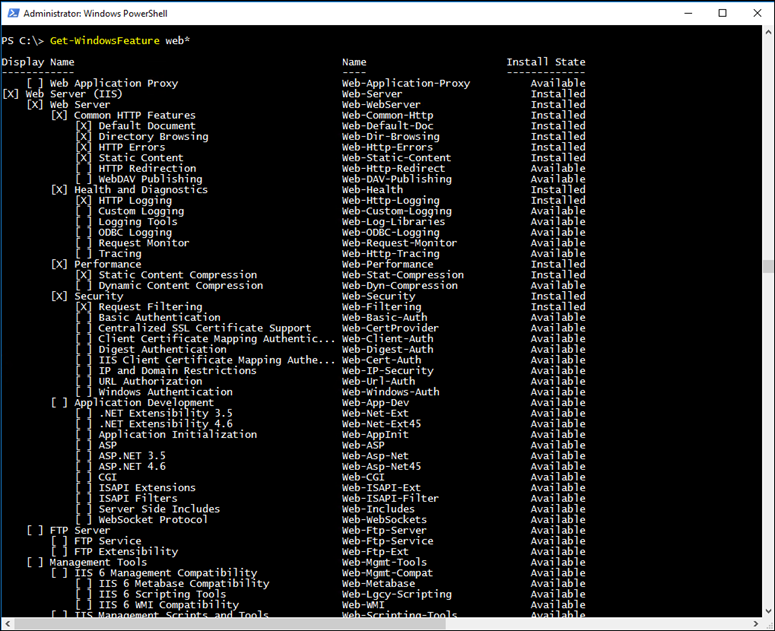
To view all the Web roles that were Installed I’ll use the code below
Get-WindowsFeature web*

To Install a role that was not Install, I’ll use the code below (use the role name from the middle section)
Add-WindowsFeature Web-Http-Redirect

By default, When Installing IIS the default Web Site Is enabled and ready to be used.
To get, the Container IP address for access from the Container Host I’ll type:
Ipconfig
Once I have the Container’s IP address I can access the Website from my Host
To view the default website
Get-IISSite

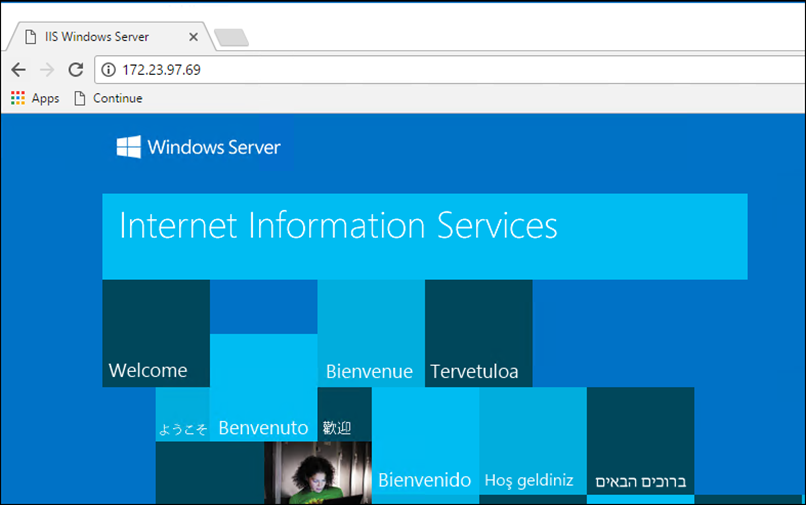
As you can see below, IIS Is running.
It’s Important to know that In order to allow access to the Container outside the host we need to Container the Container Host Network, for more Information about Networking In Windows Containers visit
