In this article, I’ll show you how I increase the disk size of my Windows Nano Server 2016, Microsoft Azure Virtual Machine.
By default, when creating a new Windows Nano Server 2016 Virtual Machine on Microsoft Azure the machine comes with only 8GB of disk size.
In some cases, 8Gb might be enough when however In my case it’s not enough and I’ll need at least 50GB.
To get started, I’ve logged In to my Windows Nano 2016 Azure Virtual Machine and when I run the Get-Disk cmdlet I see that I only have 5.36 GB of storage left on my C:\ Drive.
Get-Disk

At this stage, I have two options:
- Increase the size of my C:\ Drive
-
Add a new Data Disk
In this article, I’ll go with the first option because even If I wanted to add a new Data disk I would still need to add more space to my C:\ Drive.
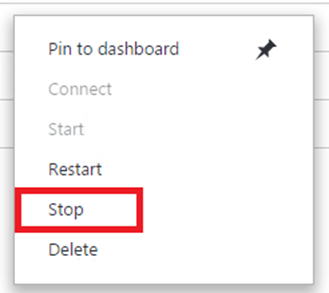
The first step, I’ll take Is to shut down the Virtual Machine
Once the VM Is off, I’ll go to Disk In the Azure Portal VM Blade
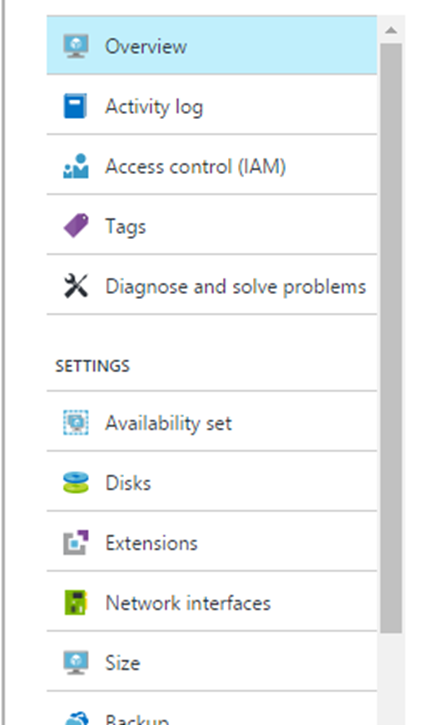
Click on the Disk under OS Disk

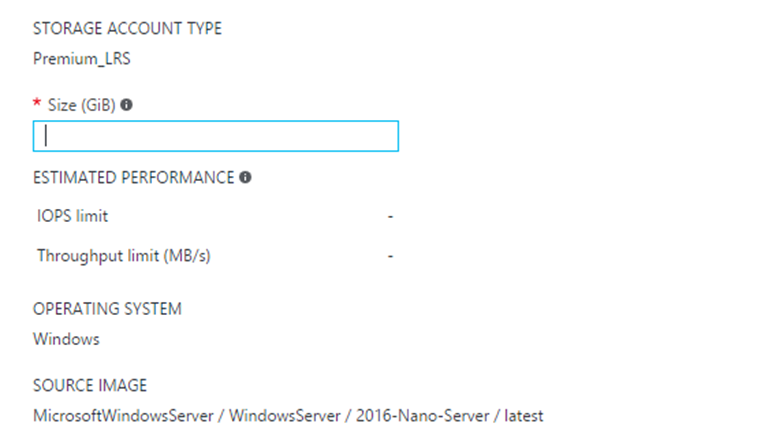
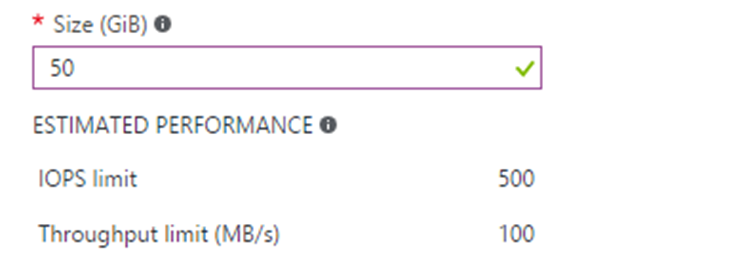
In the OS Disk blade, I’ll type 50
Now, I have 50GB on my C:\ Drive
Next, I turn on the VM

When I log into my VM and run Get-Disk I’ll see the new size
Get-Disk

Next, I’ll run the most Important cmdlet which will Resize the C:\ Drive
Resize-Partition -DiskNumber 0 -PartitionNumber 1 -Size (49.5gb)

Notes:
If you don’t know your Partition Number type
Get-Partition
If you don’t know your Disk Number type:
Get-Disk
To view Volume type:
Get-Volume
Recommended: