In this post, we will create an ASP.NET Core application that connects to a database and uses CRUD (create, read, update, delete) to manage database records.
CURD
Using CRUD (create, read, update, delete) in ASP.NET Core allows us to create applications that connect to a database and manage records.
Entity Framework (EF) Core
To connect the application to the database we will use EF Core and create a database on the local machine using SQL Express.
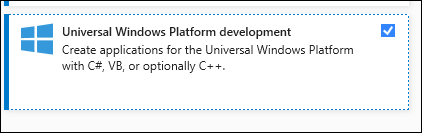
Note: To install SQL Express on your local machine using the Visual Studio Installer, Install the Universal Windows Platform development workload.
Data Class
To get started, create an ASP.NET Core Web App application in Visual studio.
In our case, I have called the application MyUsers.
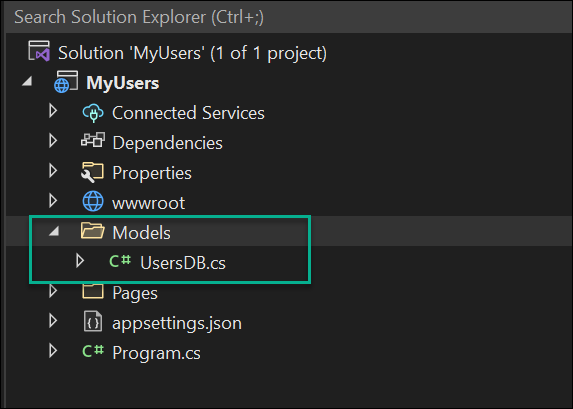
Let’s start with creating a Models folder and inside it create a class called UsersDB.cs as shown below.
The content of the UsersDB.cs class file is shown below.
namespace MyUsers.Models
{
    public class UsersDB
    {
        public int ID { get; set; }
        public string Name { get; set; }
        public string Email { get; set; }
        public DateTime Created { get; set; }

    }
}
Add CRUD
Next, we need to create our CRUD pages, and Visual Studio Scaffolded will help us do that easily.
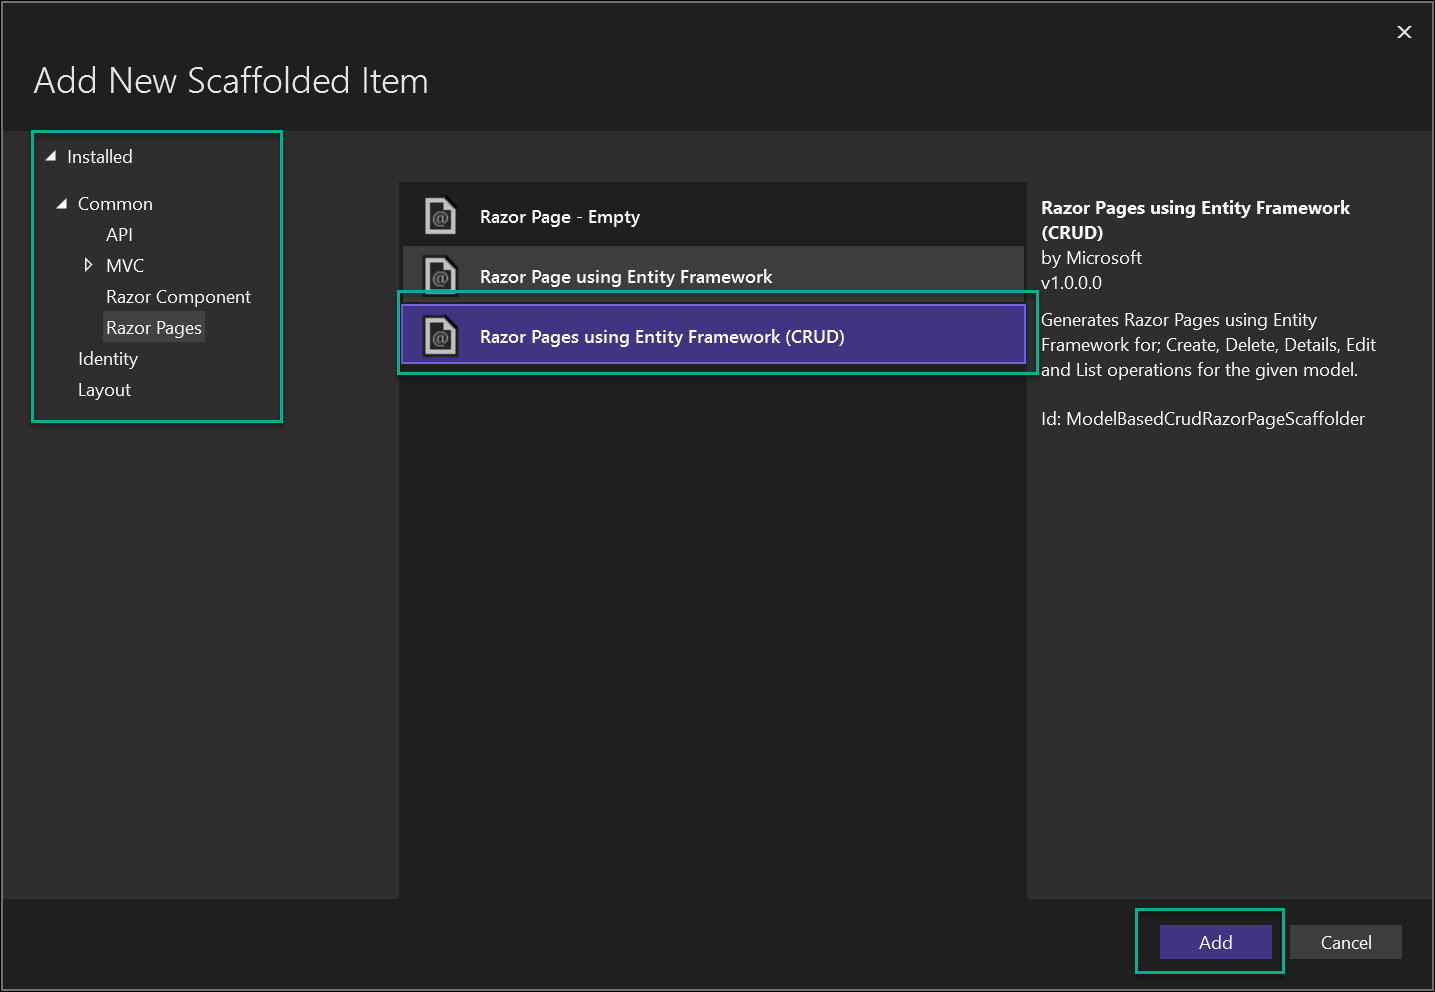
Right-click on the Pages folder and click on Add -> New Scaffloaded item…

From the left menu, click on Razor pages and select Razor Pages using Entity Framework (CRUD) and click add.
First, select the Model class from the drop-down menu in the add Razor pages menu.

To configure the Data context class, click on the + sign and accept the name.

Click yes to confirm that the Index page will be overwritten.
Note: If you want to keep the current Index page, create a new folder under Pages and add the Scaffloaded item to it.

Create Database
To create the SQL Server instance database, open the Progam.cs file.

Add the following code to the program.cs file.
using (var scope = app.Services.CreateScope())
{
    var services = scope.ServiceProvider;

    var context = services.GetRequiredService<MyUsersContext>();
    context.Database.EnsureCreated();
}
Below you can see how the Program.cs looks like.

Disable nullable Warnings
To disable the nullable values warning, click on the application name and edit the project configuration file.

From the configuration file, remove the following line.
<Nullable>enable</Nullable>Below you can see the line you need to remove.

Build and Run
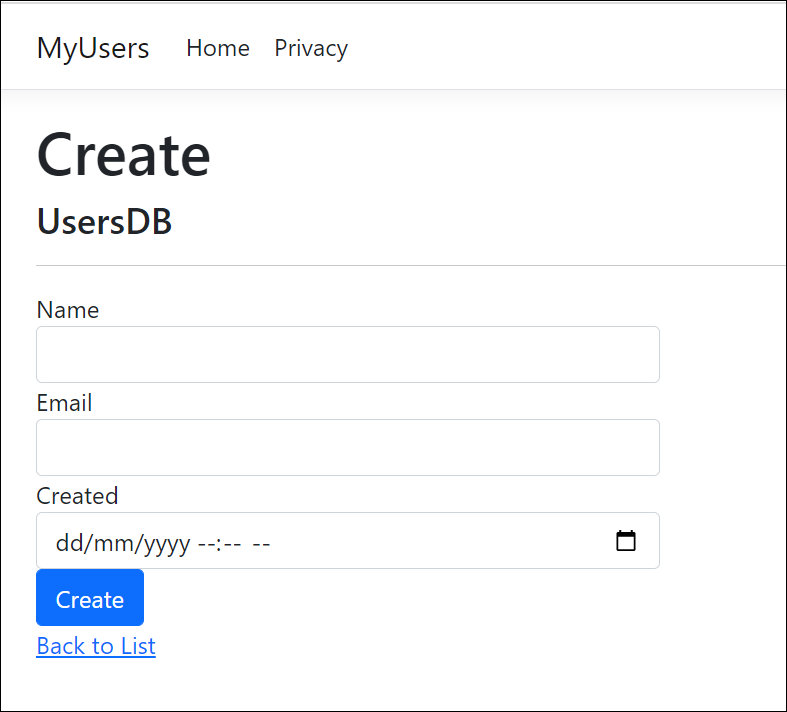
At this stage, the application is ready. Build and run the application and click on Create New to create a new record in the database.

Below you can see how the create page looks like.
Conclusion
In this post we continued with our ASP.NET Core coverage and showed how to create a web application that uses a local database to store records.