In this final blog post about Azure Virtual Machines disaster recovery, we will failback a VM back to its original region (primary).
Failover vs Failback Azure VM
The best practice of Azure cloud hosting says that it’s better to place VMs in an Availability Set which will provide the ability to maintain uptime during planned and unplanned outages.
During a planned outage, you can use Azure Site Recovery to orchestrate zero-downtime migration of all your VMs with automated failover between multiple Azure regions. This is possible because Site Recovery keeps primary and secondary instances of VMs in different fault domains thereby eliminating common issues with Azure IaaS.
During an unplanned outage, you can use Azure Disaster Recovery or vendor-specific tools to do failover that will start VMs on another Azure region, which is then responsible for maintaining the uptime of your services.
The revert process (moving the VM back to the original region) is called ‘failback’. It’s usually not automated and requires manual steps.
In this post, you will notice that the failback process in Azure is shorter and require fewer steps compared to the failover process.
Failback
To failback an Azure VM we use the same process we used to failover the VM to the secondary region. In practice, we click on Failover from the DR page.
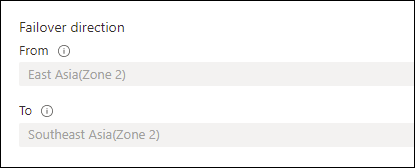
We need to make sure the failover direction is correct and continue.
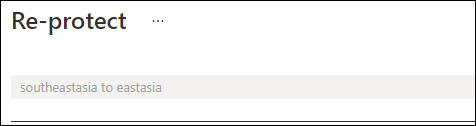
Once the failover process is completed we need to re-protect the VM and we are done!
Azure is smart enough to know that this is a failback operation and does not ask us to commit the changes. at the end of the failover, the secondary VM will be deleted automatically.
Below you can see that the VM is running from Southeast Asia and the secondary machine is gone.
