The GitHub Command Line Interface (CLI) is a powerful tool that connects to GitHub and lets you create, edit, and delete repos and manage workflows with ease. The GitHub CLI is written in Node.js and is designed to extend and customize it for your needs.
Using the GitHub CLI to work with repos is a fresh and much-needed change. The overall experience feels more advanced and modern compared to using Git, as you will see below.
First thing first, GitHub CLI command name is gh.
Install
To get started and install GitHub CLI on a Linux machine, we use the following commands.
curl -fsSL https://cli.github.com/packages/githubcli-archive-keyring.gpg | sudo gpg --dearmor -o /usr/share/keyrings/githubcli-archive-keyring.gpg
echo "deb [arch=$(dpkg --print-architecture) signed-by=/usr/share/keyrings/githubcli-archive-keyring.gpg] https://cli.github.com/packages stable main" | sudo tee /etc/apt/sources.list.d/github-cli.list > /dev/null
sudo apt update
sudo apt install gh
If you are on a Windows machine using Winget with the following command.
winget install --id GitHub.cliLogin to GitHub
Once the CLI is installed, we need to authenticate to the service using the command below. The login process is straightforward. After typing the command below, we select the web browser option and click enter.
gh auth login 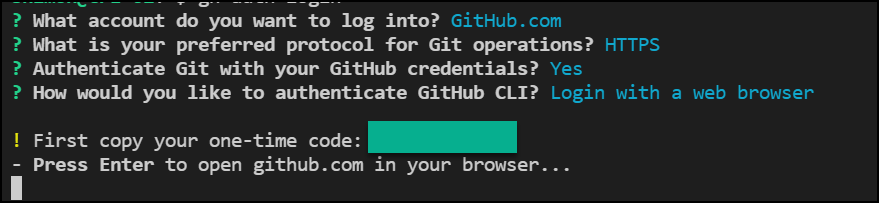
After selecting the web browser option, copy the one-time code and press enter, and you will be taken to the GitHub website.
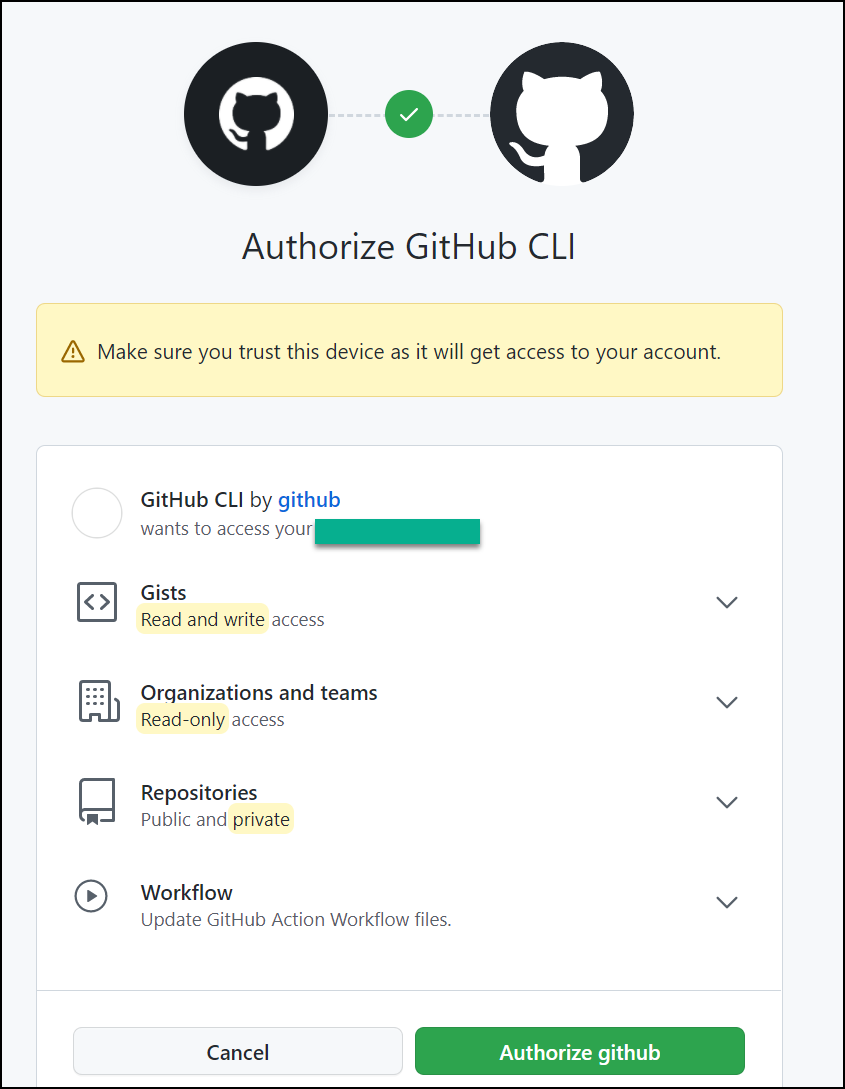
On the GitHub website, you will be asked to authorize GitHub CLI in GitHub.
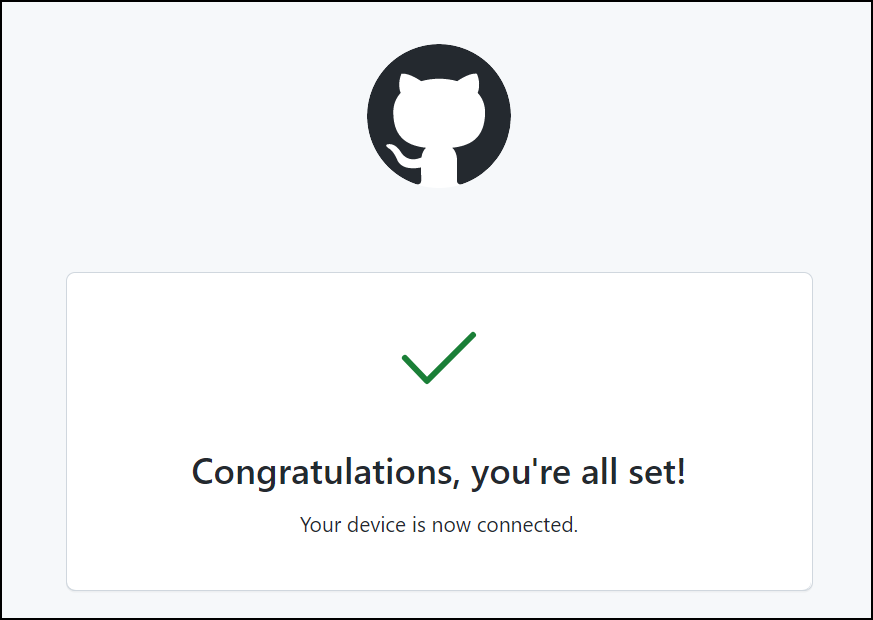
After authorizing GitHub CLI, you will see the confirmation message that your device is authorized and connected.

List Repos
Now that we are connected and authorized, we can run the following command to list all the repos in our account.
gh repo list
Clone Repo
To clone a repo, we run the following command with the repo name from the above command, and that’s it.
gh repo clone repo/docker