In this blog post, I will show you how I run PowerShell code in Visual Studio Codespaces.
About Visual Studio Codespaces
Visual Studio Codespaces is a cloud-based hosted development environment powered by VS Code online version.
Codespaces allows us to connect to our development environment and run code from the browser.
The environment is powered by dedicated Azure virtual machines.
Pricing
Running codespaces is not free and pricing is based on the underlining virtual machine that run the code.
Below you can the pricing details.

Setup
To setup VS Codespaces, we log into the VS online website and start the process.
https://online.visualstudio.com/
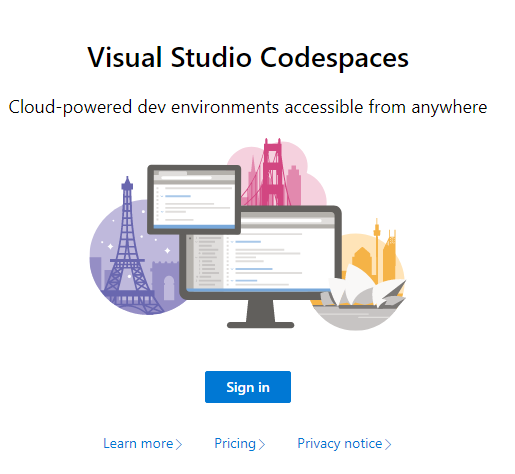
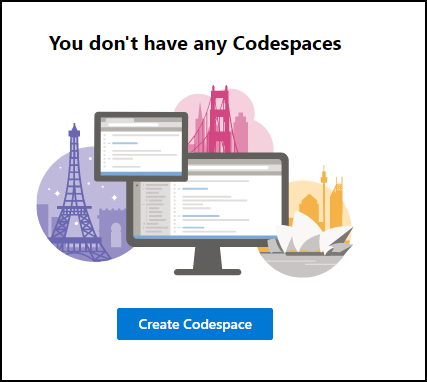
Create Codespaces
To create my first codespace, I will click on the Create Codespace.
Billing
Next, I will setup the billing subscription which is going to be my Azure billing account.
For the location, I will select the location from the list.

After setting up the billing it is time, to setup the instance.
In my case, I name it PowerShell and also added a Git Repository from my Azure DevOps account.

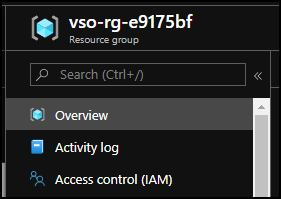
Below, you can see the Resource Group that Azure created in my Azure subscription.
The final step will be authoring the permissions VS needs.

Interface
As you can see below, the interface looks like VS Code because it is VS Code hosted in the cloud.
Using codespaces is the same as using VS Code on your machine.

Create PowerShell Script
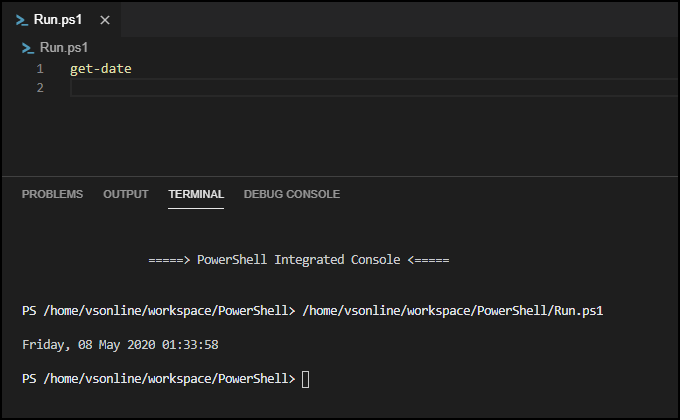
Now, I will create a PowerShell script called Run.ps1.

After creating the script VS Code will ask me to install the PS extension.

As you can see, The script is running well.
I can also use the source control option to sync my code to DevOps.

PowerShell 7
By default, VS has PowerShell 7.0 loaded into the environment.

Conclusion
Visual Studio workspaces are great for consolidation development solutions without frictions.
My recommendation is that you use a Git Repository to store your code and sync it.