In this blog post, I will show you how I create a Docker container image and use it to deploy containers.
A Docker container image is like a gold image, where we install and configure all of our applications.
Once we install and configure everything we save it and redeploy it.
This process can also be done using a DockerFile which is more efficient.
Download Base Image
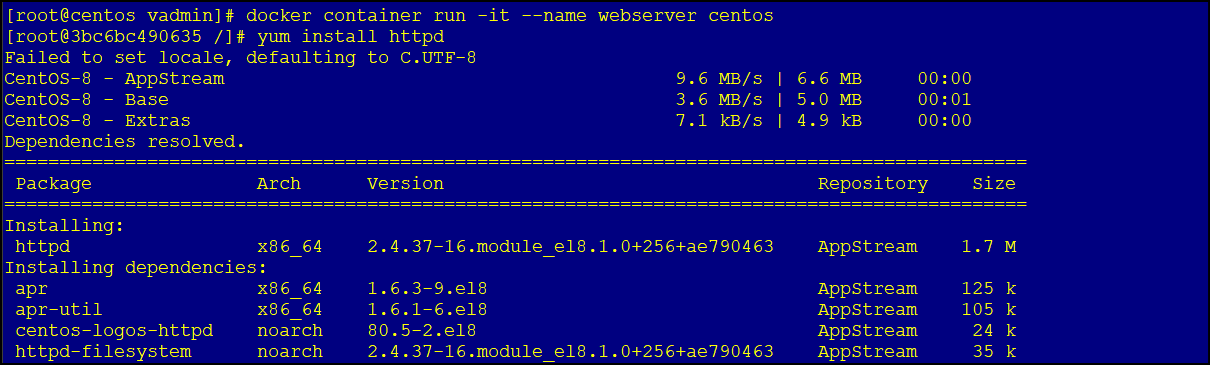
The first step of this process is to download and run \ deploy a container using a single command.
I will also name the container web server and use CentOS as the base image.
docker container run -it --name webserver centos
Install Apps
The second step will be installing all packages I need.
In my case, I am installing PowerShell 7.
yum install httpd
curl https://packages.microsoft.com/config/rhel/7/prod.repo | tee /etc/yum.repos.d/microsoft.repo
yum install -y powershell
Commit
To save the image as a “Gold image” I will commit the changes and save it as an image.
I will commit the image using the following command.
The name of the image will be webserver-v1
docker container commit webserver webserver-v1

Deploy
To deploy a container from my base image I will run the following command
docker container run -it --name server webserver-v1
In the above image I an deploying a container called server with my webserver-v1 image.