In this blog post, I will show you how to fix Kubernetes on Docker Desktop for Windows in case you are getting the Kubernetes is starting message.
Let’s Get Started
Kubernetes is Starting Message
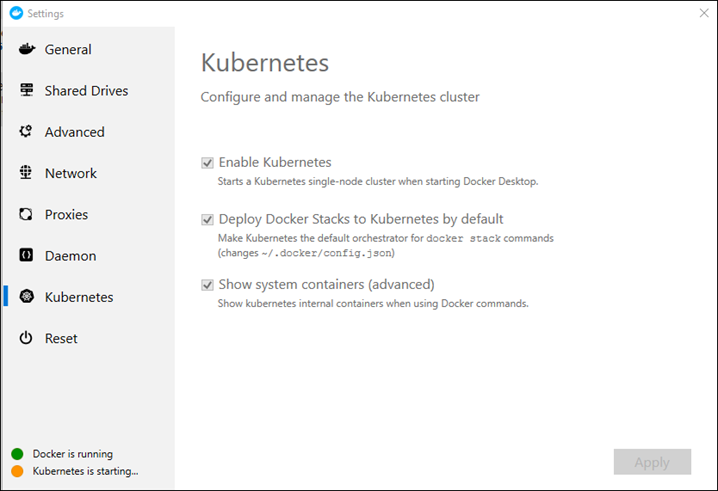
As you can see in the following screenshot, I have this issue on my Windows 10 machine.
I have tried a few things to fix this issue, and I recommend you follow the post to get your Kubernetes working again.

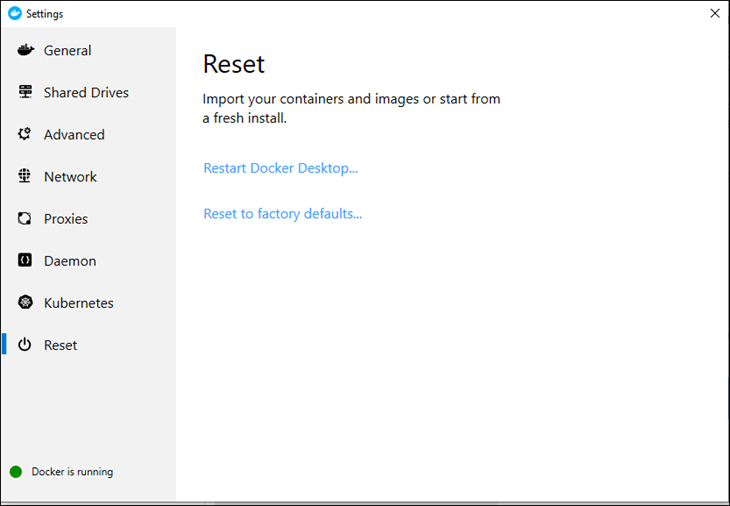
Reset to factory defaults
The first action you need to start with is reset Docker to the factory defaults, which will disable Kubernetes and return the configuration to its initial state.
Just note that all images on your machine will get deleted.

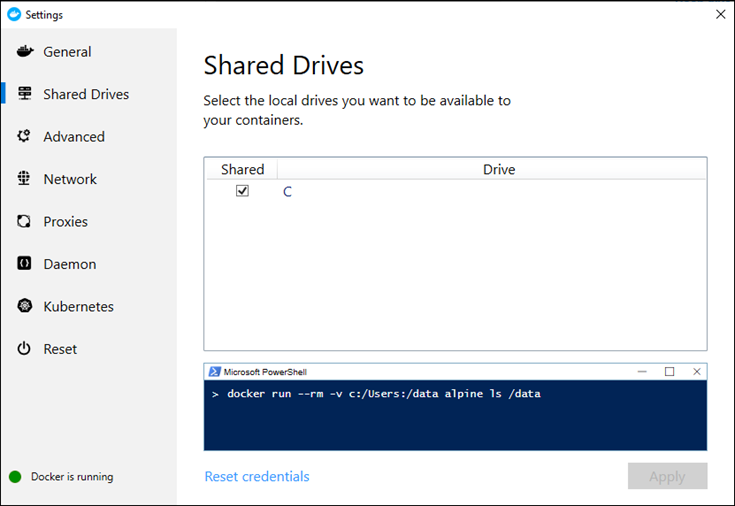
After the reset process is completed, Open Docker settings and enabled Shared Drives.

After Docker restart opens the settings menu again and set the DNS Server to Fixed.

Enable Kubernetes
After the DNS change is completed, Click on the Kubernetes section and Enable it as shown below.

This option will install Kubernetes and start the Service.

After the Kubernetes cluster install is completed, you will see the Kubernetes cluster status message on the bottom of the left screen.

If the steps above are not working, I suggest you cut your losses, uninstall Docker and reinstall it.
