In this blog post, I will show you how to create a Virtual Machine Availability Set on Microsoft Azure using the Azure Portal and using Azure Cloud Shell.
About Availability Set
Azure Availability Set isolate virtual machines from each other by deploying them across multiple Virtual Machine Hosts, Server rack, Storage and Network devices.
By doing that, Virtual Machines in the same availability Set are not affected in the case of a fault.
If you have a Web Application, you would typically keep your Front End Servers in one set and your backend servers in another set.
Deploying
Deploying Availability Set can only be done at the creation of the Virtual Machine; once a VM has been deployed without Availability Set you cannot add it later.
We can create availability Set using the Azure Portal or using Azure Cloud Shell.
To create an Availability Set using the Portal, I create a new Virtual machine, Select or create a new Resource Group

When you create a new Availability Set, you have the option to select the number of Fault Domains and Update Domains.
Fault Domains means that the VMs sit across two different racks.
Update domains mean that OS updates will be updated on one update domain each time.

Next, I continue filling the VM information and click create to complete the process.

View Availability Set Details
To check the availability Set details using the Microsoft Azure Portal, Click on the VM and select Availability Set
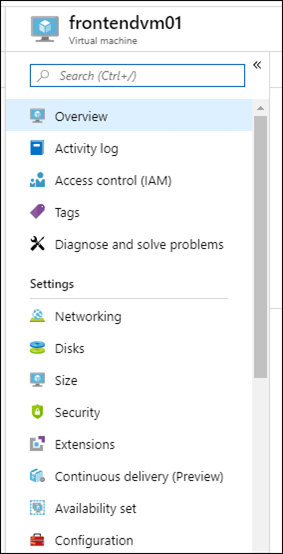
From the Availability Set page, Click on the Set name, and you will see all the details listed in the page.

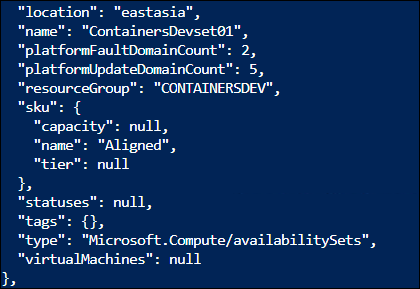
You can also use Cloud Shell and view the availability set details using the Az command below.
az VM availability-set list

Below, you can see all the details and the number of Domain and update fault etc.
In my next, article I will show you how to delete a Microsoft Azure Resource Group using Cloud Shell.