One of the great things about Azure Active Directory is its Single Sign-on feature that allows cloud applications to authenticate with Office 365 users.
For example, Recently, I was asked by a customer to configure a cloud application to use existing Office 365 users for access, so instead of creating users in the cloud app, I had to configure the cloud app to use users that exist in Office 365.
The benefit of doing this is twofold, Users exist in one location and use one password, second security if a user leaves the business the account needs to be disabled in Azure AD only and he losses access to all apps and there is no need to disable the user in each app.
Get Started
In the example below, I will show you how to create a SAML based SSO in Azure AD.
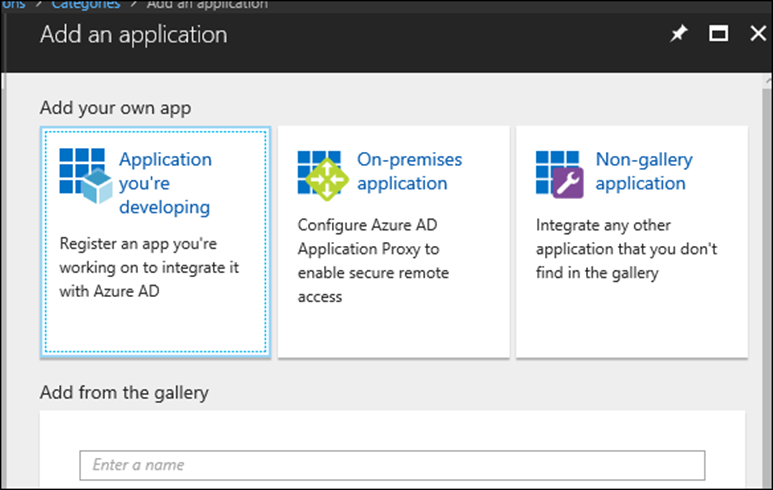
To get started, Open Azure AD -> Enterprise applications -> New application


Below, I have 3 options and I will select the 3rd option Non-gallery application
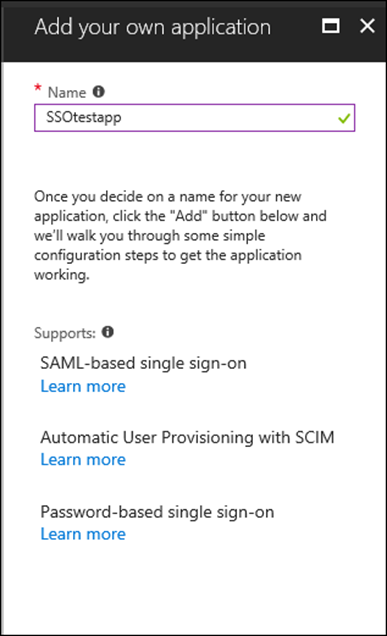
Next, I will name the app
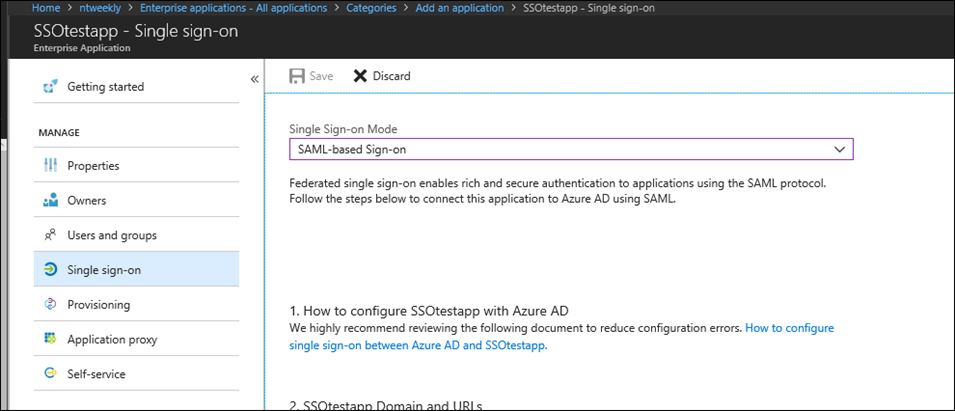
In the Single Sign-on Mode I will select SAML based sign-on
In the 2nd step, I have two option either type the app URL or upload.XML file with all the details (recommended)

I will go ahead and upload my XML file


Once uploaded, Azure AD will populate all needed details

If needed I can also add attributes


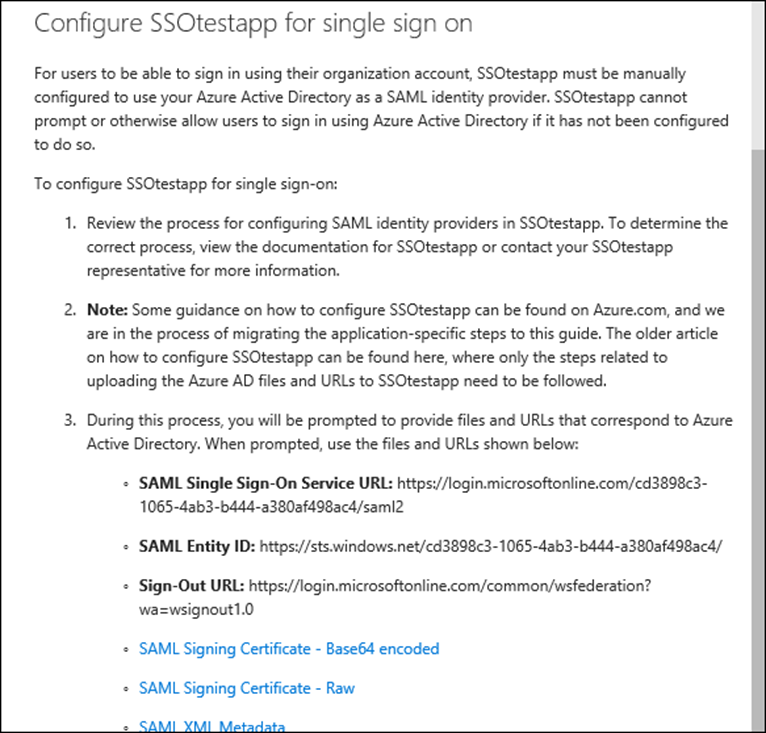
At the end of the process, Azure AD will provide me with 3 important things, Certificate and two URLs which I will use in my app.

If I click on the Configure link in section 5 azure will provide me with all the needed information for my app.

Below, I will download my certificate and copy the two URL
Certificate
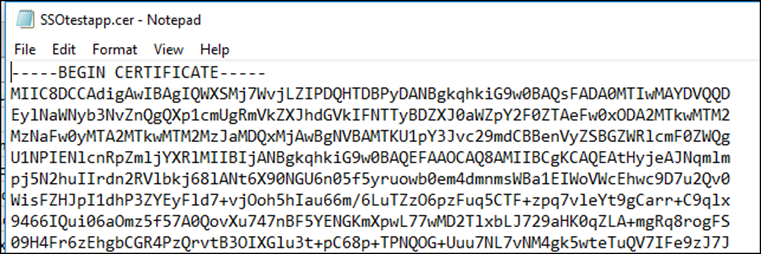
In SAML based application the certificate needs to be open in notepad and copied
Conclusion
I have to say that configuring SAML based application is not the easiest process and it requires a deep understanding of how authentication works.