In this blog post, I’ll show you how to create a Shared Mailbox on Exchange Online using the Exchange Online Admin Center or Exchange Online PowerShell.
Not many people know it, But Shared Mailboxes are free on Exchange Online and come with 100GB of storage.
The only trick Is that the users accessing them must have an Office 365 license and a mailbox In order to access them.
Shared Mailboxes are great for Service Desk, Shared Calendars and anything that more than one user needs to access.
Get Started
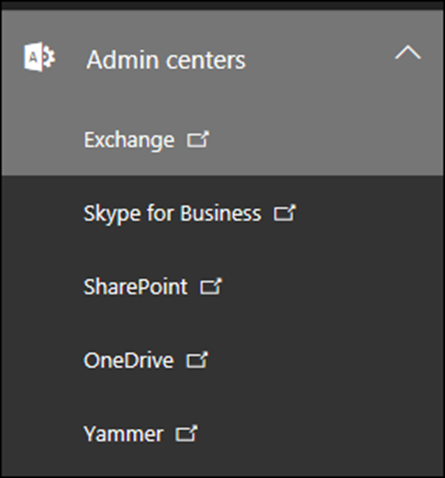
To create a Shared Mailbox, Simply log In to Office 365 and open the Exchange Admin Center
Click on Shared -> +

Fill in the details and click Save

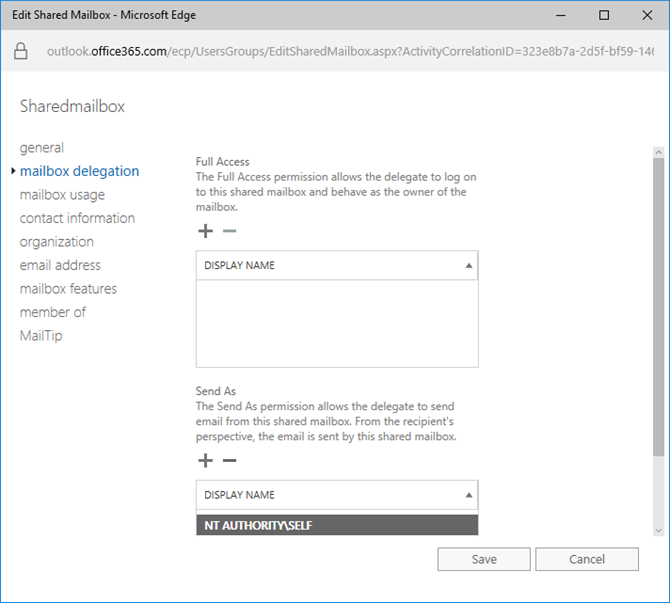
Once done, Assign permissions to it and save.
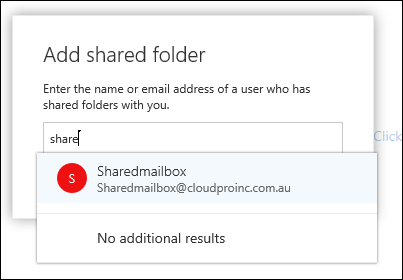
To access the shared mailbox from Exchange Online Web Interface, simply right click on your mailbox name and click on Add Shared Folder

Type the name of the mailbox you are done.
Below you could see the mailbox

If you are using Microsoft Outlook, The mailbox will automatically appear In Outlook under the User’s mailbox.
Use PowerShell
You could also use Exchange Online PowerShell to create the shared mailboxes using the cmdlet below.
New-Mailbox -Shared SharedMailbox02
