In this Windows Containers article, I’ll show you how to use the most basic Networking Option in Windows Containers.
As I’ve shown you before, Windows Containers comes with 5 Network types which I’ve blogged about the most popular option in this article.
Today, I’ll show you how to use Port Mapping in Windows Containers, which Is really good for testing and development purposes but not for production because it’s the main limitation.
How does Port Mapping work?
Port Mapping allows us to open a port or ports on a Windows Container (only when creating It or when it’s in a stopped state).
Once opened, We can access the port from the Container Host only via the Internal NAT Network which Is 172.28.112.0/20 by default.
To view your Nat Network run the cmdlet below from your Container Host.
Get-ContainerNetwork -Name nat

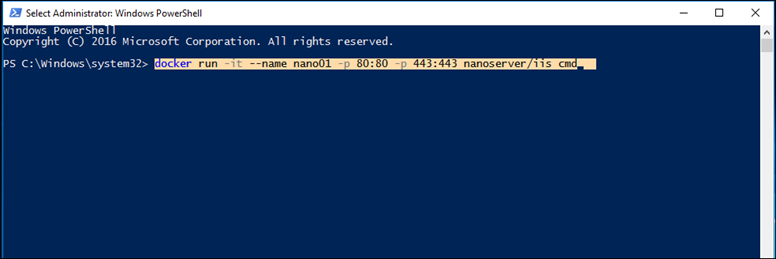
Next, To start a Windows Container with port 80 and 443 open I’ll use the command below:
docker run -it --name nano01 -p 80:80 -p 443:443 nanoserver/iis cmd

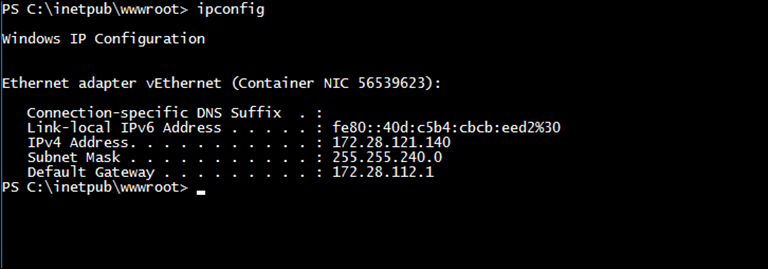
In the Container, I’ll run the command below to get the Container IP address
Ipconfig

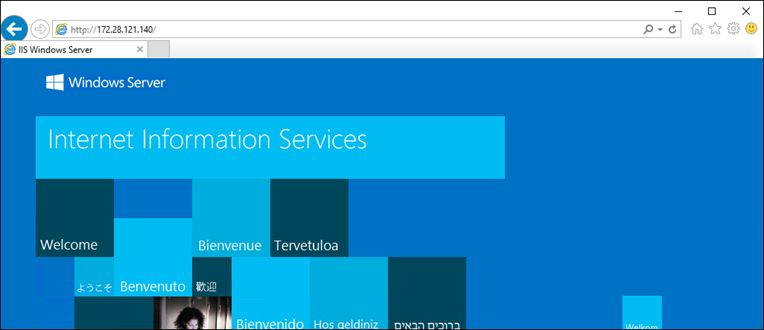
If I visit the Container IP address from my Container Host I’ll see the IIS Server
http://172.28.121.140

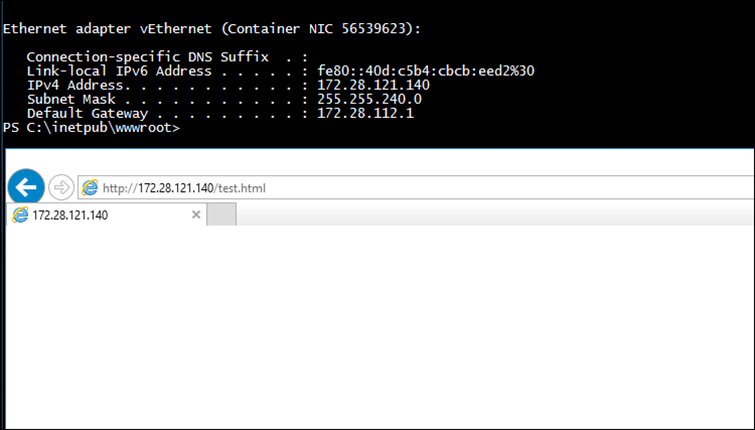
I could also, Create a test page on the Container WWWROOT folder and access it
New-Item test.html -Type fi

Done
