In this article show you how you can Install, Update and Remove Windows PowerShell Modules directly from PowerShell without using a Web browser.
This amazing feature Is possible thanks to PowerShell Gallery Which Is powered by Microsoft and Is acting a central repository PowerShell modules and scripts.
The requirements for using PowerShell Gallery are:
Windows 10 or Windows Server 2016 machine.
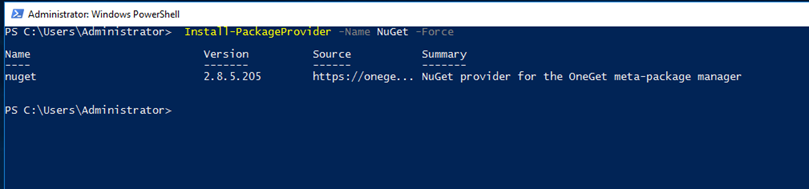
To get start, Open PowerShell and type:
Install-PackageProvider -Name NuGet -Force
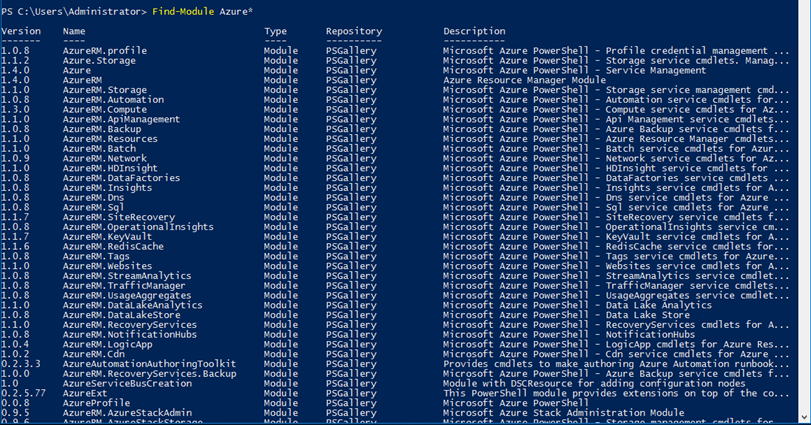
Find-module Azure*
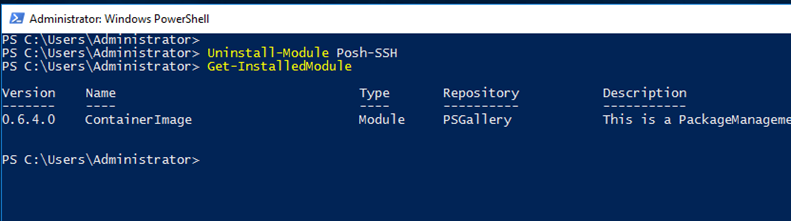
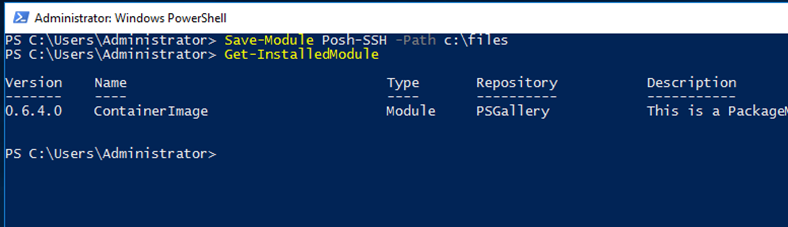
To view Installed modules type:
Get-InstalledModule

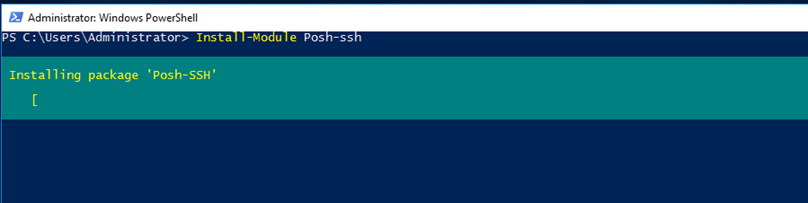
To Install a Module type the cmdlet below, In this module I’ll use the Posh-SSH module which I have covered before In my Use SSH To Manage Linux VM From PowerShell popular post.
Install-Module posh-SSH

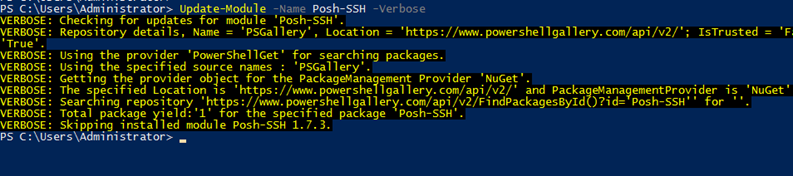
To update a specific module type:
Update-module -Name posh-SSH -Verbose
To update all Installed module type:
Update-Module
To remove a specific module type:
You can also Save modules without Installing them using the cmdlet below:
Save-Module Posh-SSH -Path c:\files
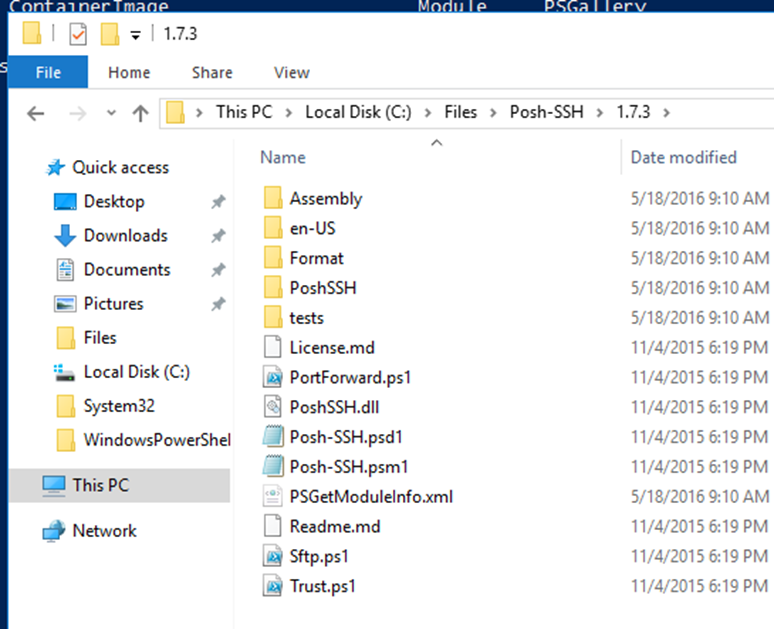
And below you can see the saved module
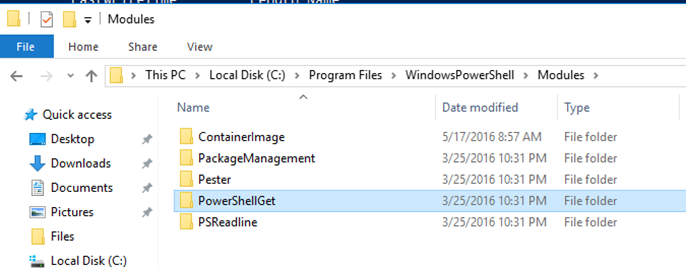
By default Installed Modules will be Installed In
ProgramFiles\WindowsPowerShell\Module