Following the success of my Windows Containers Series on Microsoft Azure and following many requests, I’m publishing this article that will show you how I setup Windows Server 2016 Technical preview 5 as a container host from scratch and also Install the Docker demon engine to manage and create Windows Server Containers.
In this article I’ll be using Windows Server 2016 Technical Preview 5 running In Microsoft Azure, however you can also run this In your lab after you download technical preview 5.
I’m also going to use Docker to create the Windows Containers.
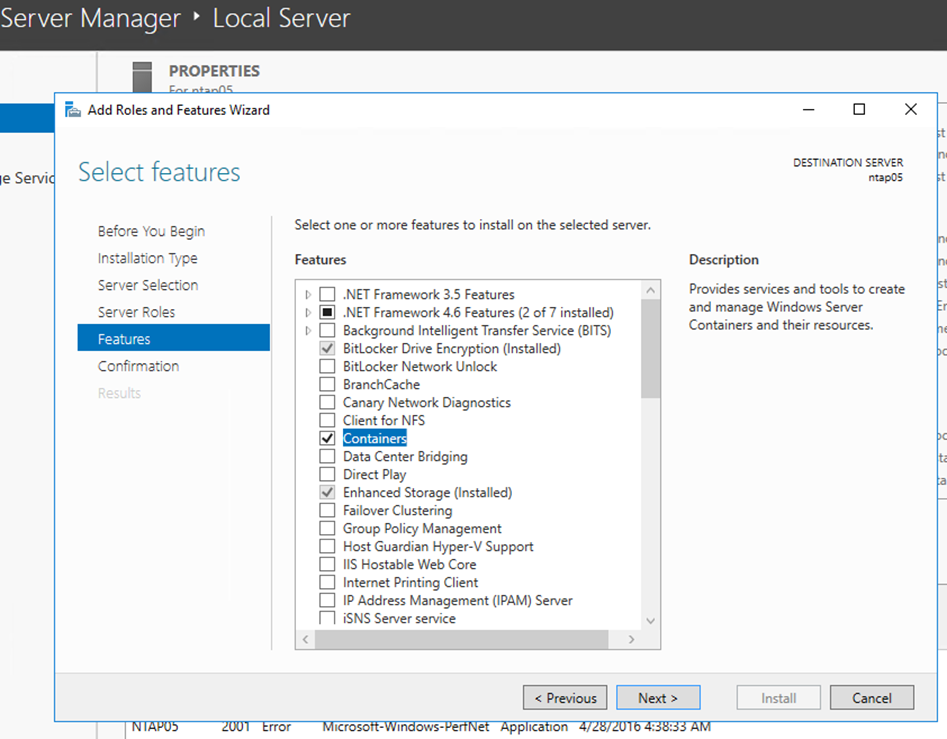
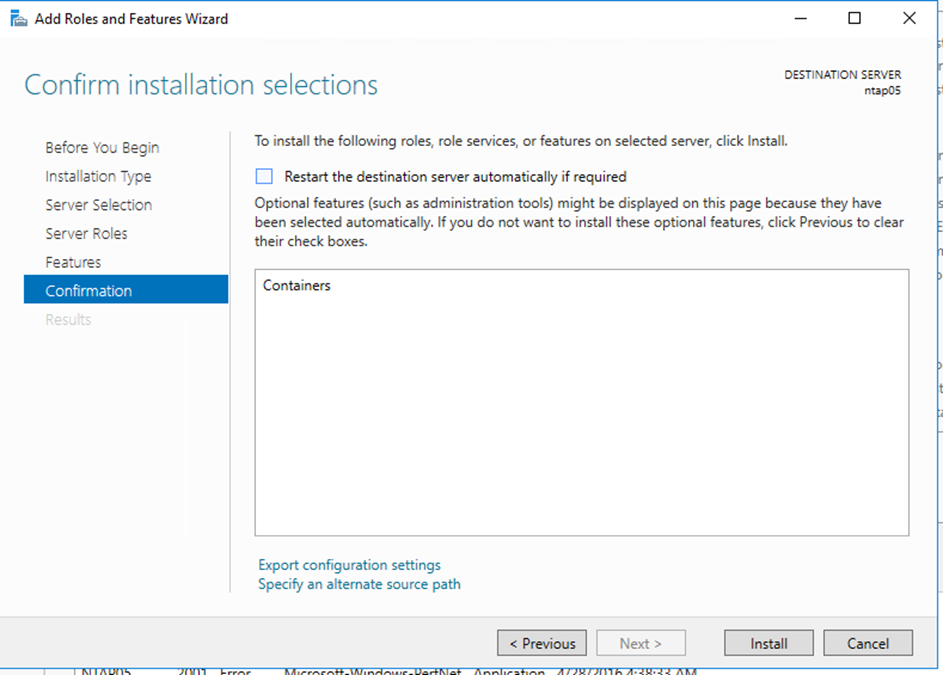
To start, open Server manager and Install the Containers feature.
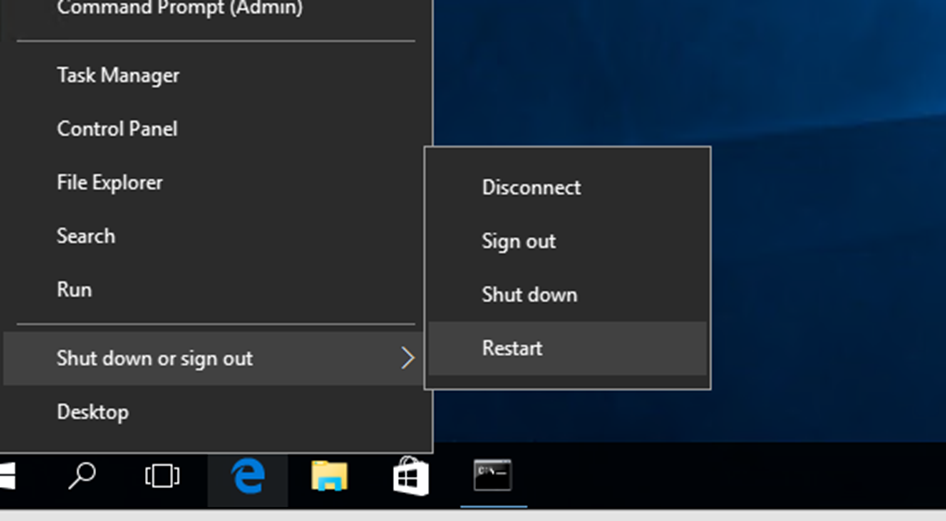
Restart Server when Installation Is done,
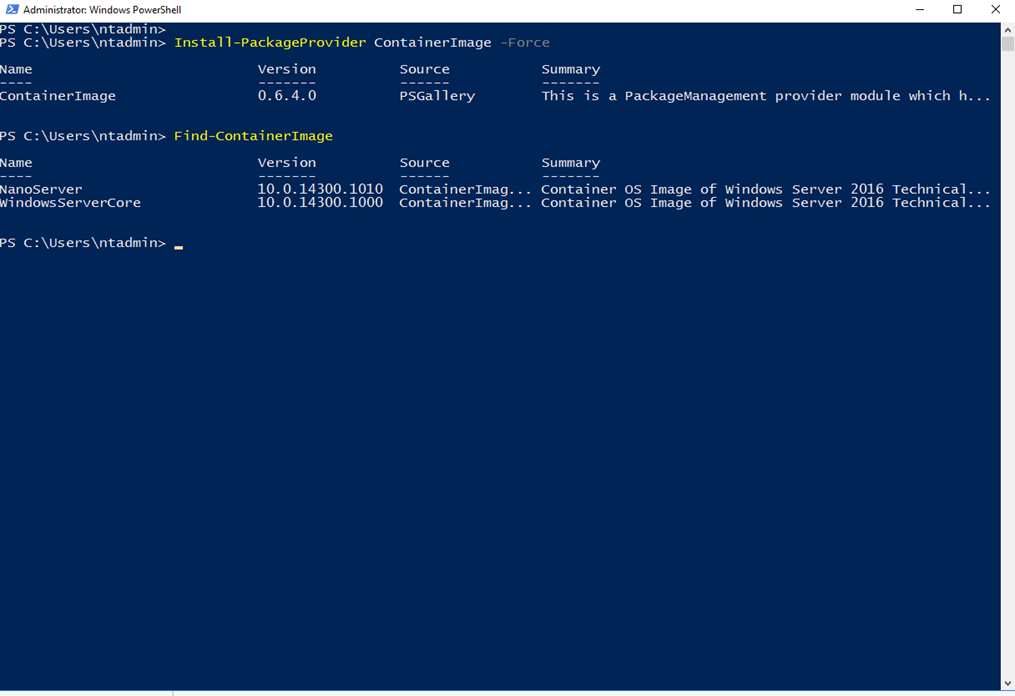
When server boot, Open PowerShell and Install the Windows Images the Windows Containers will run:
Install-PackageProvider ContainerImage -Force
Find-ContainerImage
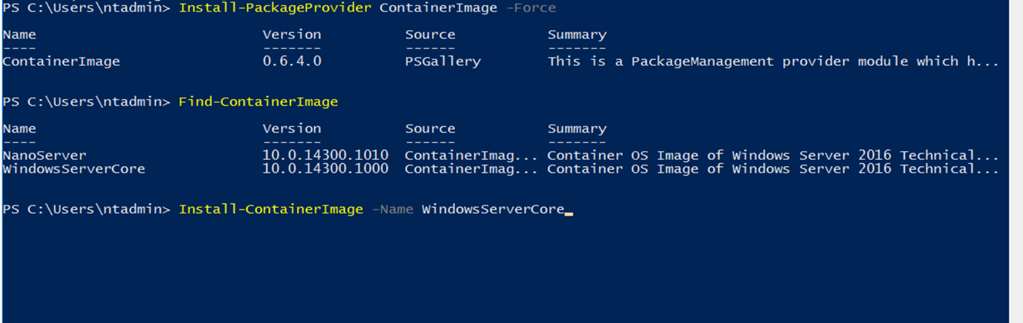
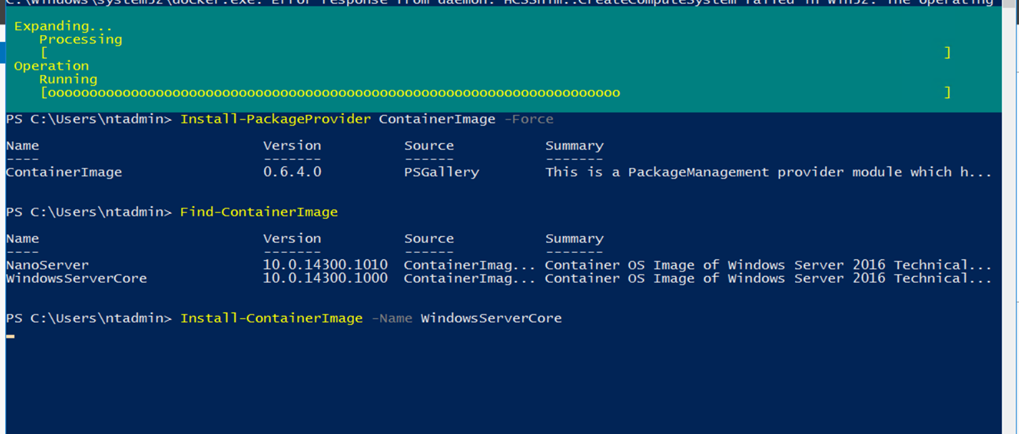
Next, I’m Installing the Server core Image:
Install-ContainerImage -Name WindowsServerCore
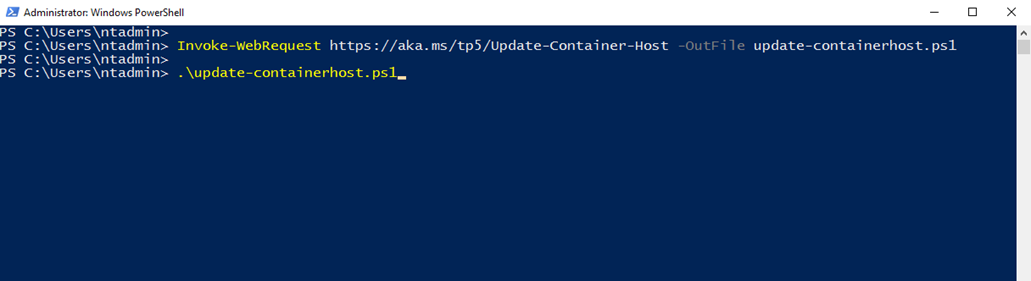
Install Docker
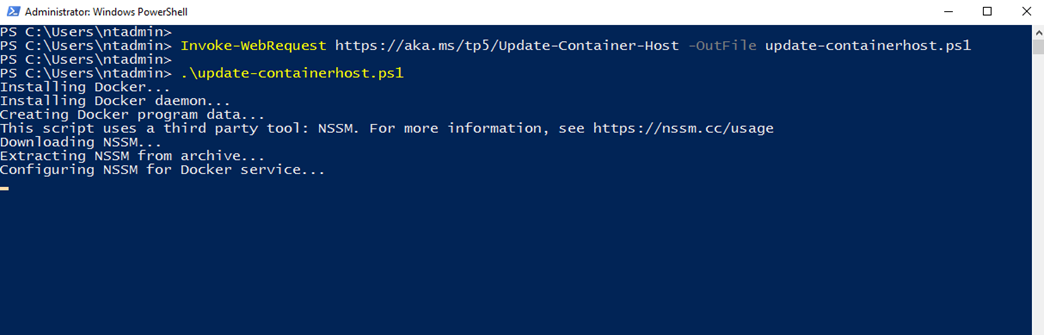
Next I’m Installing the Docker Demon engine using the two lines below:
Invoke-WebRequest https://aka.ms/tp5/Update-Container-Host -OutFile update-containerhost.ps1
.\update-containerhost.ps1
Done
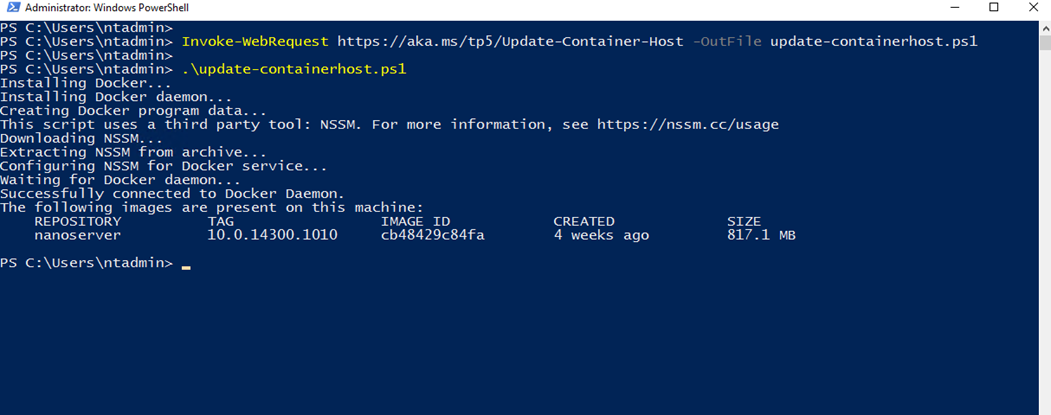
Now I can use Docker

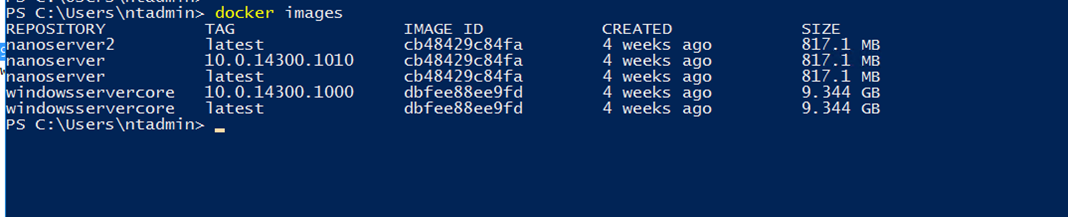
Before I can run my Windows Containers I need to tag my Server Core Image to be tagged as Latest build:
Copy the Windows Server Core Image ID after you run Docker Images and run the line below to tag it:
docker tag <image id> windowsservercore:latest

Now my Server Core Image Is set to be the latest
Now I can run my Windows server Core Image
Docker run -it windowsservercore cmd
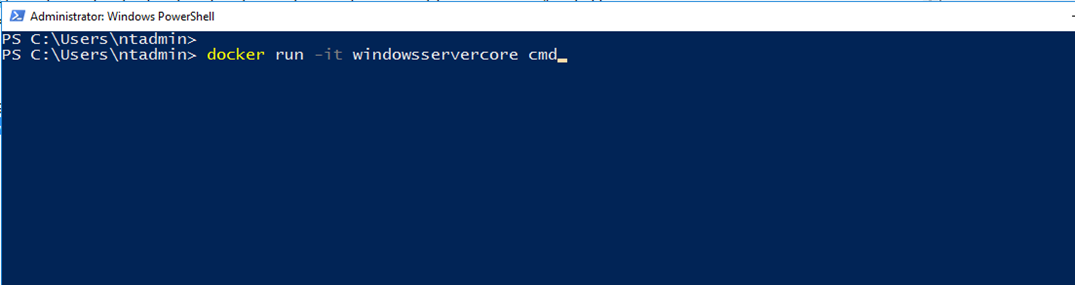
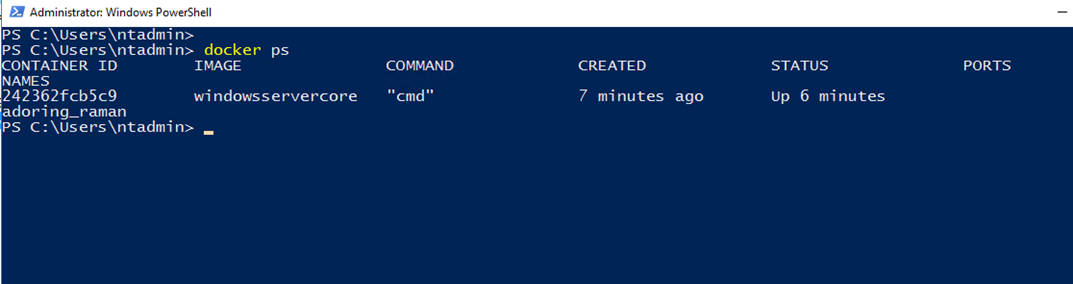
And If I type Docker ps I can see it running