Windows Server 2016 will be shipped with a preloaded and enabled by default Antiwalware tool that will protect your server from the moment you boot it.
This is a great move by Microsoft as In most servers deployment it takes a few weeks for the engineering team or admin to load a Antimalware software to their server after deployment and in some cases it’s being forgotten.
The new Antimalware tool can be managed from PowerShell and there is no GUI.
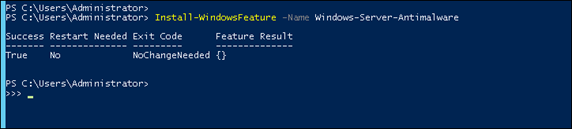
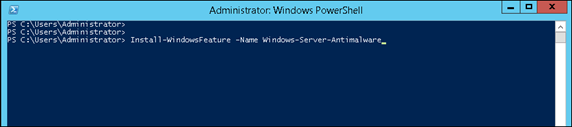
To Install the tool In case it was uninstall use the cmdlet below Remember that the tool is Installed by default so there is no need to do it If no one uninstalled In case you run it nothing will happen.
Install-WindowsFeature -Name Windows-Server-Antimalware
To uninstall the tool use the cmdlet below:
Uninstall-WindowsFeature -Name Windows-Server-Antimalware
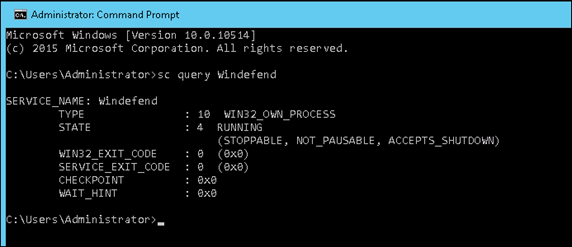
To check If the tool is running run the cmd below from the cmd tool (not PowerShell)
sc query Windefend
To view all the available cmdlet run:
Get-Command –Module Defender
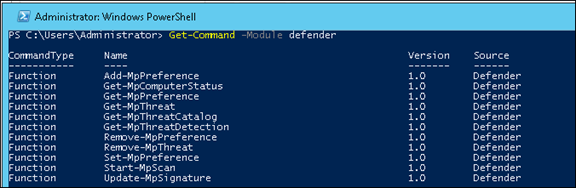
The cmdlets are:
Add-MpPreference
Get-MpComputerStatus
Get-MpPreference
Get-MpThreat
Get-MpThreatCatalog
Get-MpThreatDetection
Remove-MpPreference
Remove-MpThreat
Set-MpPreference
Start-MpScan
Update-MpSignature
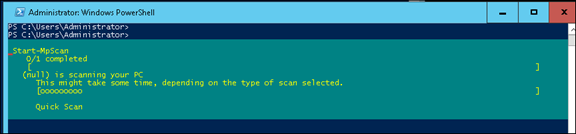
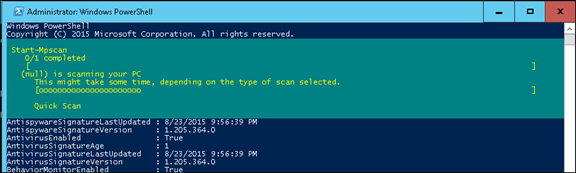
For example to run a manual scan use: Start-MpScan
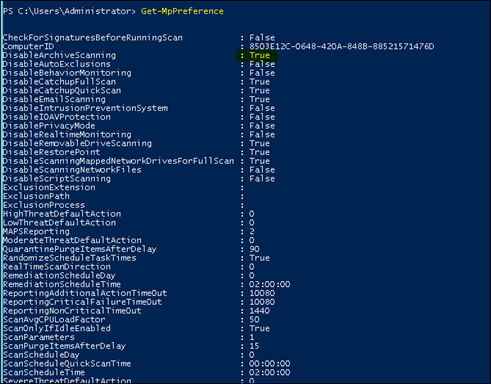
To change one of the setting use the example below.
Set-MpPreference -DisableArchiveScanning $true
How To Add File Type Exclusion Windows Server 2016 Antimalware
If you need to add file type Exclusion to Windows Server 2016 Antiwalware you will need to use PowerShell as there is no GUI Interface at this stage.
To add exclusion open PowerShell and type:
add-MpPreference -ExclusionExtension *.pst

To view all exclusions type Get-MpPreference | select exclusionextension

To Exclude a path use:
Add-MpPreference -ExclusionPath “c:\install”
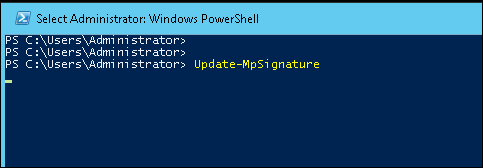
How To Updates the antimalware definitions
To update the antimalware definitions use update-mpsignature
How To Manually start a scan
To start a manual scan type start-mpscan