In this blog post, I will show you how to build a .NET Core Application with GitHub Actions and create an artifact.
Repo
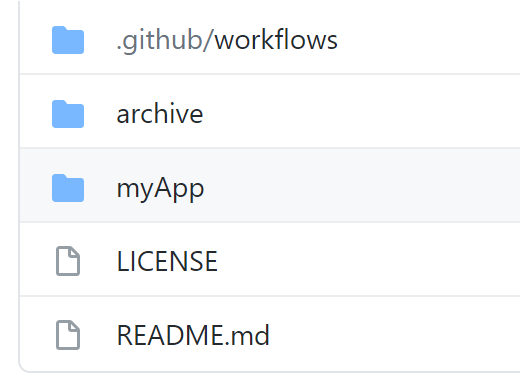
Before we start, please note that I have added my application to my GitHub repository for the build to work, as you can see below. This step is critical since we need to specify the location of the working directory in the workflow YAML file. My application name is called myApp.
Workflow
The workflow below is using the .NET official template for building and testing .NET and ASP.NET applications.
For the build I will use the latest .NET 5 version and will run it on a Ubuntu 20.04 runner.
name: .NET Core
on:
  push:
    branches: [ main ]
  pull_request:
    branches: [ main ]
jobs:
  build:
    runs-on: ubuntu-latest
    steps:
    - name: Checkout GitHub actions
      uses: actions/checkout@v2
    - name: Setup .NET Core
      uses: actions/setup-dotnet@v1
      with:
        dotnet-version: 5.0.x
    - name: Install dependencies
      run: dotnet restore "./myApp"
    - name: Build code
      run: dotnet build "./myApp" --configuration Release --no-
      restore
    - name: Test code
      run: dotnet test "./myApp" --no-restore --verbosity normal
    - name: Publish application
      run: dotnet publish "./myApp" -c Release -o myApp
    - name: Upload Artifacts
      uses: actions/upload-artifact@v2
      with:
       name: my-artifact
       path: "./myApp"
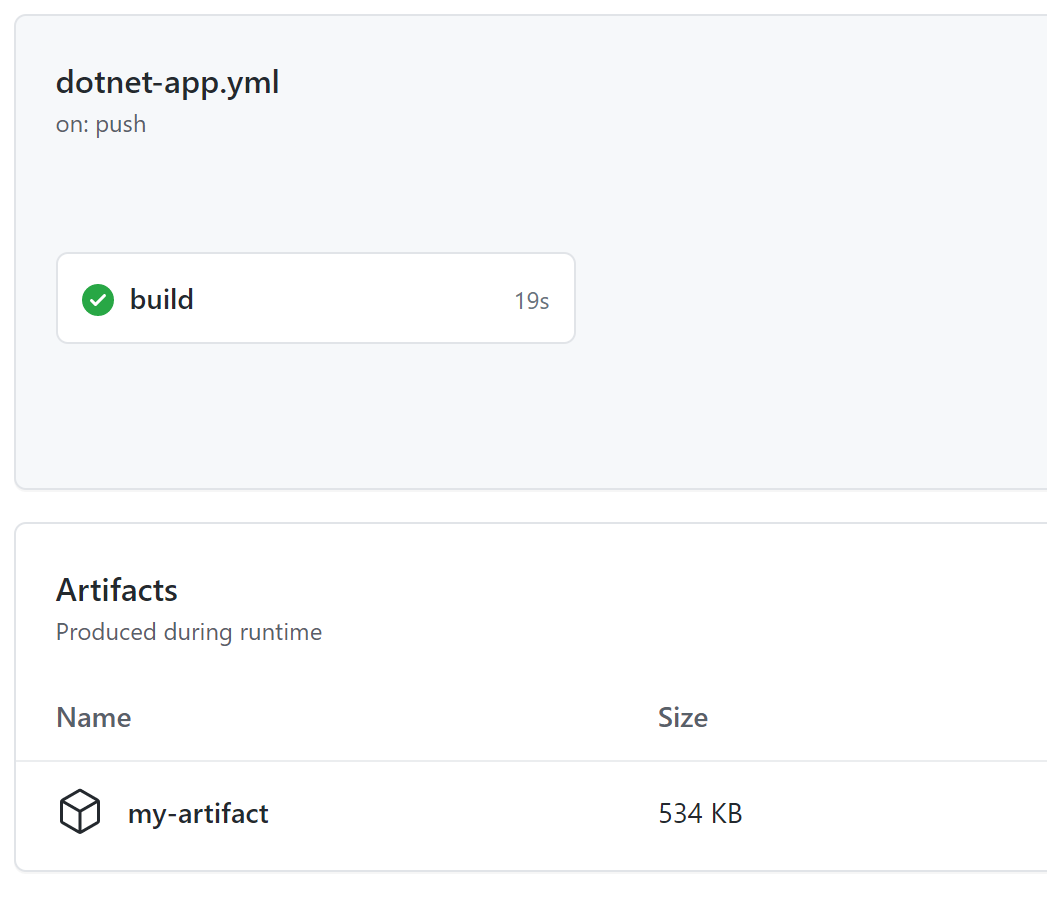
After the run is completed an artifact will be produced and be available in the run summery page as shown below.
For more GitHub Actions posts, please visit the main category page.