On first of April 2019, Microsoft released the latest version of Visual Studio 2019, the #1 Software Development Environment (SDK) in the world.
I can say a lot about VS, but I think it knew how good it is.
In this blog post, I will show you the installation steps which are not complicated but there a few things you need to know.
Get Started
In my case, I have Visual Studio 2017 already installed on my machine, and I am going to also install VS 2019.
VS 2019 can be installed side by side next to the previous version of VS.
The main reason I decided to install VS 2019 is that it supports .NET Core 3.0 (Preview mode) and I would like to test some of my apps before the official release.
VS 2019 comes in three editions:
- Community – Free for non-commercial use
- Professional – Paid version and the one I am installing
- Enterprise – Paid version
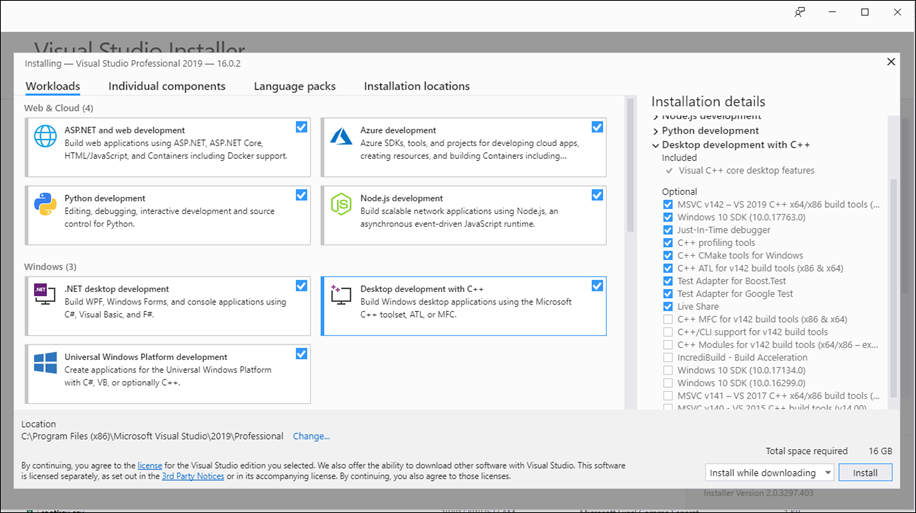
To get started, I have downloaded the VS 2019 installer from the Visual Studio website and started the installation as shown below.
From the components screen, I have selected almost all the workloads which come to 16GB disk space.
Please note, that it doesn’t matter if you have previous versions installed, VS will still install the workloads.
After selecting the workload, the entire process is set and forget and can take an hour.

When the process is completed, I have started VS 2019 and as shown below, the interface completely different compared to VS 2017.

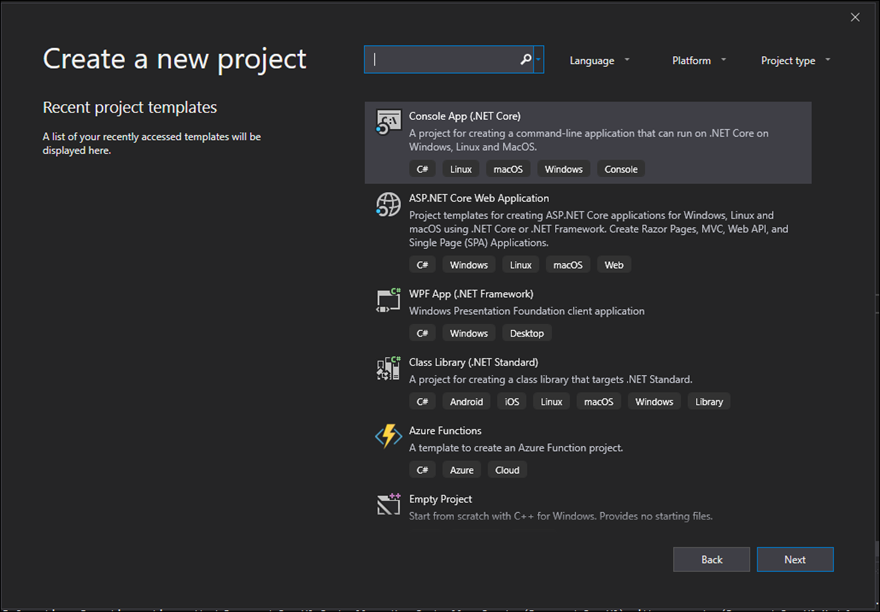
When clicking on create a new project, you will see a completely different experience, which I think is much better than before.
In the next few articles, I will continue to explore VS 2019 and .NET Core.