Back in the Windows Server 2008 days, Microsoft released its first Information Protection product called Active Directory Rights Management Services (RMS) that was part of the Windows Server role.
10 years later Microsoft made life easier for admins and took RMS to the cloud and also rebranded it as Azure Information Protection (AIP).
I after working on both systems I can say that AIP is a much better and easy to deploy compared to RMS which was one of the hardest MS product to deploy because of all the complexity and systems involved during setup.
About Azure Information Protection (AIP).
AIP is a cloud-based information protection systems that allow businesses to secure documents and protect them from being viewed by users that are not part of the organisation and within.
With AIP we can also restrict the usage of the documents, for example,e prevent printing, and automatically protect documents with credit card details etc.
Get Started
Setup AIP is a two part process:
- Enabling and configurating the AIP Service in Azure
- Install the AIP Office plugin and on the computers that will need to protect documents
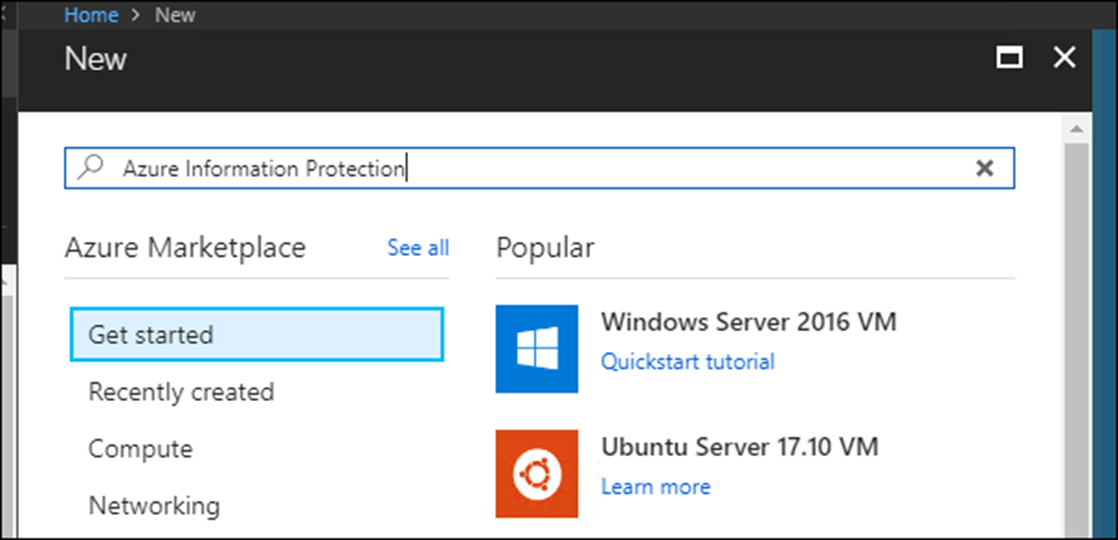
To setup AIP, I will add a new Service in Azure and search for Azure Information Protection and add it to my service


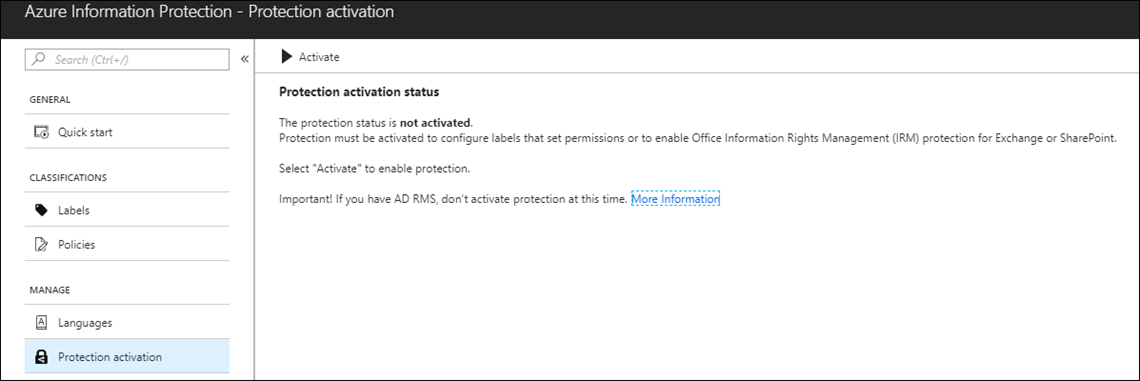
Once added I will click on Protection Activation and click on Activate
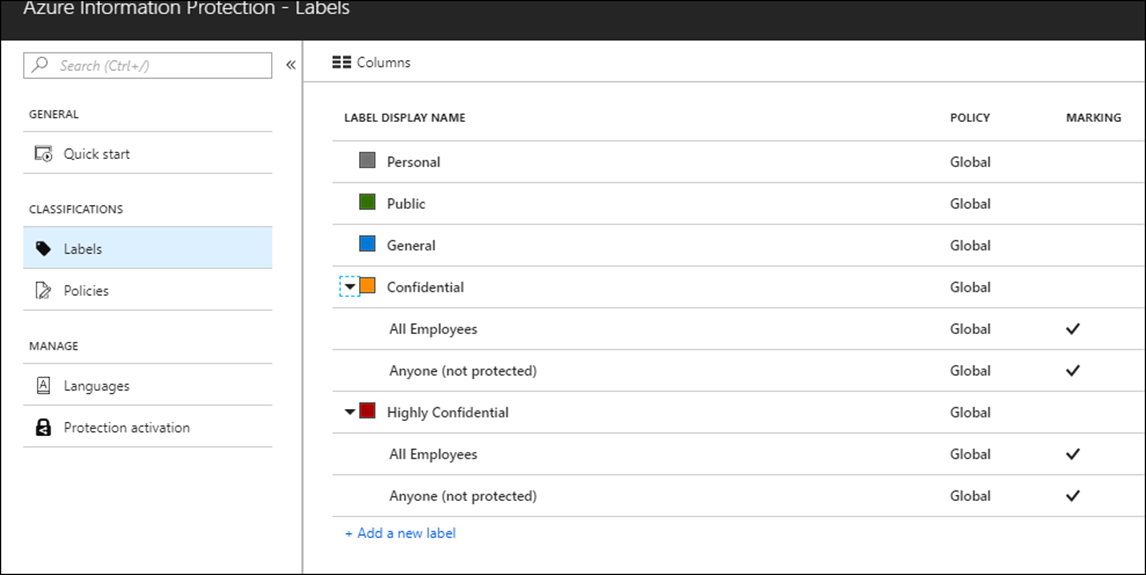
After activation, I will enable my first label called Confidential by clicking on it
In the details blade, I will select Protect and click on Azure (Cloud key)

In the protection settings, I will click on add permission and select all the users in the organization and OK
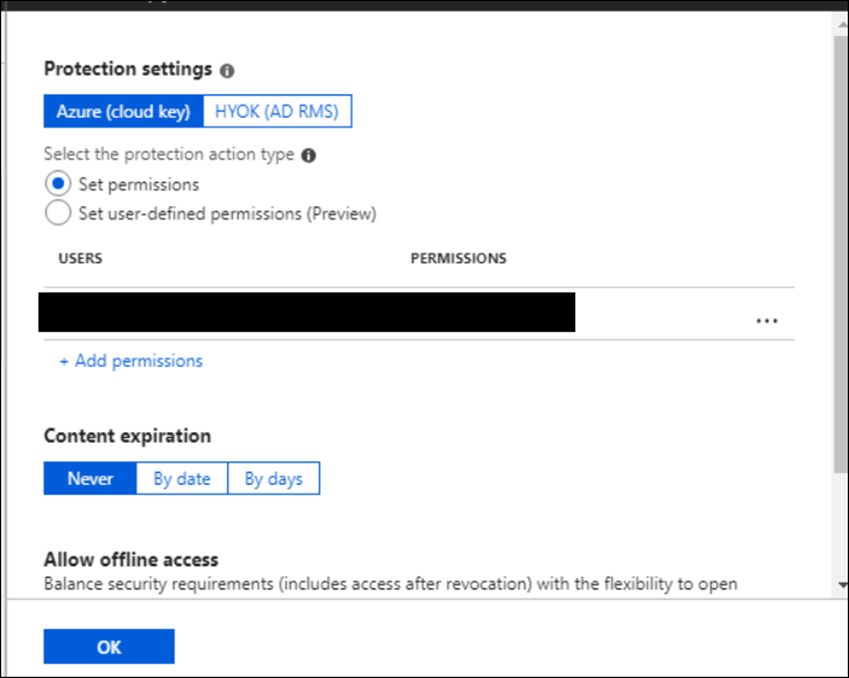
After I click OK the service is ready.
In my next article, I will show you how I install the client app and protect the document.
Note: AIP is part on the Azure Premium license family.