In this blog post series, I’ll show you how to deploy a Microsoft Load Balancing Services (NLBS) Cluster on Windows Server 2016 Server with two nodes In the cluster.
Network Load Balancing Services (NLBS) is a Microsoft implementation of clustering and load balancing that is intended to provide high availability and high reliability, as well as high scalability.
The first NLBS version was released on Windows Server 2003, In Windows Server 2016 we can have up to 32 nodes In an NLB cluster.
NLBS is intended for applications with relatively small data sets that rarely change like stateless applications, and typically include Web, FTP, and VPN servers.
Every client request to a stateless application is a separate transaction, so it is possible to distribute the requests among multiple servers to balance the load. One attractive feature of NLBS is that all servers in a cluster monitor each other with a heartbeat signal, so there is no single point of failure.
Important: Because my NLB cluster will run on a VM I need to enable Mac Address Spoofing on the NLB Hyper-V virtual machines using the cmdlets below (VMs need to be off when running cmdlet)
Get-VMNetworkAdapter -VMName nlb01 | Set-VMNetworkAdapter -MacAddressSpoofing On

In my deployment, I have:
- 2 X Hyper-V VMs running Windows Server 2016 standard edition
- Windows Firewall Disabled
- Mac Address Spoofing enabled
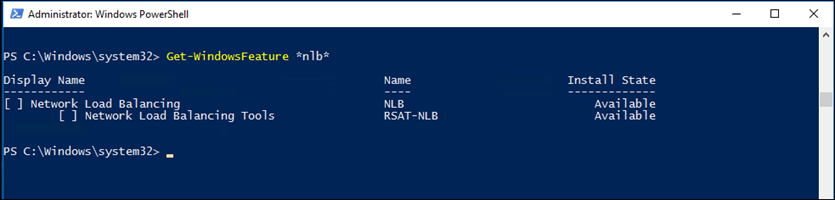
To get started, I’ll Install the NLB Service and the management console on my two Servers using the cmdlet below:
Add-WindowsFeature nlb,rsat-nlb

I also use PowerShell to install it in on the second host without login to the Server using the cmdlet
Add-WindowsFeature nlb,rsat-nlb -ComputerName nlb01

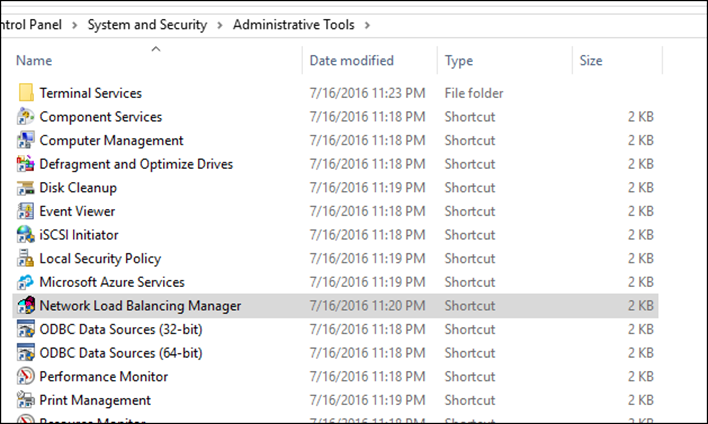
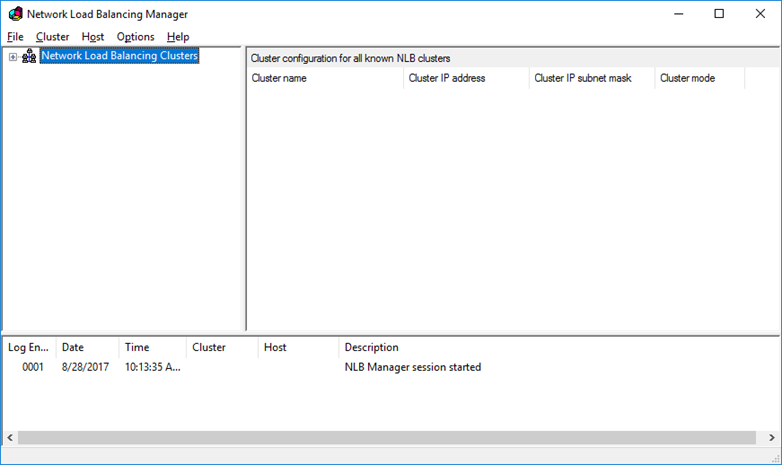
Once done, I can open the console from the Administrative Tools page
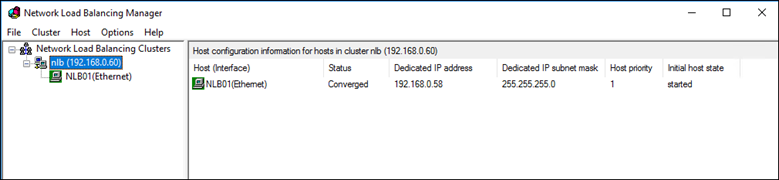
In my case I have two nodes In the cluster with the IP addresses:
- 192.168.0.58
- 192.168.0.59
The Cluster IP will be 192.168.0.60 ( This Is the address that will be balanced and the users will use to access the application on the cluster).
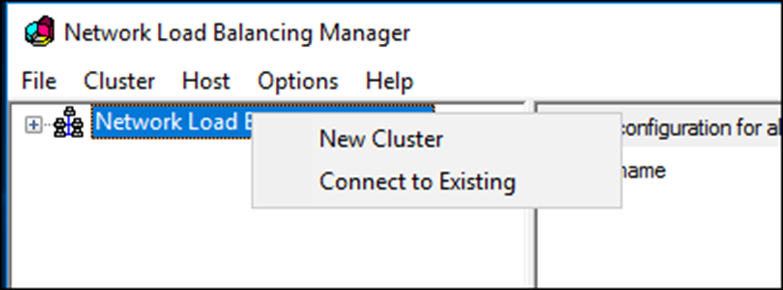
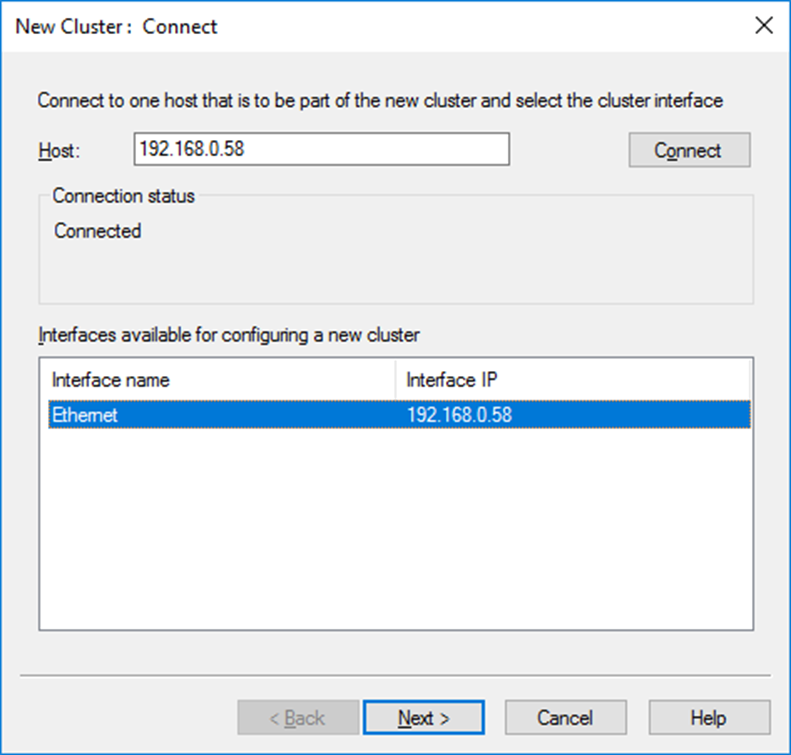
To create a new Cluster, Right click on the NLB header and click New Cluster
Type the name of the first node In the cluster and click connect.
Note: Make sure you disable the FW on the node

Once connected successfully, Click next
In the page below, We could set the node priority and Initial host state
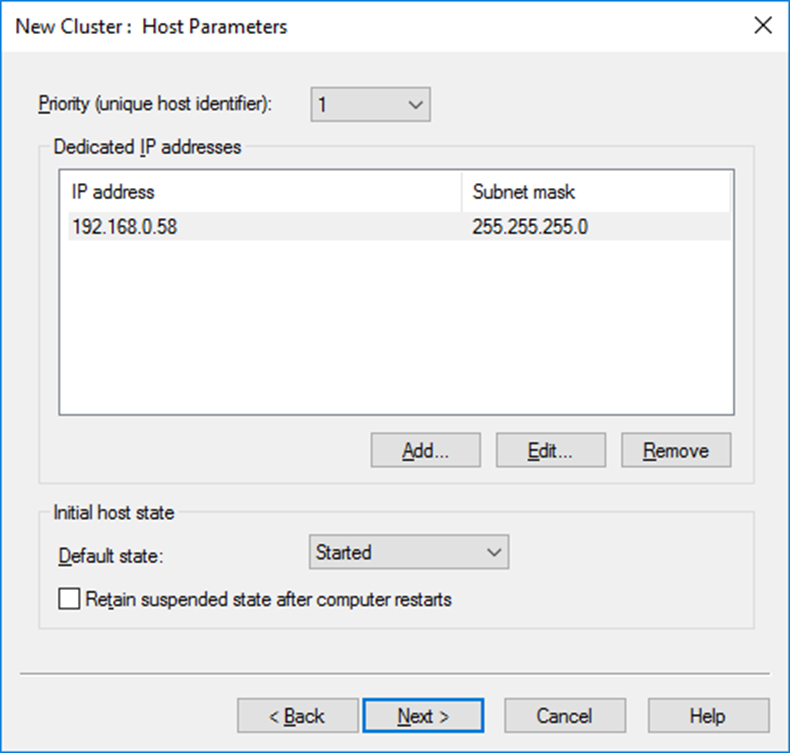
Click next
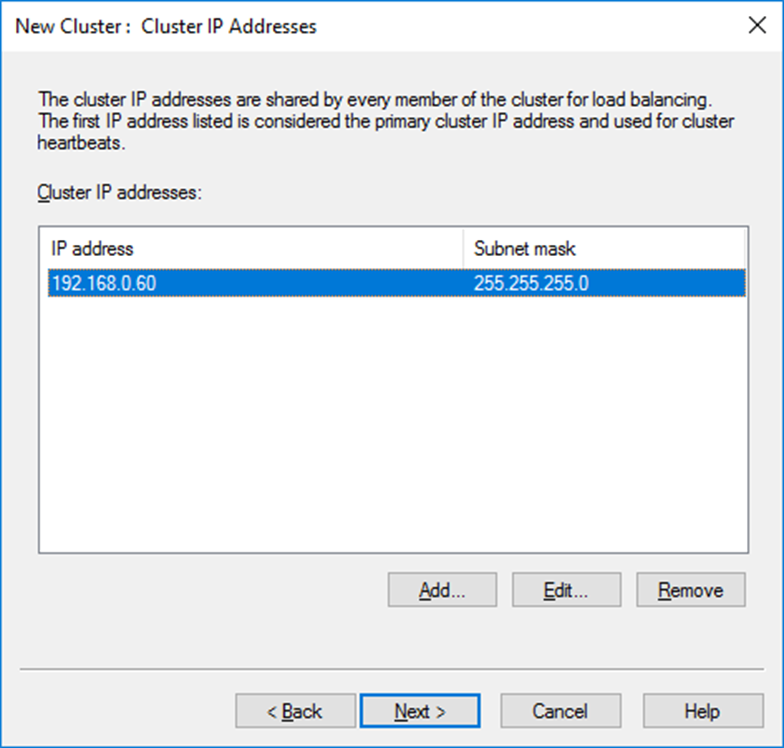
In the next screen, I’ll type the Cluster IP address which Is the IP address we will use for the application that will be balanced by the cluster.
We could also give a host name.
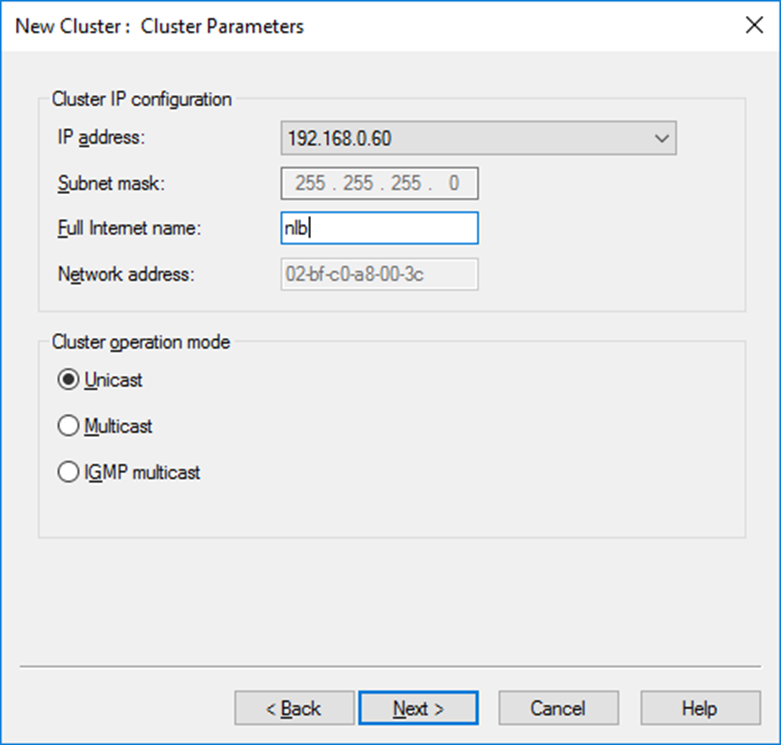
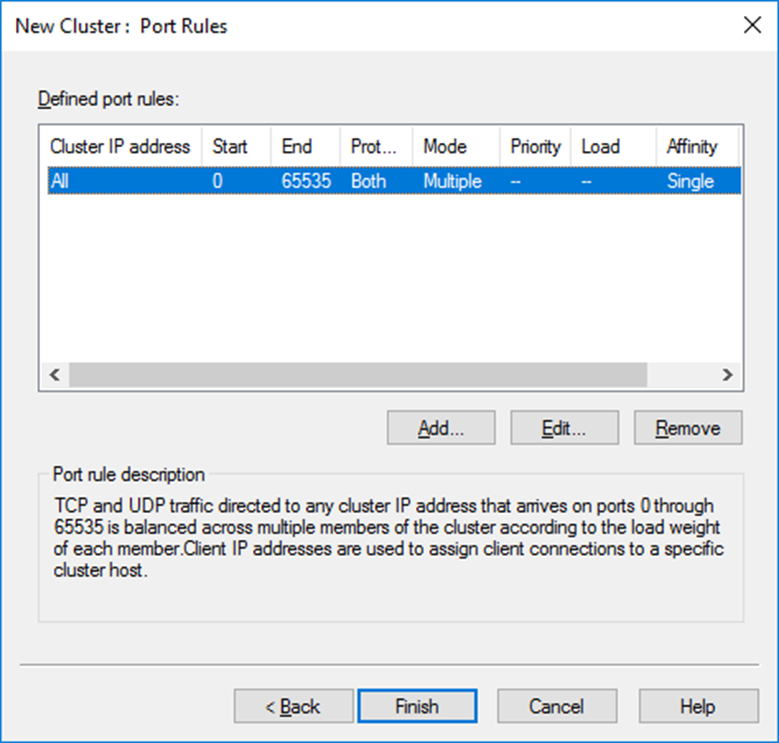
In the port rule leave as it is for now
Done, The Cluster Is now Configured.
In the next article, I’ll show you how to add the 2nd node.