In this part two article, I’ll show you how I boot a reference computer to a custom Image In Windows Deployment Server (WDS) and create a custom Image from It for future deployments.
To view part 1 of this article, Part 1: Create A Gold Image Using Windows Deployment Server 2016
A custom Image Is an Image made of a reference computer where all needed applications are Installed Including custom configuration Is loaded.
Once done, the computer Is Imaged by WDS as a Custom Image \ Gold Image and uploaded to WDS and deployed to new computers.
When doing that there Is a huge time-saving in the deployment process.
To Get started to check the three articles below before you start:
- Install Windows Deployment Server On Windows Server 2016
- Configure Windows Deployment Services On Windows Server 2016
- How To Sysprep Windows Server 2016
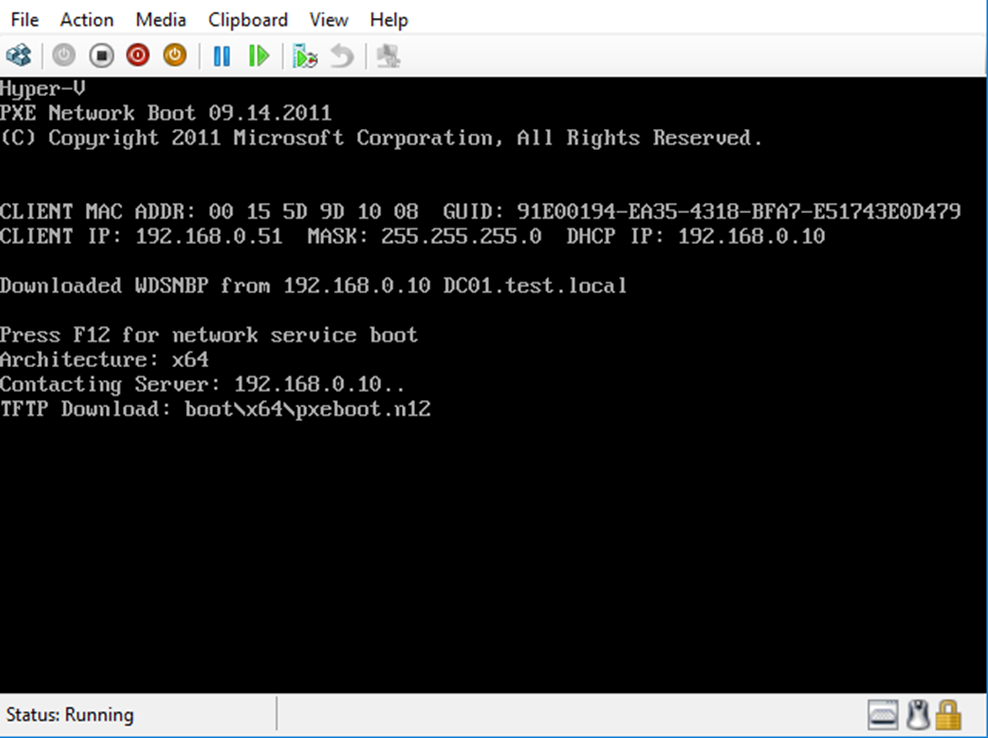
Next, I’ll boot my reference computer to press F12 to boot Into the Capture Image
As you can see below, I’m selecting the Gold Image
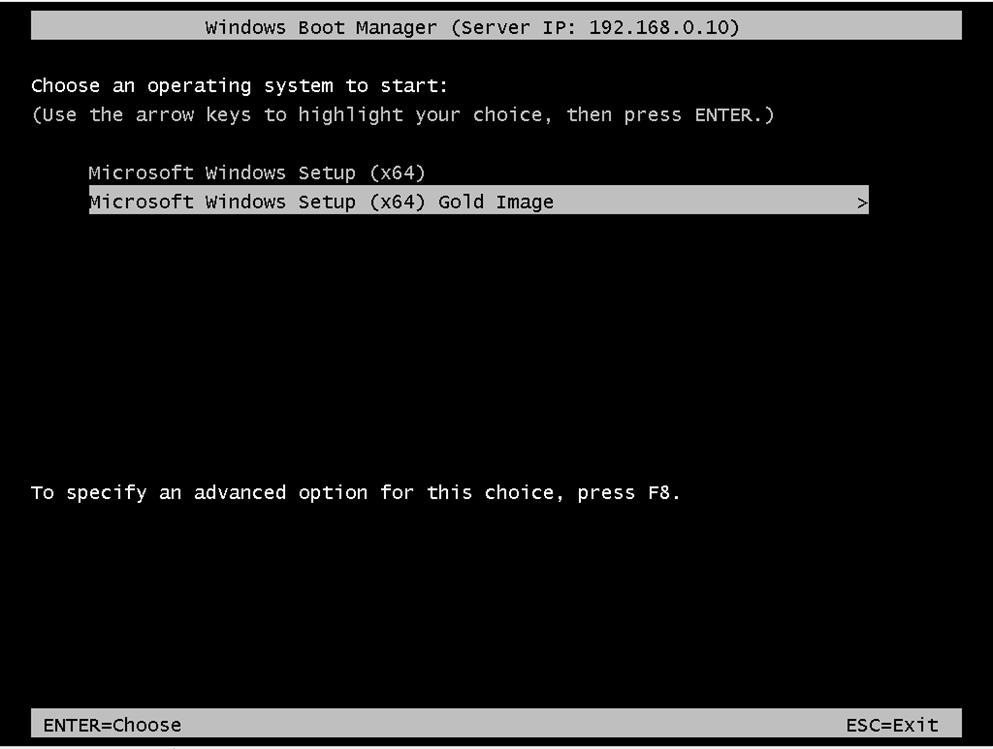

Click Next
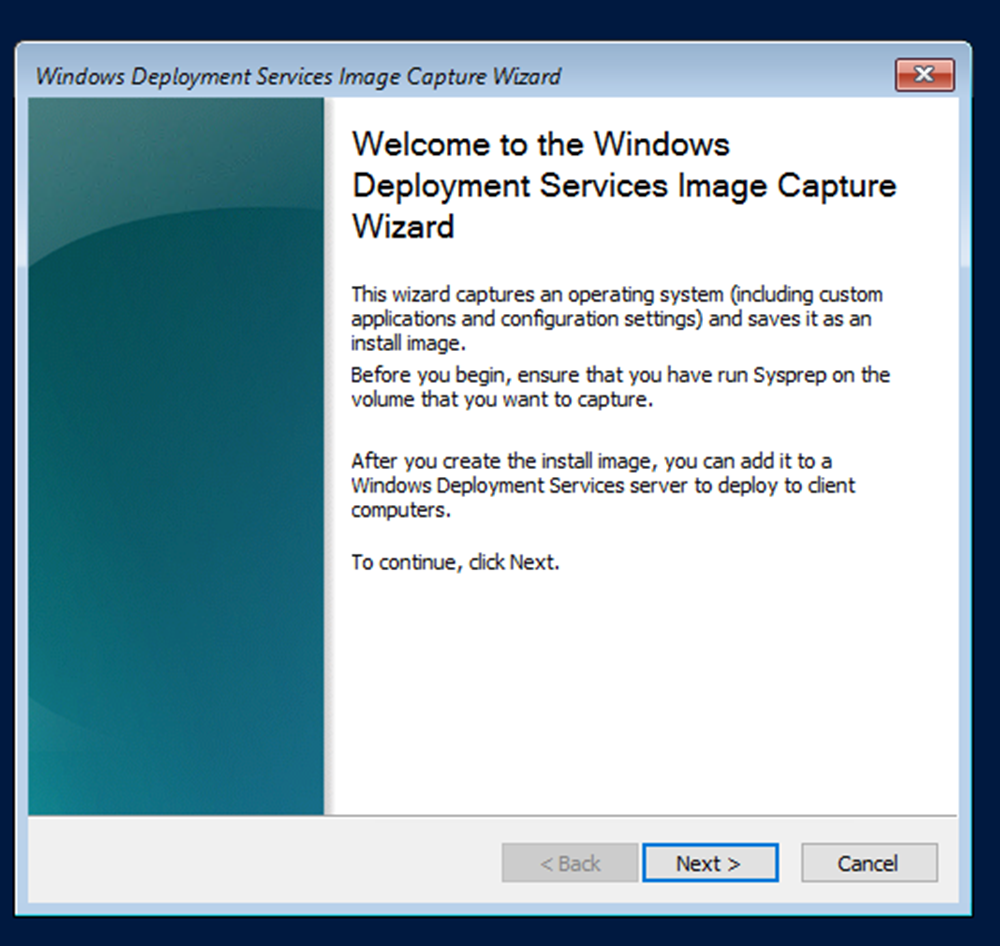
Next, I’ll select the OS Drive to capture from the Reference Computer (Note: you will need to Sysprep the Reference computer before).

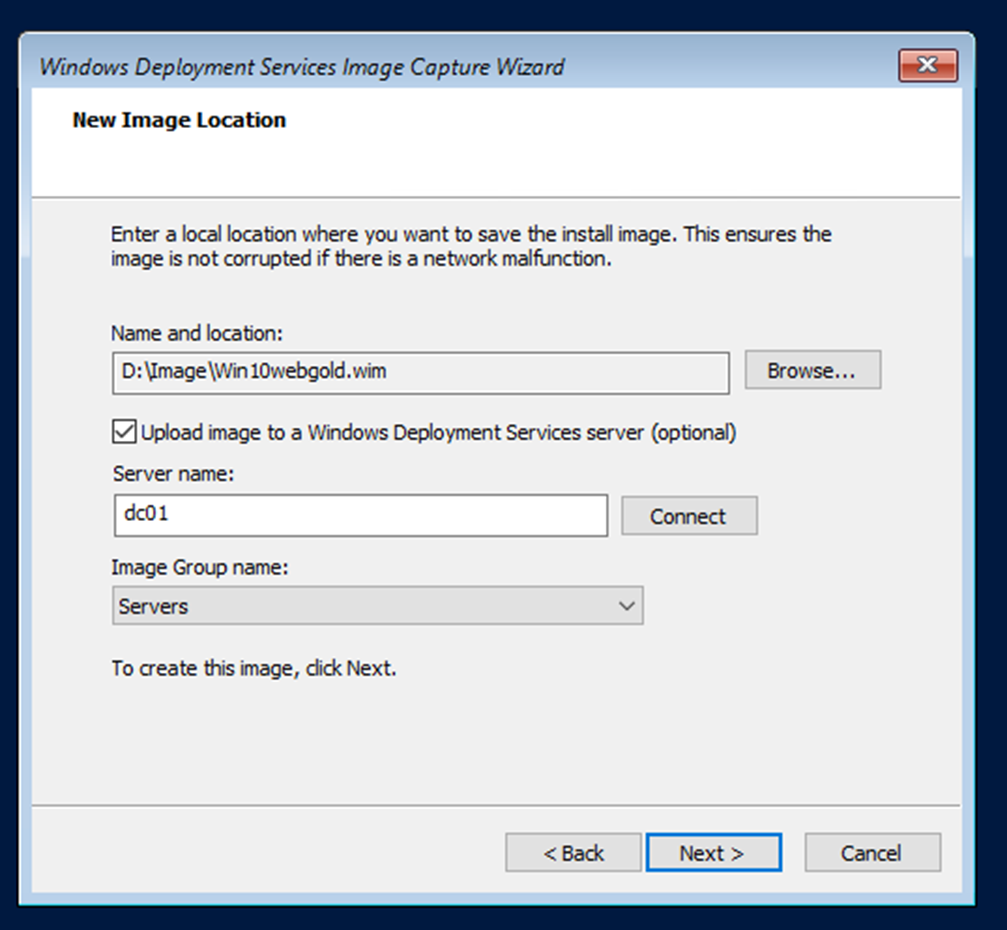
Now, I’ll select a local location on the reference computer to keep the Image also Upload the Image to WDS
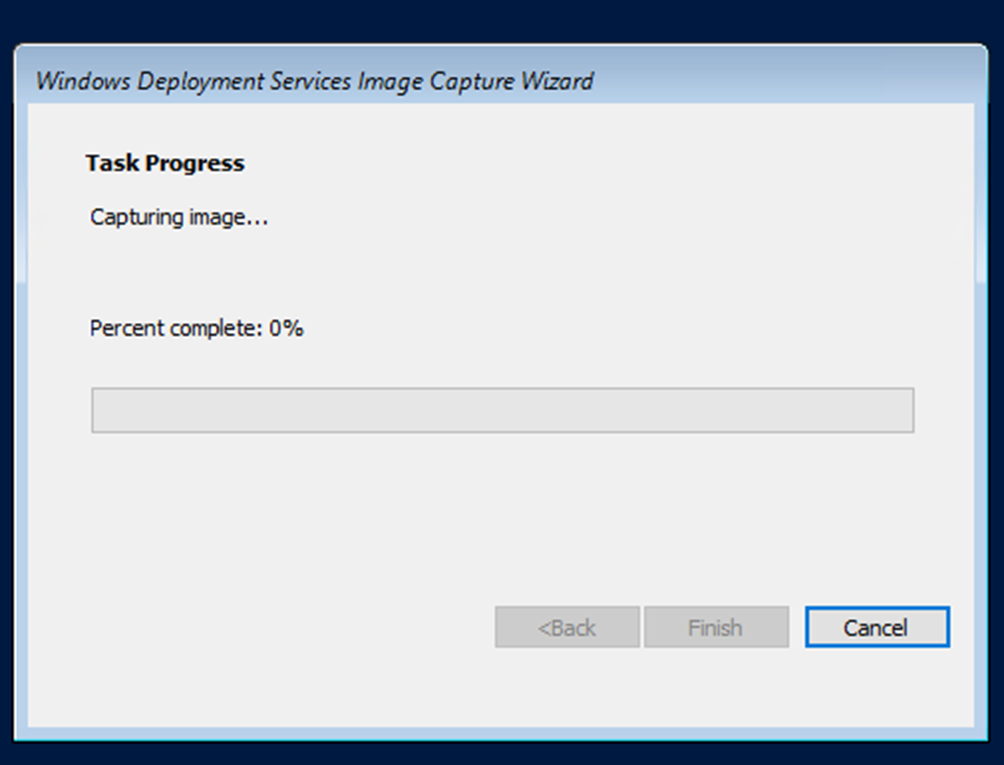
Now it’s waiting time
Done
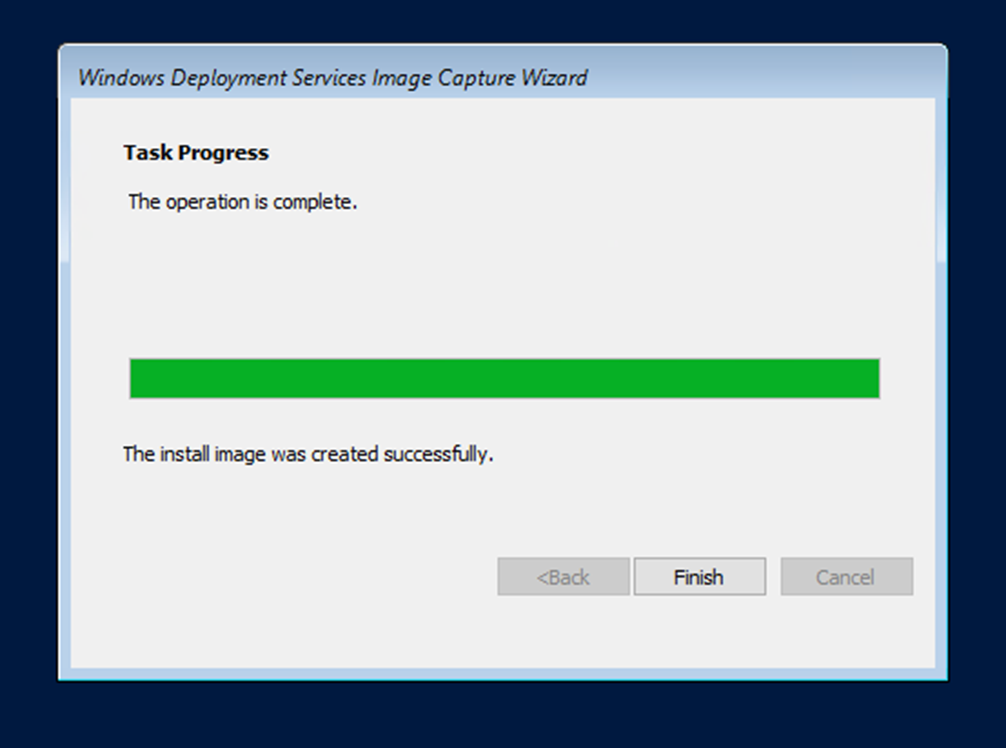
At this stage, The Image from the Reference Computer Is uploaded to WDS, in my next article I’ll show you how I build a new Virtual Machine from the Uploaded Image