In this article, I’ll show you how I add a new Data disk to my Windows Nano Server 2016 Virtual Machine hosted on Microsoft Azure.
Adding a new disk to a Windows Nano Server Is a very common task that every admin should perfect and understand it well.
The process does not require a restart or a hardware scan and can easily be preformed during business hours.
You will need to have VM admin access to the Azure Portal or a Global Administrator role.
On the Nano Server side, you will need to use a username that Is part of the Local Administrators group.
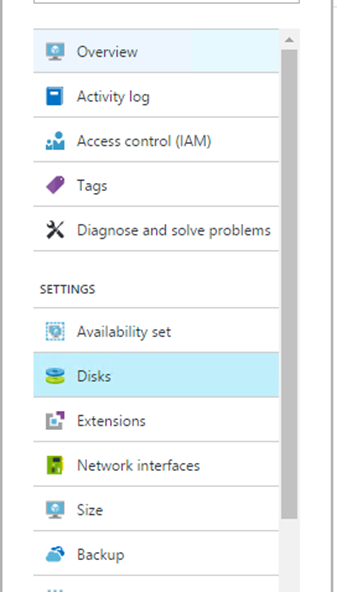
To get started, I logged In to the Azure Portal and open the VM blade -> Disk
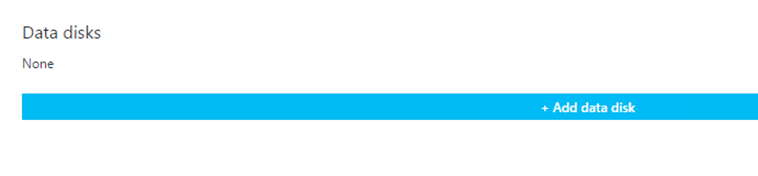
In the Disks blade -> Add Data Disk
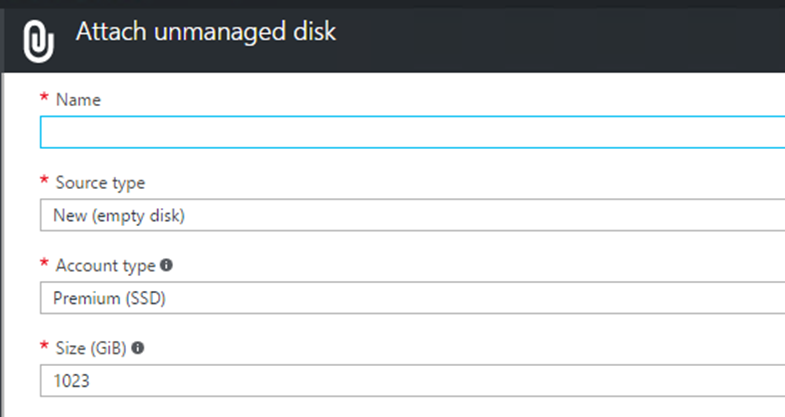
Next, I’ll fill In the details Including Name, Size etc
Once done, In the disks blade change the disk to Read/Write

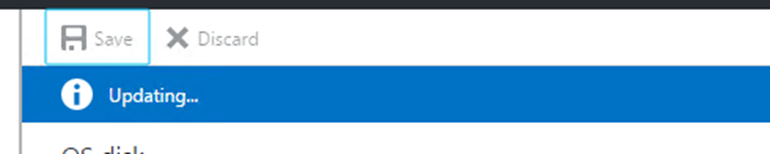
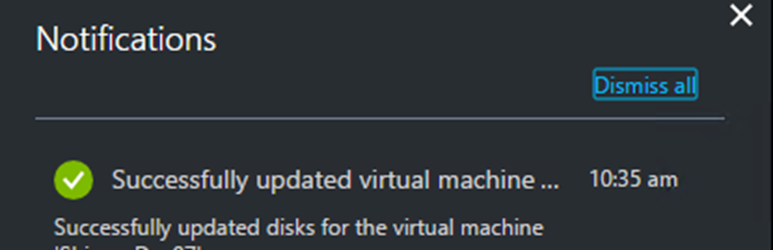
Click save and wait for the update to complete on the Azure side
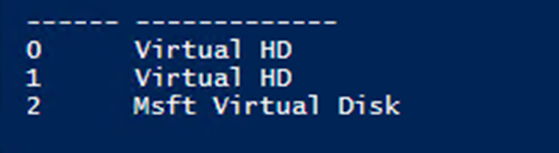
Once done, I logged In to the Nano Server and type get-disk to see the new disk
get-disk
In my case, the new disk number is 2 and the friendly name starts with Msft

Next, I’ll Initialize the new disk using the cmdlet below
Initialize-Disk -Number 2
Next, I’ll create my new partition using the all the disk space and use the Drive Letter E
New-Partition -DiskNumber 2 -UseMaximumSize -DriveLetter E

In the last step, I’ll format the volume
Format-Volume e

To view the volume status, I type
Get-Volume

At this stage, the volume Is ready to use.
Recommended:
- How To Increase The Disk Size On Windows Nano Server 2016 Azure Virtual Machine
- How To Format a Windows Nano Server 2016 Disk \ Volume
- How To Add A New Hard Disk To Windows Nano Server 2016 Physical Server
- Add New Disk To Windows Nano Server 2016 Using PowerShell
- Monitor Disk Usage On Windows Nano Server 2016
- Add New Volume \ Disk To Windows Nano Server 2016
- Increase \ Resize Disk Size On Windows Nano Server 2016
- Manage Disk Space Windows Nano Server 2016