In this article, I’ll show you how to configure a secondary DNS Zone on Windows Nano Server 2016 DNS Server.
If you haven’t Installed DNS Server yes on your Nano Server please visit the article below:
Once you have the role Installed, Open the DNS Console from a management Server and connect to Nano Server.
If you need to Install the DNS Console on your management machine use the cmdlet below:
Add-WindowsFeature RSAT-DNS-Server
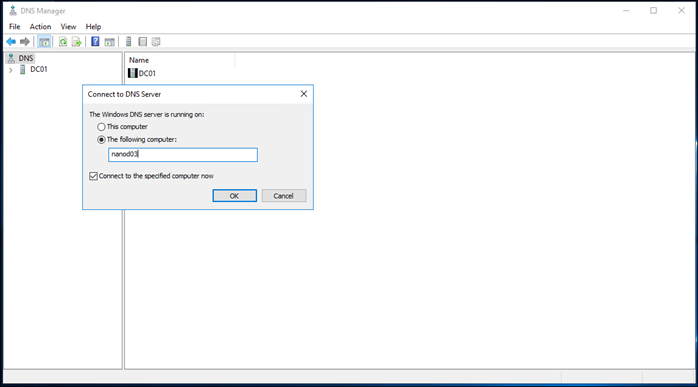
Next, Open the DNS Console Right Click on DNS and click on connect to computer, Type the Nano Server host name an OK
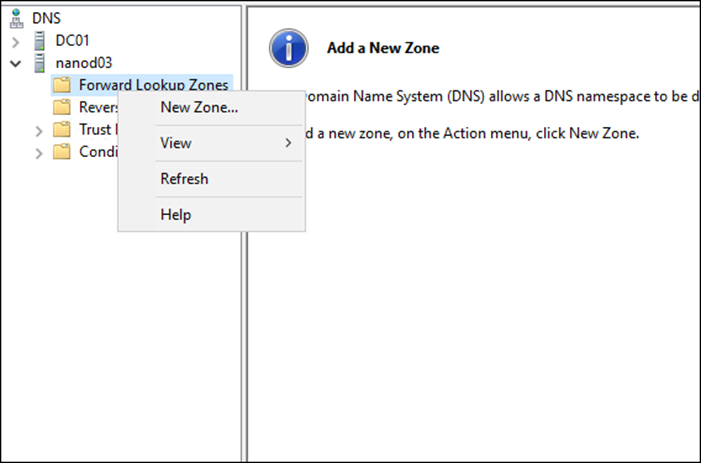
On the Nano Server, click on Forward Lookup Zones and click on New Zone
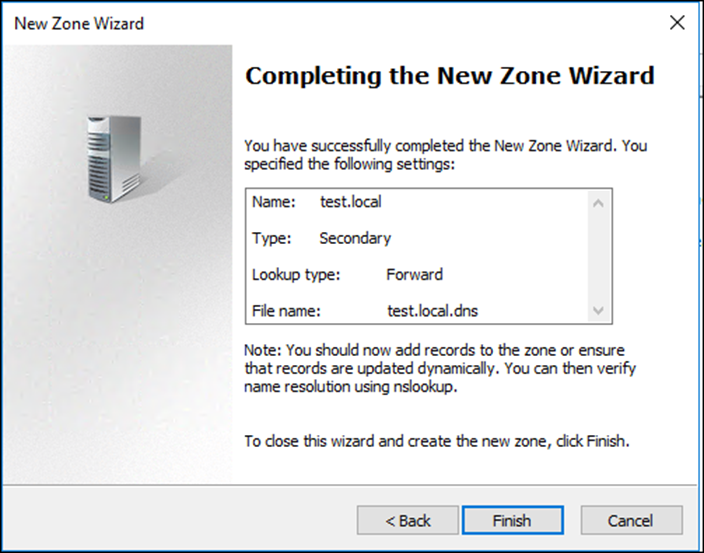
Select Secondary

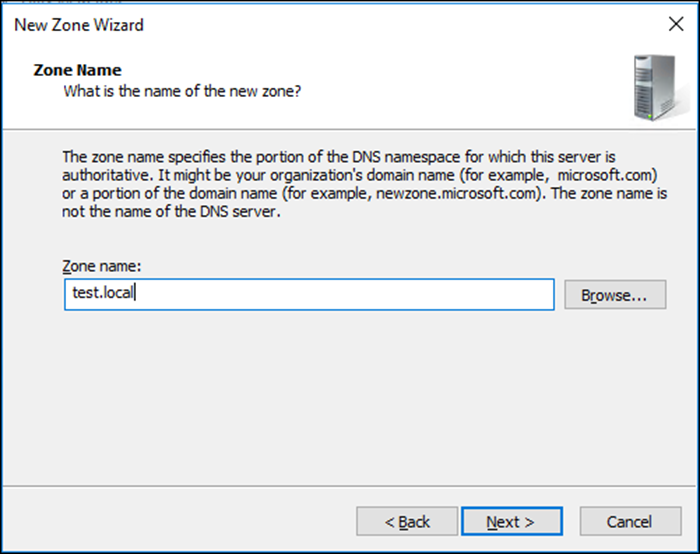
Type the Zone name or use the Browse
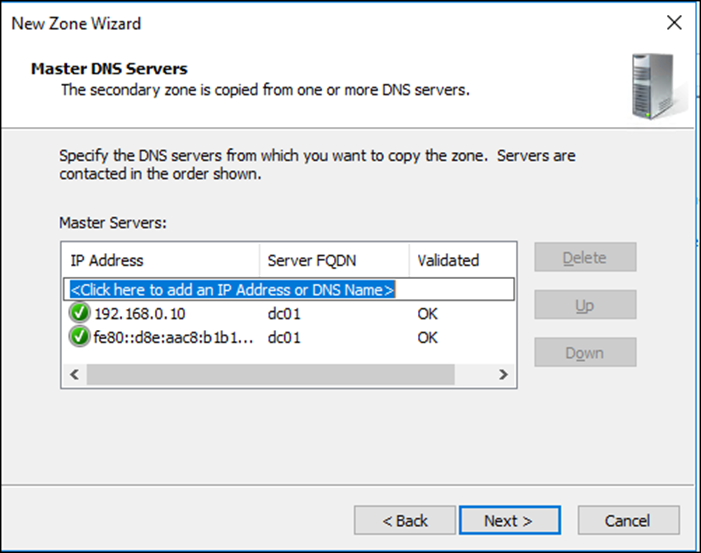
Type the Master DNS Server details
Click Finish
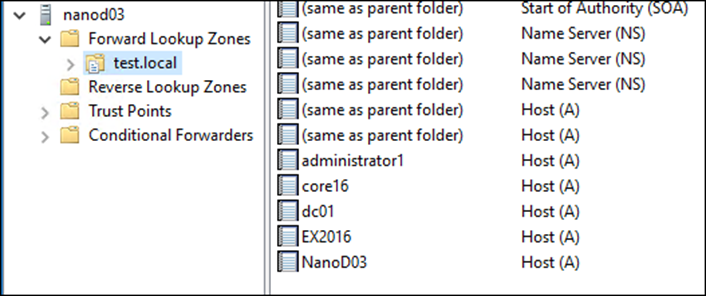
Next, Restart the Nano Server and open the DNS console when the server comes online and check the Zone.
To do the same using a one line PS cmdlet use:
Add-DnsServerSecondaryZone -Name test.local -ZoneFile test.local.dns -MasterServers 192.168.0.10