After I have shown you how to configure Azure Information Protection service today I will show you how to Install the client and protect documents.
About the AIP Client
The AIP client is used to protect all documents and email that you are needed to be protected using AIP.
You can install the client on all platforms Windows, IOS, MAC, etc.
About Azure Information Protection (AIP).
AIP is a cloud-based information protection systems that allow businesses to secure documents and protect them from being viewed by users that are not part of the organisation and within.
With AIP we can also restrict the usage of a document, for example, prevent printing, and automatically protect documents with credit card details etc.
Get Stated
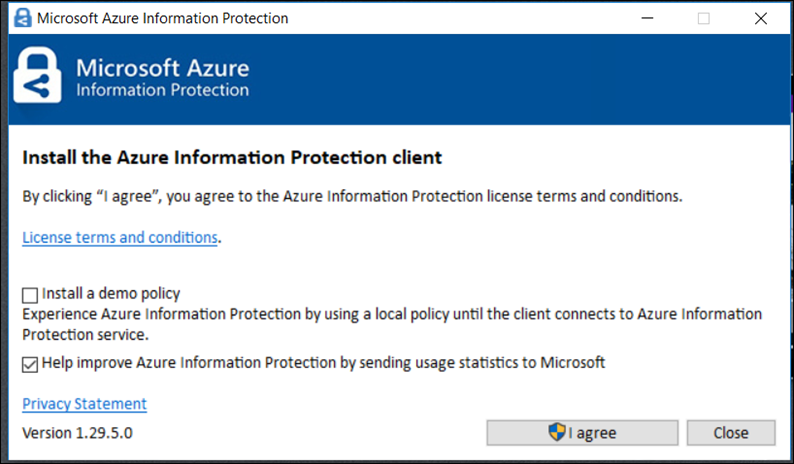
To get started and install the app on a Window 10 machine I will use the link below.
https://www.microsoft.com/en-au/download/details.aspx?id=53018
To install it on a MAC, iPhone or an Android device I will use the link below
https://portal.azurerms.com/#/download


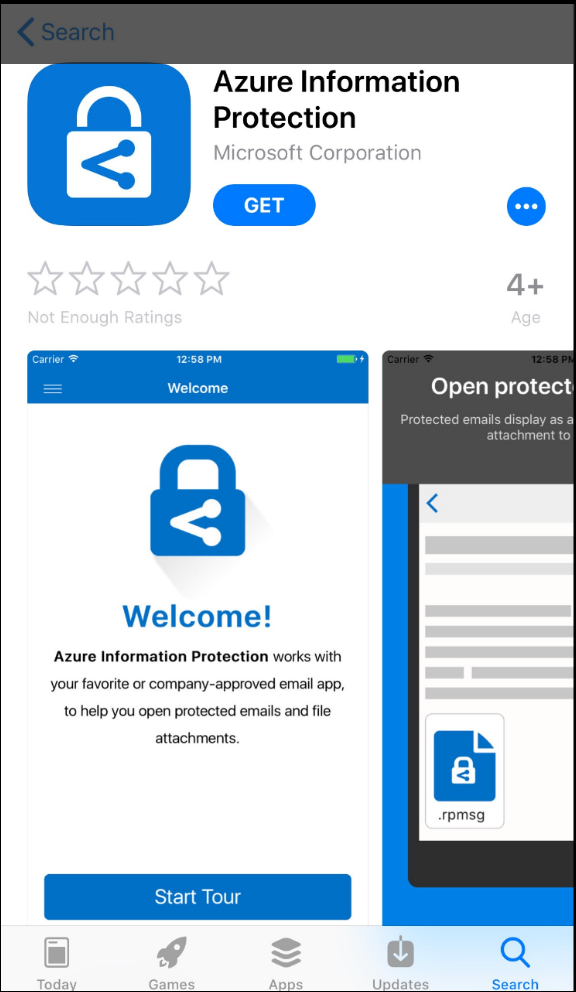
Below you can see the iPhone AIP app.
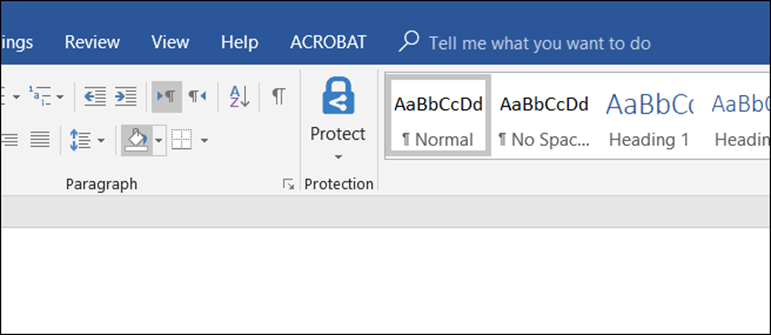
Once installed I will see the AIP icon in Microsoft word, excel, etc.
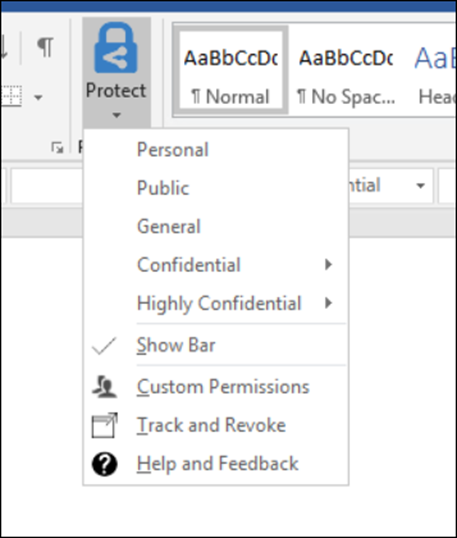
Protect a document
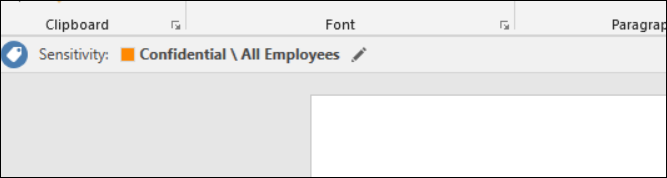
To protect a document I will click on the Icon and select the Confidential policy I configured in my previous article
And finally, I will save the document
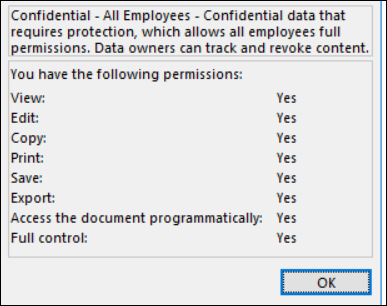
After saving the document and clicking on view Permissions I can see what kind of permissions the policy giving me.

If this document will be forwarded to a user outside the organization they won’t be able to view it and receive the error below.

Conclusion
Using Azure Information Protection is a quick win to protect your information in a cloud environment where information is power.
With AIP running from Azure you don’t need to worry about configuring RMS Server, ADFS, etc because it’s utilising your Azure AD tenant.