In this blog post about Microsoft Azure, I will show you how to Install and use the Azure CLI 2.0 command line tool to manage resources on Microsoft Azure.
Azure CLI 2.0
Is a new command line experience that works on Windows, MacOS and Linux and allows management of Azure resources like Virtual Machines, Containers, Storage and Networks.
Azure CLI is also available via the Azure Portal as Cloud Shell, however, the experience is slower in the browser.
Install on Windows
Below, I will install it on Windows 10 however once installed all commands are the same on any OS.
To get started, I’ll download the latest CLI version from the link below
https://docs.microsoft.com/en-us/cli/azure/install-azure-cli-windows?view=azure-cli-latest
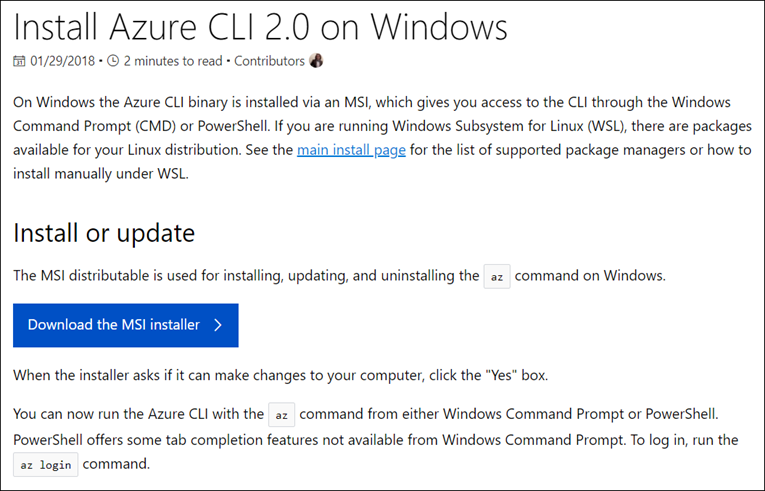
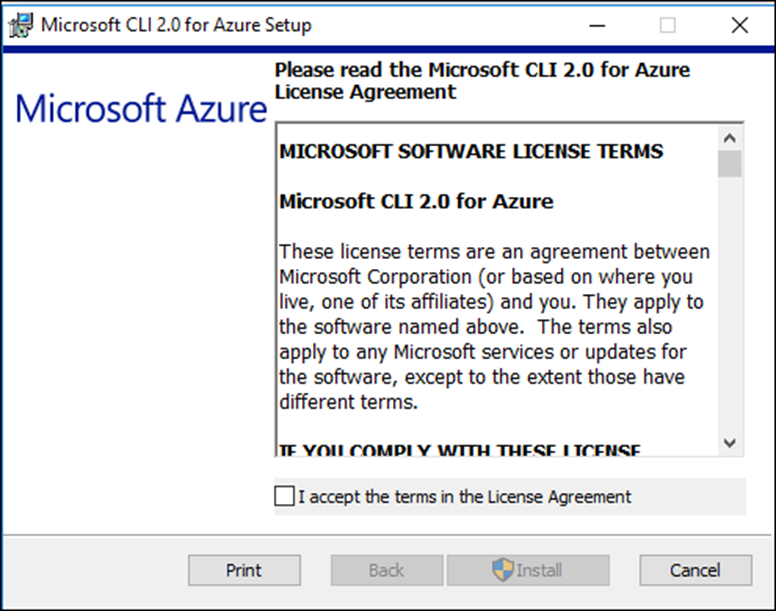
Follow the prompt until completed

Manage Resources
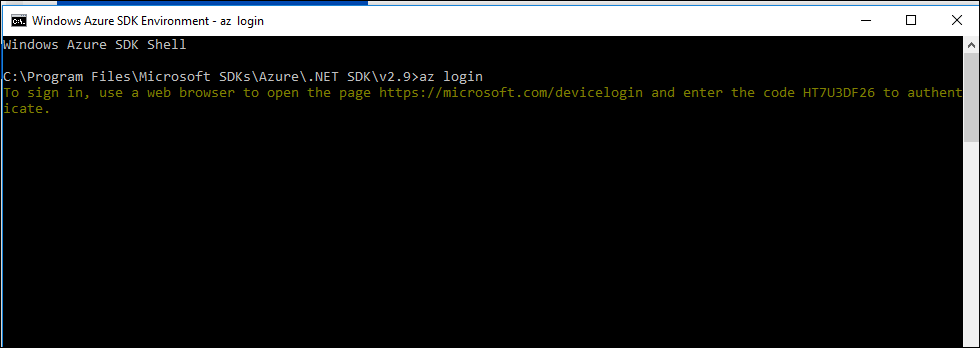
To get started and login to Azure I will use the line below which uses two-factor authentication, first you open the browser with the link below and type the code.
If the code is correct you will be asked to provide your username and password to login to Azure.
Az login
To view installed Azure CLI version I type the line below.
az --version
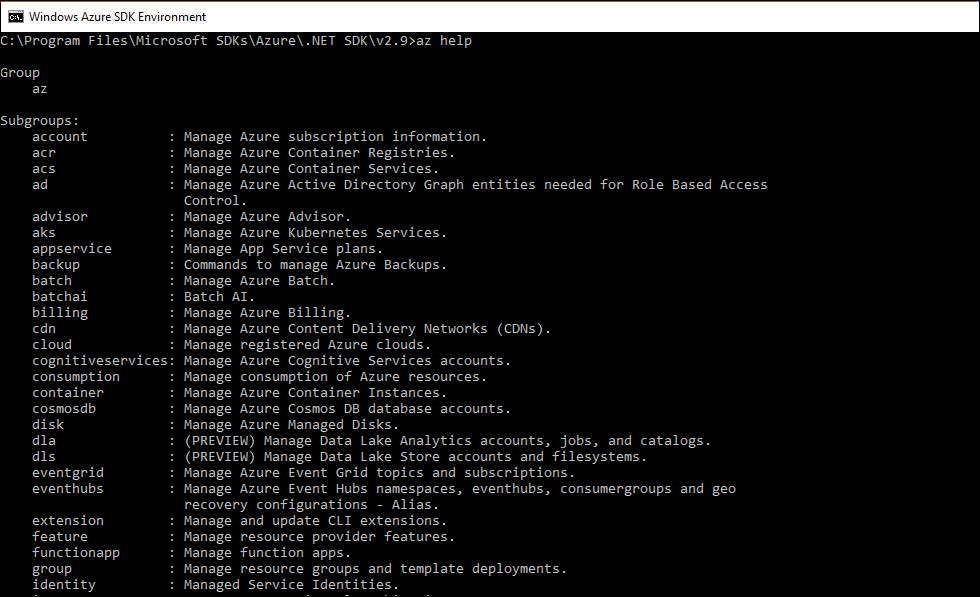
To view, all commands type the code below
az help
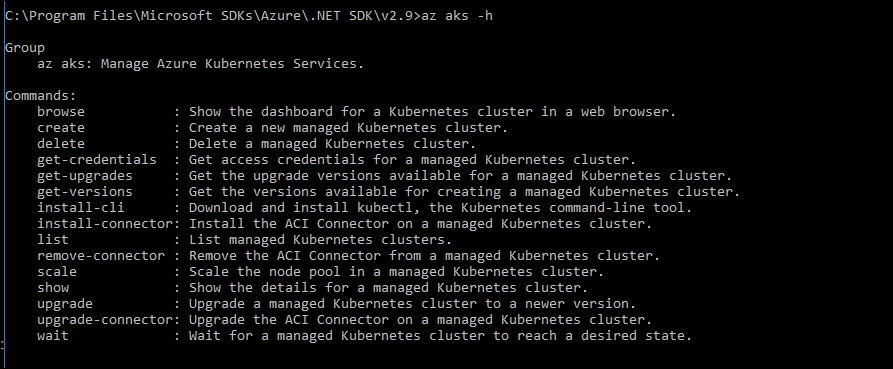
To get help on a specific command set I will run the line below and it will show me all the containers commands
az aks -h
Interactive Mode
One of the great things about Azure CLI 2.0 is the interactive mode which completes commands and shows help information on the same screen.
To enter interactive mode I type the line below.
az interactive
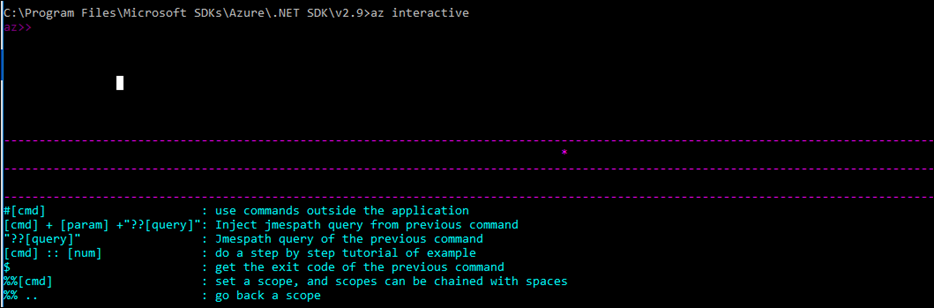
As you can see the CLI shows both command and help information below

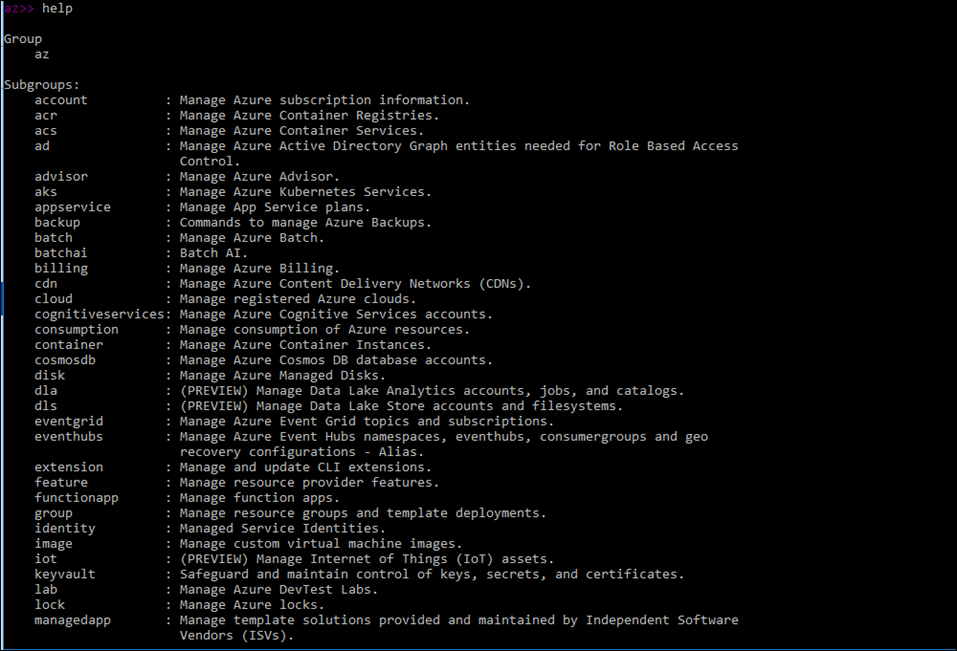
If I type help, It displays all available commands.
Comments
2 responses to “How to Use Azure CLI 2.0”
[…] get Kuberentes installed we need to install the Azure CLI 2.0 command line tool, please use this article to install […]
[…] manage the AKS cluster and access the Web UI you need to install Azure CLI 2.0, please visit this article for […]