In this article, I’ll show you how I Install the new Windows Storage Migration Service (SMS) Server role on Windows Server 2019 and start to configure it.
Storage Migration Service (SMS)
Windows Server 2019 will be released with a new Server Role called Storage Migration Service (SMS) that will simplify migration of Data and security permissions between Windows Server 2003, 2008, and 2012 R2.
SMS Will allow you to:
- Inventory existing Servers for Data, Security and Network Settings
- Migration of Data, Security and Network Settings from old to a new SMB Target
- Move the Identity of the old Server completely and decommissioning the old Server without affecting users and application.
- Move Data to targets on-premises or Azure
Installation
SMS deployment is made from two parts, first you install the SMS role from Server Manager or Admin Center, once installed you manage it from the new Admin Center and enable the SMS extension.
Get Started
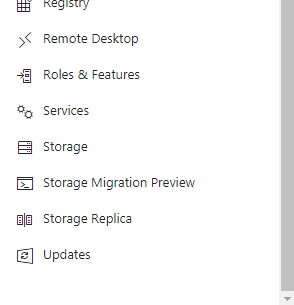
To install SMS, I’m using Windows Admin Center Roles and Features and install it.
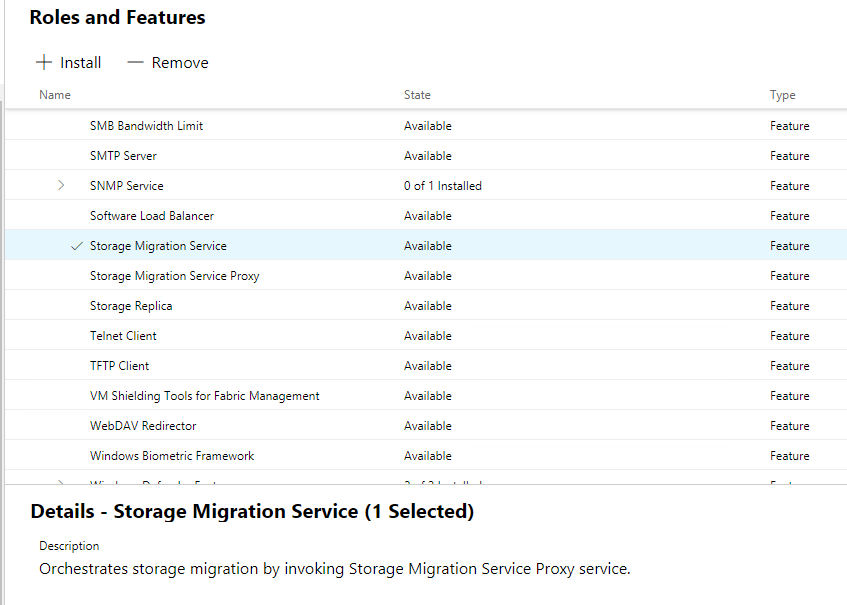
Below you can see the installation process and once done I will be notified


Enable SMS Extension
SMS management is done using the Windows Admin Center and in order to configure SMS, we need to install the SMS Extension.
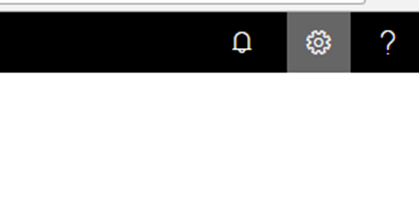
To install it, I’ll click on the settings icon in Windows Admin Center
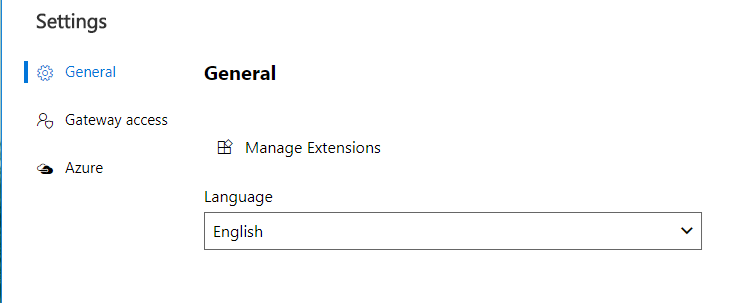
In the settings page, I’ll click on Manage Extensions
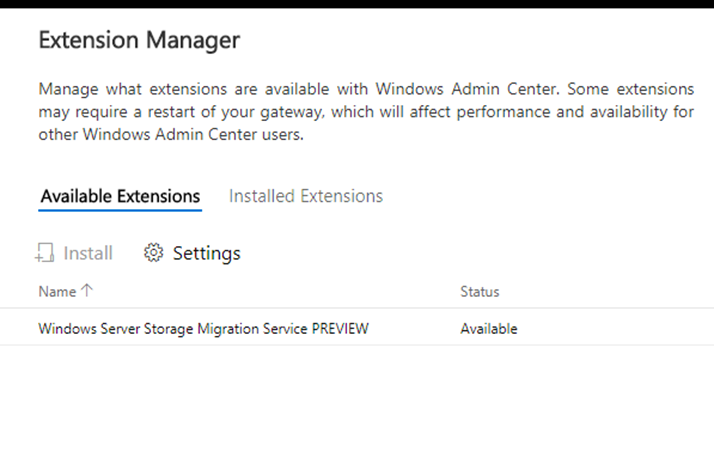
In the Extension Manager page, I’ll click on Available Extensions and from there I’ll install the Windows Server Storage Migration Service
Once the extension is installed I’ll see in the Admin Center menu (Storage Migration Preview)
Below you can see the storage migration menu page

In my next article, I’ll show you how I import data from a new server